Ubuntu 18.10 with codename Cosmic Cuttlefish is now here and available for install. For those of you who are eager to check the latest Ubuntu version and for all newcomers to the Linux family, we have prepared few tips to help you get started with Ubuntu 18.10 and get what you may need to complete the setup of your desktop/laptop distro.
The steps in this article are optional and you can choose which ones to use based on your personal preferences..
1. Check for Updates
If you have not chosen to install updates during installation of the OS it is recommended to run an update, to make sure you are running the latest version of the software.
To do this, use the following keyboard combination Ctrl + Alt + T which will open new terminal in front of you. Next input the following command:
$ sudo apt update && sudo apt upgrade
2. Choose Your Favorite Browser
Most of the time infront of our computers, we spent browsing different websites. Choosing the right web browser is essential for our online experience. There are all kind of different browsers for Ubuntu, but lets be honest, the most used ones are Google Chrome, Mozilla Firefox (comes preinstalled in Ubuntu) and Opera.
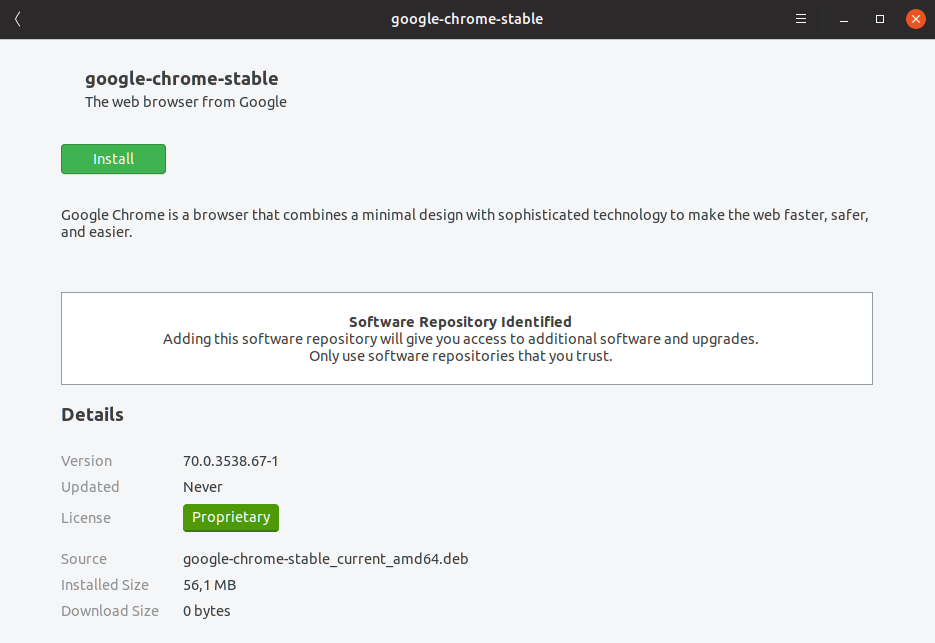
The installation process for both Chrome and Opera is fairly easy. Simply open the downloaded .deb package which will load the Ubuntu Software Center.
Install Google Chrome in Ubuntu
Once you click install, input your user’s password and wait for the installation process to finish.
3. Setup Your Mail Client
Many of us receive tons of emails per day. Using different web clients to read emails is not always optimal and thus, using desktop mail client such as Thunderbird can help improve productivity.
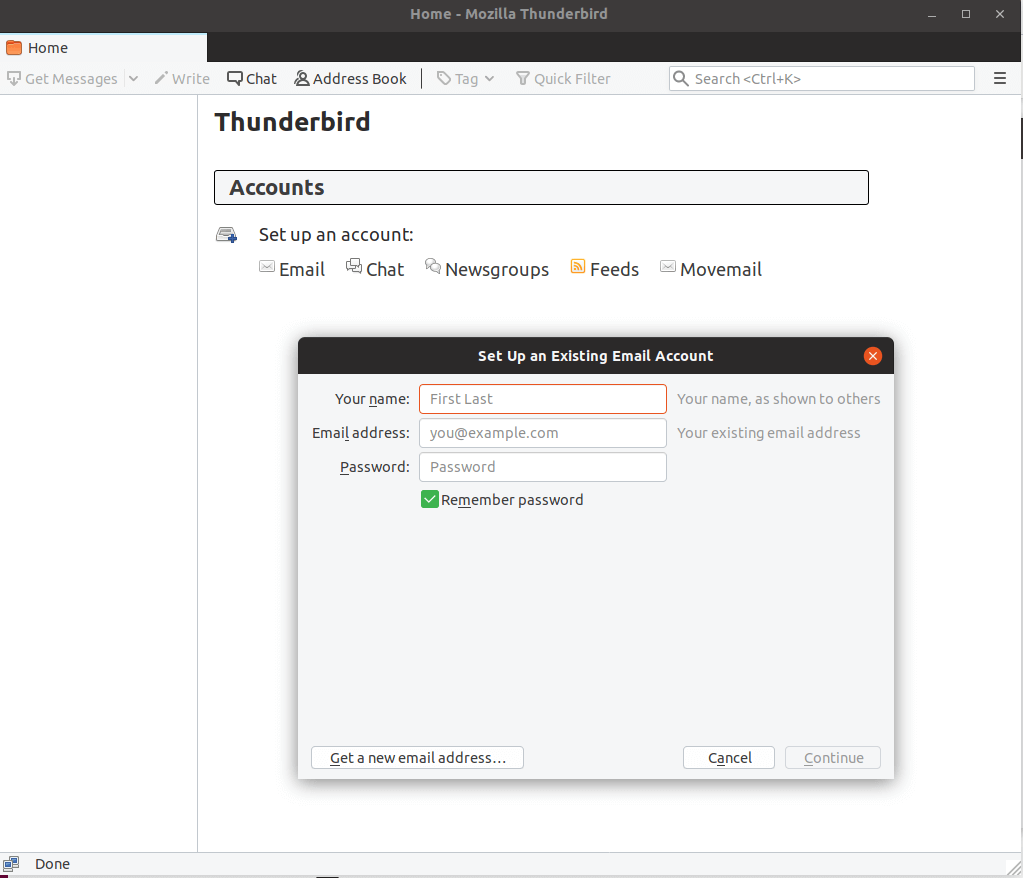
Thunderbird comes preinstalled with Ubuntu and can be easily started from the left side panel. When opened Input your name, email address and password. Wait for thunderbird to verify your SMTP/IMAP/POP3 settings and the setup is complete.
Setup Thunderbird Mail in Ubuntu
4. Install Useful Gnome Extensions
If you are new to Ubuntu, GNOME is the desktop environment used in newer versions of Ubuntu. If you have used previous version of Ubuntu that came with Unity, you may want to have a look at the customised GNOME environment used in more recent versions of Ubuntu.
You can extend GNOME’s functionality with extensions developed by the community. More extensions are available on gnome’s website. The installation is pretty simple, you only need to go to gnome’s website and enable their browser extension.
There is one for both Chrome and Firefox. You will however need to install the host connector either way. To do this open new terminal window and use the following command:
$ sudo apt install chrome-gnome-shell
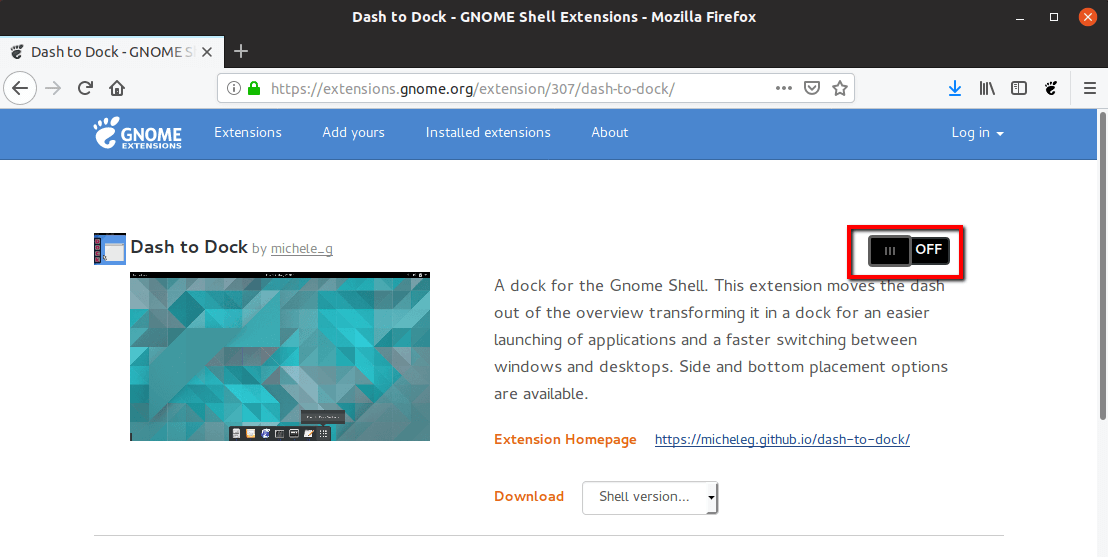
After that, installing new extensions is easy as clicking the on/off switch:
Install Gnome Extensions in Ubuntu
Some Gnome extensions worth mentioning:
- User themes – easily install new shell themes downloaded from the web.
- Extensions – manage GNOME extension through a panel menu.
- Places status indicator – menu to quickly access places on your system.
- OpenWeather – get weather updates on your Desktop.
- Dash to dock – move the dash out of the overview and use it as a panel.
There are many more you can choose from. Surely you will spend some time choosing the right ones for you.
5. Install Media Codecs
In order to enjoy media files in AVI MPEG-4 formats and others, you will need to install media codecs on your system. They are available in the Ubuntu repositories, but are not installed by default because of copyright issues in different countries.
You can install the codecs by opening a terminal and running the following command:
$ sudo apt install ubuntu-restricted-extras
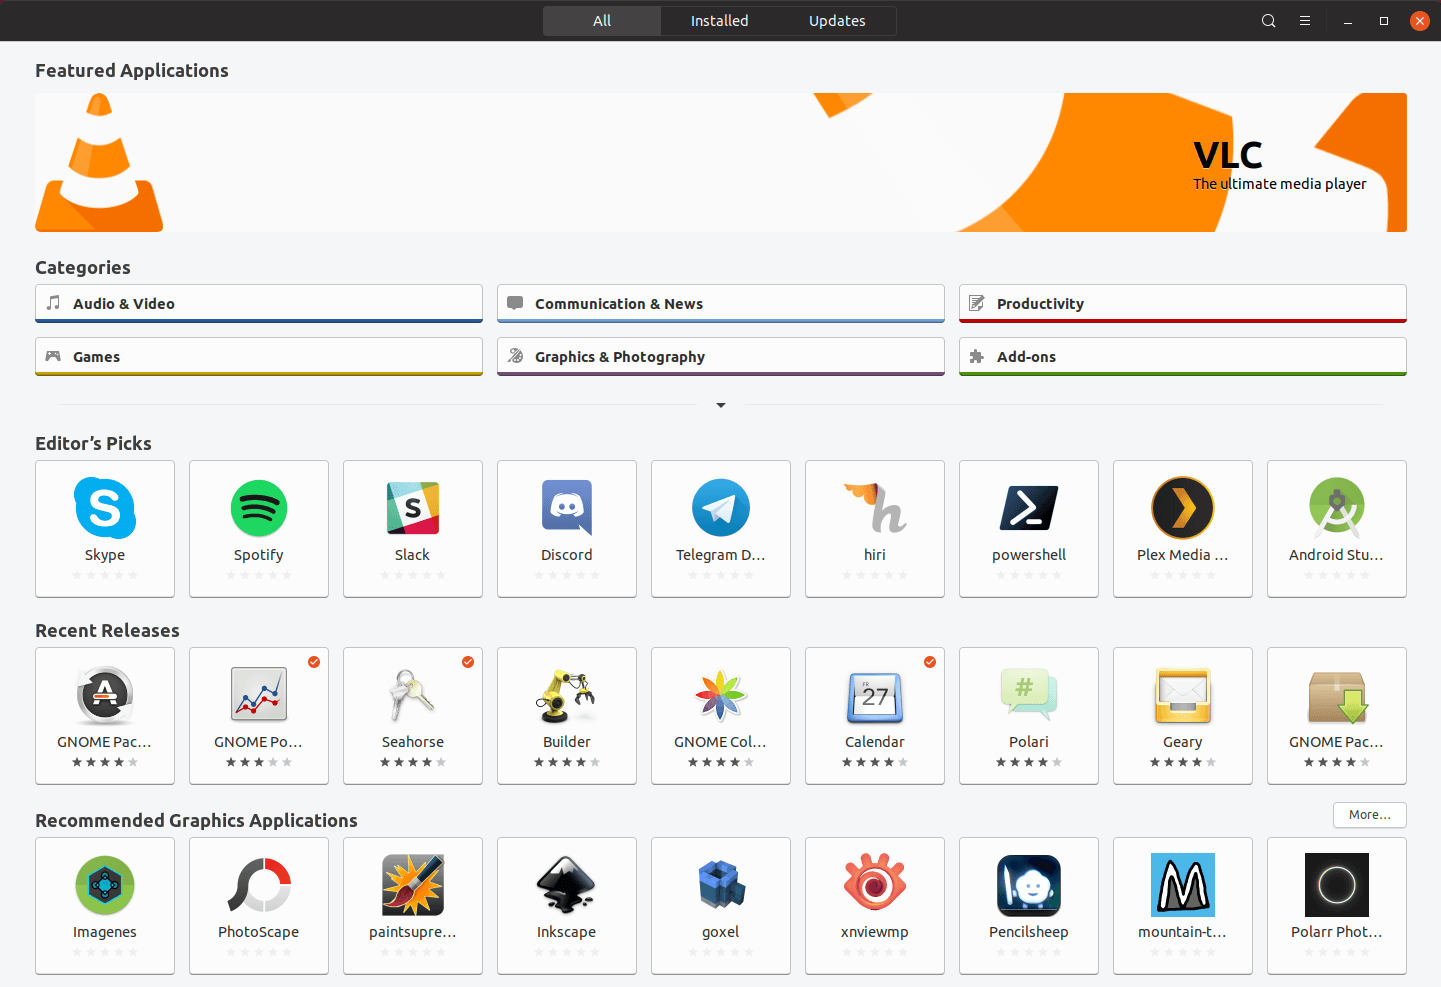
6. Install Software from the Software Center
What you install on your system depends on entirely on you. It is recommended to install and keep only what you plan on using in order to avoid getting your system bloated with useless software.
Here you can see a list of frequently used and preferred apps:
- VLC – video player with great features.
- GIMP – image editing software, often compared to Photoshop.
- Spotify – music streaming application.
- Skype – messaging and video messaging application.
- Viber – messaging and free calls application between users.
- XChat Irc – graphical irc client.
- Atom – nice text editor with plenty of extensions. Good for developers as well.
- Calibre – eBook management tool.
- DropBox – personal cloud storage to keep some files.
- qBittorent – torrent client similar.
Ubuntu Software Center
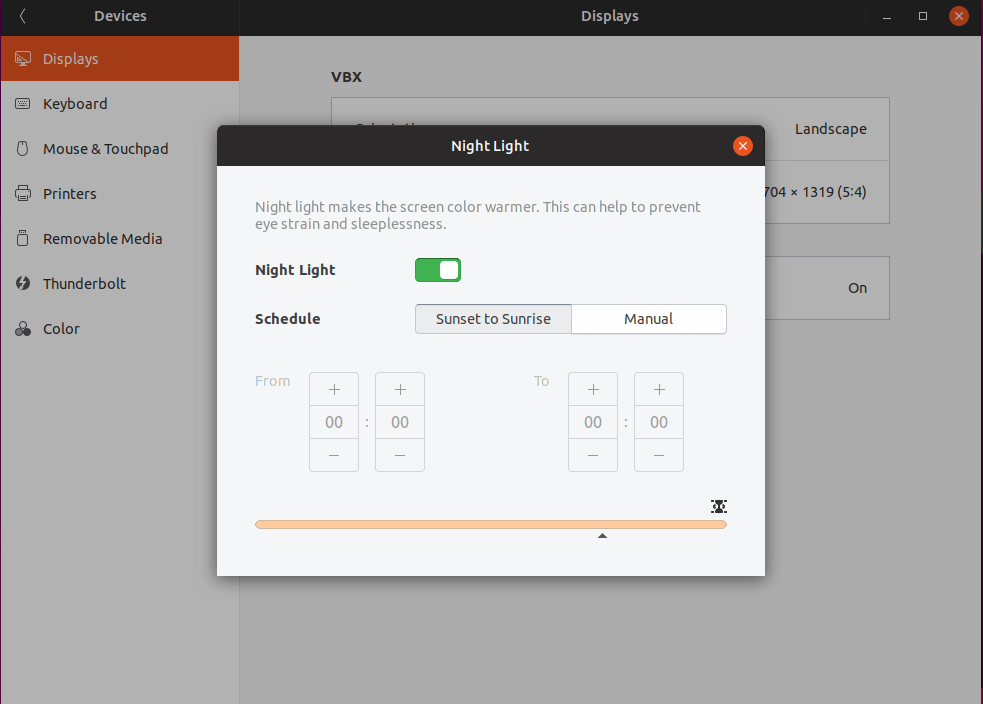
7. Enable Night Light in Ubuntu
Protecting your eyes at night while you work on your computer is important and essential. GNOME has an integrated tool called night light. It reduces the blue lights, which reduces the eyes strain at night, significantly.
To enable this feature go to Settings -> Devices -> Night Light and turn it on.
Enable Night Light in Ubuntu
You may select exact hours during which Night Light to be turned on or allow it to automatically start on sunset to sunrise.
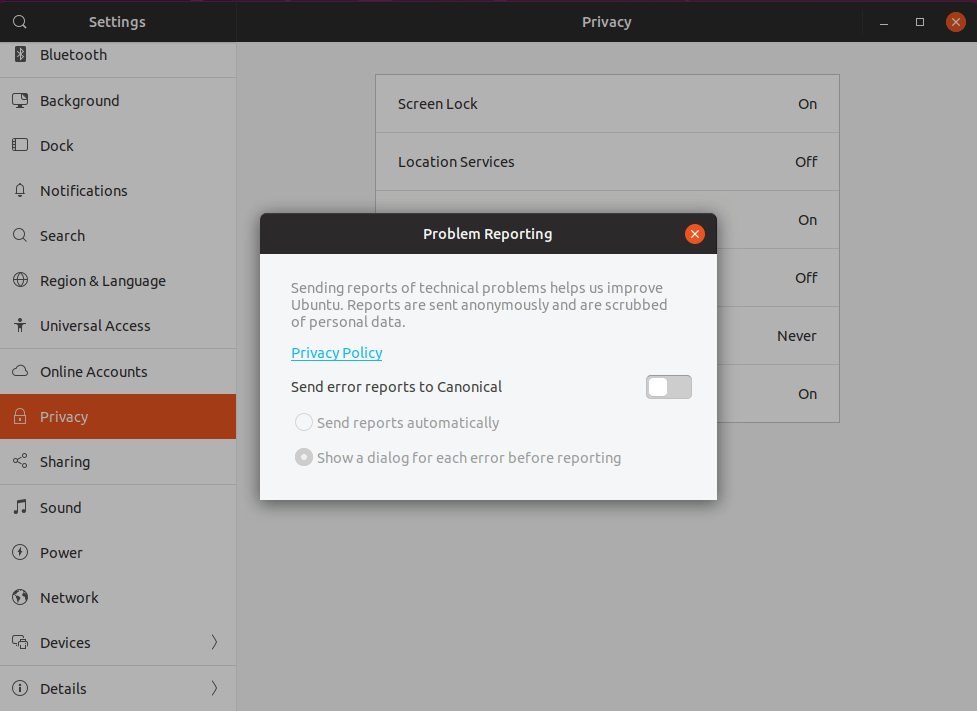
8. Opt out/Opt in from Data Collection
Ubuntu collects some data about your system hardware that helps determine on what hardware the OS is used and improve it. If you are not comfortable with providing such information, you can disable the option by going to Settings -> Privacy -> Problem Reporting and disable the switch:
Disable Problem Reporting in Ubuntu
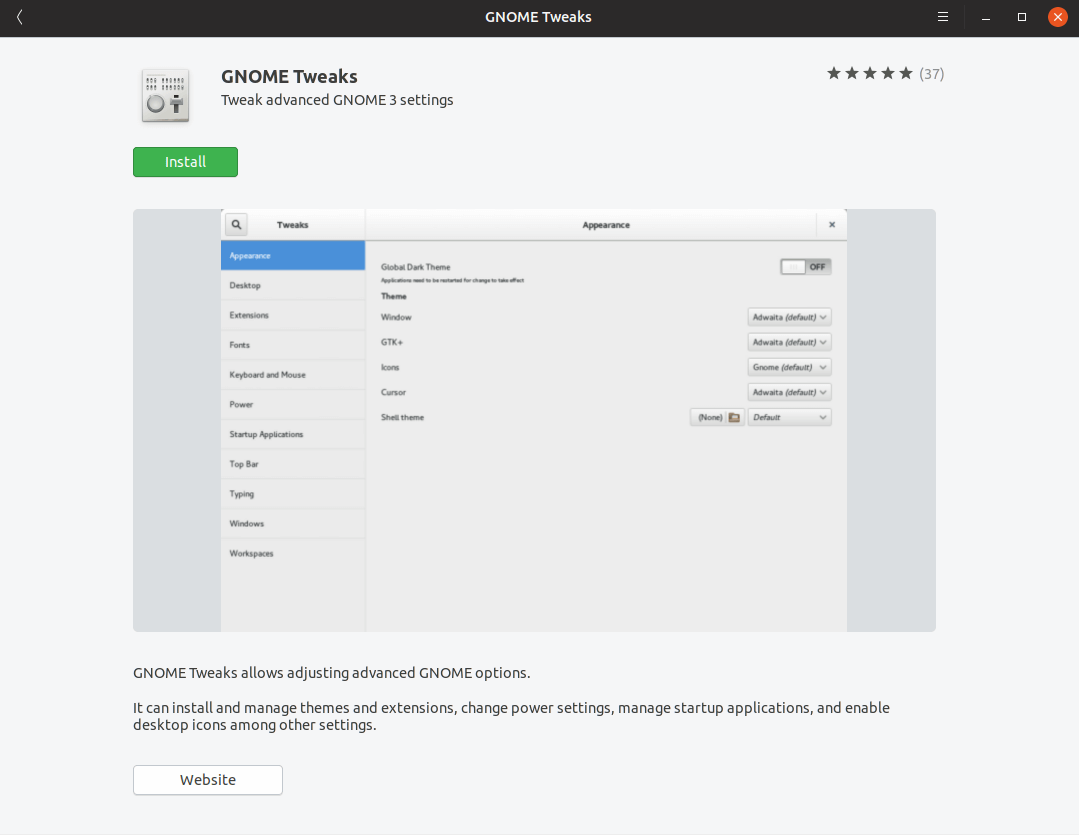
9. Install GNOME Tweaks
Customizing your desktop is even easier with the GNOME Tweaks tool, which allows you to change appearance of your system, icons, install new themes, change fonts and many more.
To install GNOME Tweaks open the Ubuntu Software Center and look for GNOME Tweaks:
Install Gnome Tweaks in Ubuntu
You can play around with the tool and adjust the effects and appearance of your system as you want to.
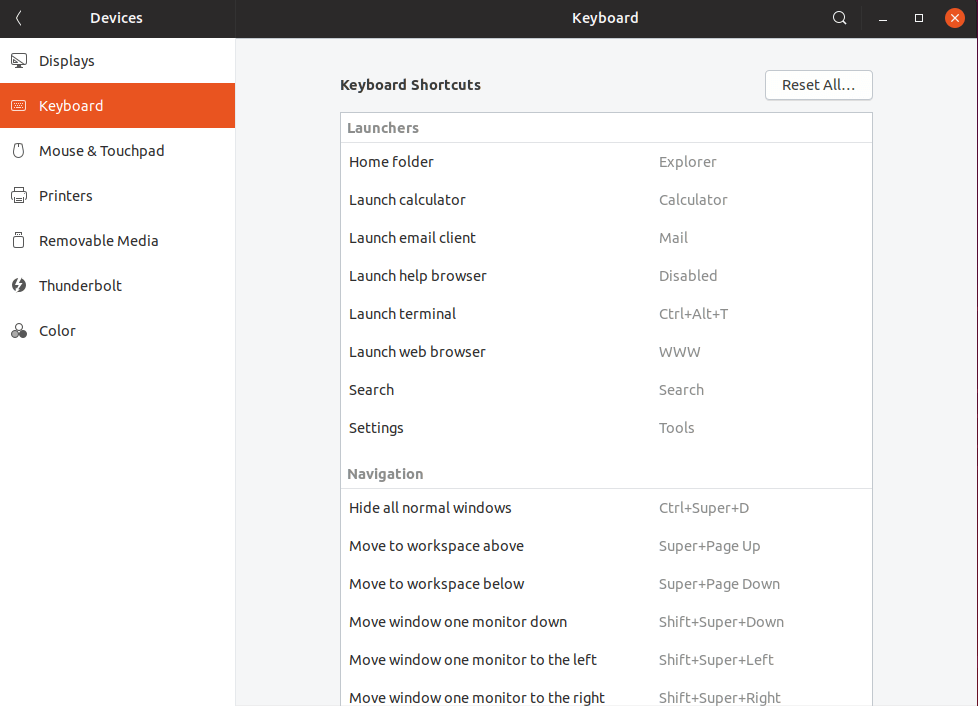
10. Configure Keyboard Shortcuts
Ubuntu provides flexibility and setting your own favorite shortcuts to do some actions such as opening an application, playing next song, switching between windows and many more.
To configure your own keyboard shortcuts open Settings -> Devices -> Keyboard. You will see a list of available shortcuts. You can change them to your personal preferences and even add more:
Set Keyboard Shortcuts in Ubuntu
11. Install Steam in Ubuntu
If you are into gaming, there is no way to go around without installing Steam. Steam is the ultimate platform available for Windows, Mac and Linux.
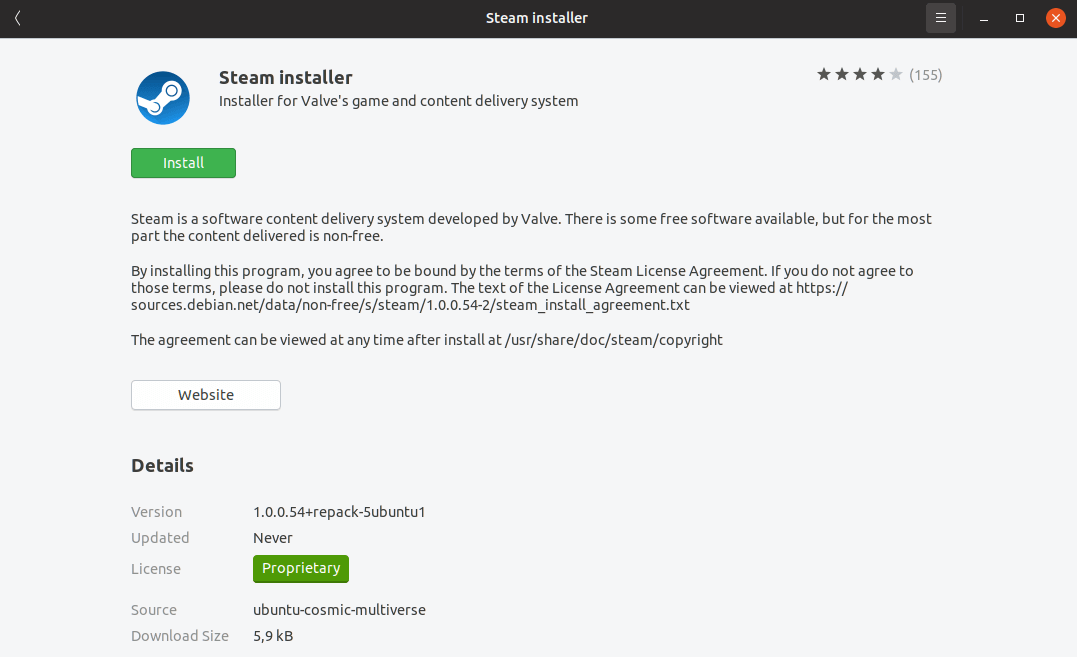
You can choose from all kinds of different game genres, both multiplayer and single player. Steam is available in the Ubuntu Software Center and can be installed with a single click:
Install Steam in Ubuntu
[quangcao1]
12. Choose Default Applications
You may have more than one software used for the same purpose. For example, you may want to play movies with either VLC or the devault Ubuntu video player.
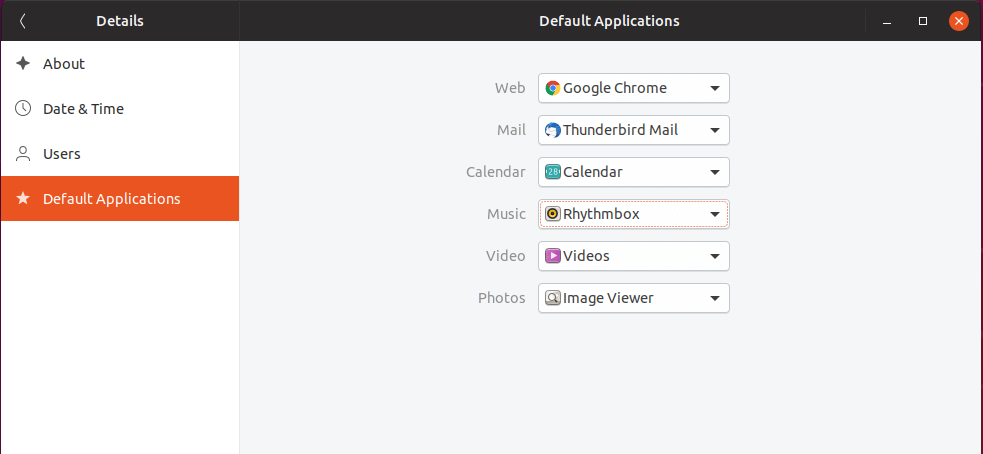
To adjust your preferred applications, open the Settings menu -> Details -> Default Applications. Using the dropdown menu you can select the application which you wish to use for, web, mail, calendar, music etc:
Set Default Applications in Ubuntu
13. Enable Canonical Partners Repository
Ubuntu uses different repositories to provide software to its users. You can get even more software, by enabling the Canonical Partners repository.
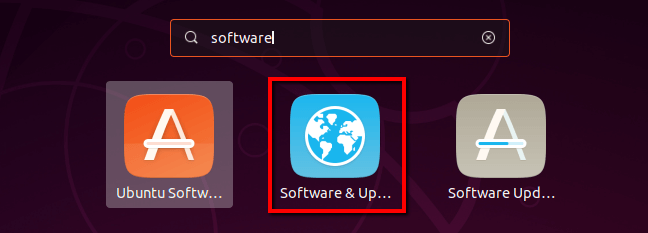
It consists of third party software that has been tested on Ubuntu. To enable this repository press the Super key (Windows key) and search for Software and Updates:
Ubuntu Software Updates
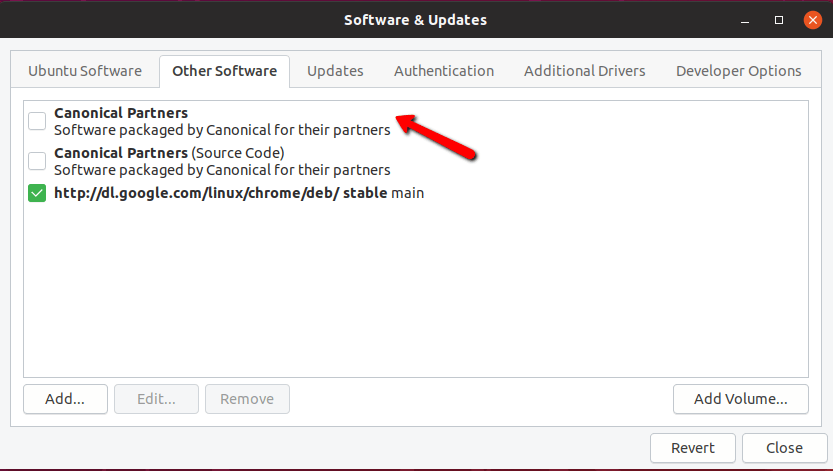
In the newly opened window choose the second tab, called “Other Software” and enable “Canonical Partners” repo, which should be the first in the list:
Enable Canonical Partners in Ubuntu
Once you enable it, you will be prompted for your password. Input it and wait for the software sources to be updated. When completed, you will have more software available in Ubuntu Software Center.
14. Install Graphics Drivers
Using the proper drivers for your graphics card is important cause you can get better experience on your system, without the laggy movement of different windows. Not only that, but you can also play games on your Ubuntu Linux system which will require the proper drivers to be installed.
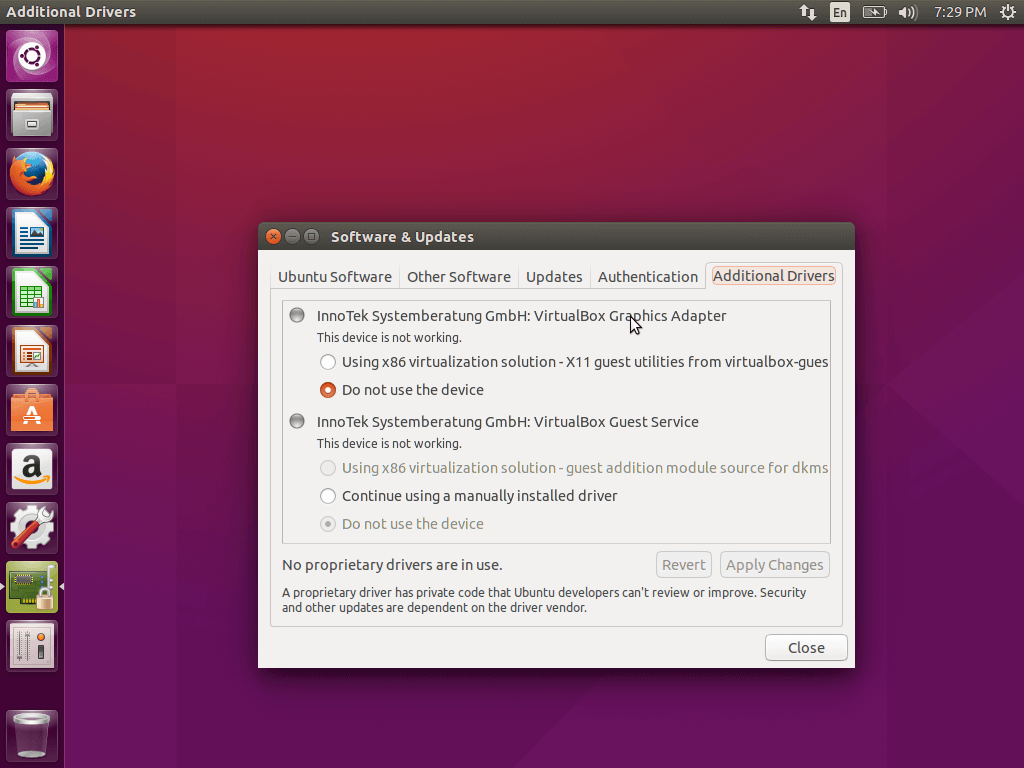
To install your graphic drivers, simply launch Software & Updates and select the “Additional Drivers” and click on the icon. A new window will appear which will automatically search the proper drivers:
Install Graphic Drivers
When found, choose the appropriate version and install it.
15. Install Archive Applications
By default Linux can easily handle tar files, but to extend the amount of different archive files that you can use on your Ubuntu system (zip, tar.gz, zip, 7zip rar etc) install the following packages by running the command below:
$ sudo apt-get install unrar zip unzip p7zip-full p7zip-rar rar
16. Install Wine
Wine is a Windows emulator and allows you to run Windows applications on your Ubuntu system. Unfortunately not all apps are supported and some might be buggy, but at the end you will be able to do the job.
Installing wine can be performed by running:
$ sudo apt-get install wine winetricks
17. Install SystemBack
Creating system backups is vital. That way you can always restore your system to an earlier working state in case of disaster. That’s why you can install tool such as SystemBack to create backup of your Ubuntu system.
To do this, run the following commands in terminal:
$ sudo add-apt-repository ppa:nemh/systemback
$ sudo apt-get update
$ sudo apt-get install systemback
18. Try Different Desktop Environments
Ubuntu is not only limited to Gnome. It can be used with different desktop environments such as cinnamon, mate, kde and others. While there are Ubuntu releases with those DE’s pre-installed, you can try them within one Ubuntu installation.
To install cinnamon you can use the following command executed in a terminal:
$ sudo apt-get install cinnamon-desktop-environment
To install MATE, use the following command.
$ sudo apt-get install ubuntu-mate-desktop
19. Install JAVA in Ubuntu
JAVA is a programming language and many programs and websites won’t work properly unless you have it installed. To install JAVA in Ubuntu run the following command:
$ sudo apt-get install openjdk-8-jdk
20. Install Laptop Tools
If you are using Ubuntu on a laptop, you can install additional tweak tools to improve your laptops battery and power consumption. These tools can improve your battery life and add some cool new features. To install laptop tools, run the following command in a terminal:
$ sudo apt-get install laptop-mode-tools
[quangcao]
Conclusion
These were the entry steps into your new Ubuntu 18.10 installation. You can start enjoying your freshly installed Ubuntu, but if you think that there is something else that needs to be done after installing Ubuntu, please share your thoughts in the comment section below.

