
Quick Start: Spin Up OpenVAS in 5 Minutes
Need a quick scan of your internal subnet before an upcoming pentest? Or looking to audit your VPS fleet before release day? The official Docker Compose stack for Greenbone Community Edition (formerly OpenVAS) allows you to bypass the hassle of compiling source code and manually installing complex dependencies.
In terms of hardware requirements, prepare an Ubuntu 22.04/24.04 or Debian 12 server with Docker and Docker Compose v2 pre-installed. The recommended configuration is at least 4 vCPUs and 8GB of RAM. The Greenbone vulnerability feed is quite memory-intensive; running with less than 4GB of RAM puts the PostgreSQL process at high risk of being OOM killed.
# 1. Create a dedicated working directory
mkdir -p ~/greenbone-community-container && cd ~/greenbone-community-container

# 2. Download the official docker-compose file from Greenbone
curl -f -L https://greenbone.github.io/docs/latest/_static/docker-compose-22.4.yml -o docker-compose.yml

# 3. Pull images and launch all containers in the background
docker compose pull
docker compose up -d
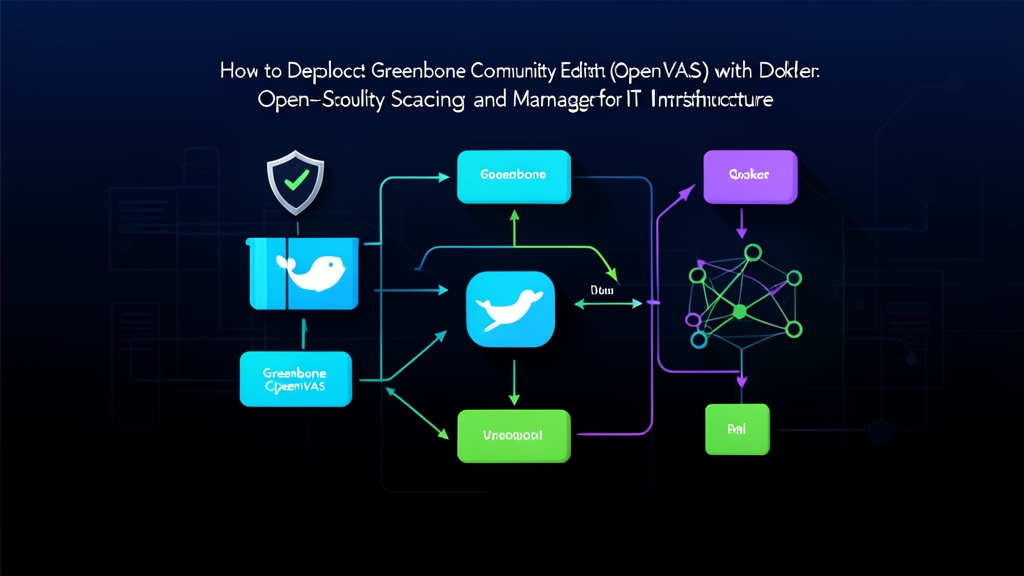
With just a single command, the entire stack—including PostgreSQL, Redis, the GVM daemon, Notus scanner, and the GSA (Greenbone Security Assistant) web UI—will be up and running. Open your browser and navigate to:
http://<SERVER-IP>:9392The default credentials are admin / admin. Change the password immediately to prevent unauthorized administrative access:
docker compose exec -u gvmd gvmd gvmd --user=admin --new-password=YourNewPassword@2026System Architecture and Vulnerability Feed Synchronization
Many beginners encounter an issue where a scan task finishes without detecting any CVEs or throws an error about missing feeds. This happens due to its decoupled architecture: Greenbone strictly separates the scanning engine from the vulnerability database (Greenbone Community Feed).
Four Core Containers to Know
- gsa (Greenbone Security Assistant): The web interface built with React paired with an Nginx reverse proxy, listening on port 9392.
- gvmd (Greenbone Vulnerability Management daemon): The core business logic brain. This container stores targets, scan schedules, and audit results in PostgreSQL.
- openvas-scanner & ospd-openvas: The scanning engine that actively sends probe packets and executes over 100,000 Network Vulnerability Tests (NVTs) against targets.
- feed-sync: A background container that periodically pulls NVTs, SCAP, and CERT-Bund updates from Greenbone servers into a shared volume.
Monitoring Feed Download Progress
On initial startup, the system takes between 15 to 30 minutes to download and index more than 140,000 vulnerability signatures, depending on your server’s network speed. You can track this progress through the logs:
docker compose logs -f gvmd-data-sync
# Monitor the NVT script loading process into Redis
docker compose logs -f ospd-openvas
To verify this via the web UI, navigate to Administration -> Feed Status. Wait until all three sections—NVT, SCAP, and GVMD_DATA—show Current. Only then will the scanner have sufficient data for accurate vulnerability detection.
Hands-On: Creating a Basic Subnet Scan Task
- Navigate to Configuration -> Targets and click the blue star icon to add an IP range.
- Enter the target IP range (e.g.,
192.168.1.0/24for an office network or a specific staging server IP). For Port List, selectAll IANA assigned TCP and UDP. - Switch to Scans -> Tasks, create a new Task, attach the Target you just created, and set the Scan Config to
Full and fast. - Click the green Play button to start the scan.
Configuring Authenticated Scans and Performance Tuning
An unauthenticated external scan only identifies open ports and service banners, often missing critical internal vulnerabilities. To thoroughly inspect kernel versions, OpenSSL libraries, or packages affected by known CVEs, you need to configure an Authenticated Scan.
Setting Up SSH Keys for Target Linux Servers
First, navigate to Configuration -> Credentials in GSA and create a new SSH Key entry. Next, set up a dedicated user on the target server with minimal necessary privileges:
# Create a dedicated audit user on the target machine
sudo useradd -m -s /bin/bash gvm-audit
sudo mkdir -p /home/gvm-audit/.ssh

# Add the OpenVAS public key to authorized_keys
echo "ssh-ed25519 AAAAC3NzaC1lZDI1NTE5... openvas-scanner" | sudo tee /home/gvm-audit/.ssh/authorized_keys
sudo chown -R gvm-audit:gvm-audit /home/gvm-audit/.ssh
sudo chmod 700 /home/gvm-audit/.ssh && sudo chmod 600 /home/gvm-audit/.ssh/authorized_keys
When configuring your Target, select this credential under the SSH Credential field. The scanner will establish an SSH connection, run commands such as dpkg -l or rpm -qa, and cross-reference the package inventory against the CVE database. This produces much cleaner results with significantly fewer false positives.
Tuning Resources to Prevent Network Bottlenecks and Server Freezes
By default, OpenVAS runs scans with maximum concurrency. On low-spec VPS environments, this can easily overwhelm target CPU resources or saturate network bandwidth. You can throttle this by adjusting settings in docker-compose.yml:
services:
  ospd-openvas:
    environment:
      - OSPD_OPENVAS_KEY_VALUE="max_hosts=5;max_checks=4"
    deploy:
      resources:
        limits:
          memory: 4096M
          cpus: '2.0'
This configuration caps the scan at 5 concurrent hosts and 4 simultaneous checks per host—a safe threshold for standard 100Mbps network connections.
Real-World Operational Tips
Across more than 20 audited internal servers, the most common findings typically fall into three categories: SSH services enabling deprecated ciphers (CBC mode), Redis/Elasticsearch instances bound to 0.0.0.0 without authentication, and outdated, unpatched OpenSSL libraries. OpenVAS consolidates all these warnings into an intuitive summary report.
Here are several crucial best practices when running in production:
- Never expose port 9392 to the public Internet: The GSA dashboard reveals your entire network topology and known vulnerabilities. Bind the port in your compose file to
127.0.0.1:9392:9392instead. Access it via an internal VPN or an SSH tunnel using:ssh -L 9392:127.0.0.1:9392 user@server-ip. - Use caution with the ‘Full and very deep’ profile: This profile sends deep fuzzing payloads that can easily crash services on legacy applications or IoT devices. For live production systems, stick with the
Full and fastprofile. - Deliver reports to the development team: Don’t let scan findings sit idle in the dashboard. Under Scans -> Reports, export PDF or CSV reports highlighting High and Critical issues to create actionable remediation tasks for developers.
- Periodically clean up the database: After 3 to 6 months of continuous scanning, the PostgreSQL results table can grow by tens of gigabytes. Configure the Auto Delete feature under the Alerts tab to automatically prune reports older than 90 days, keeping your server running smoothly.