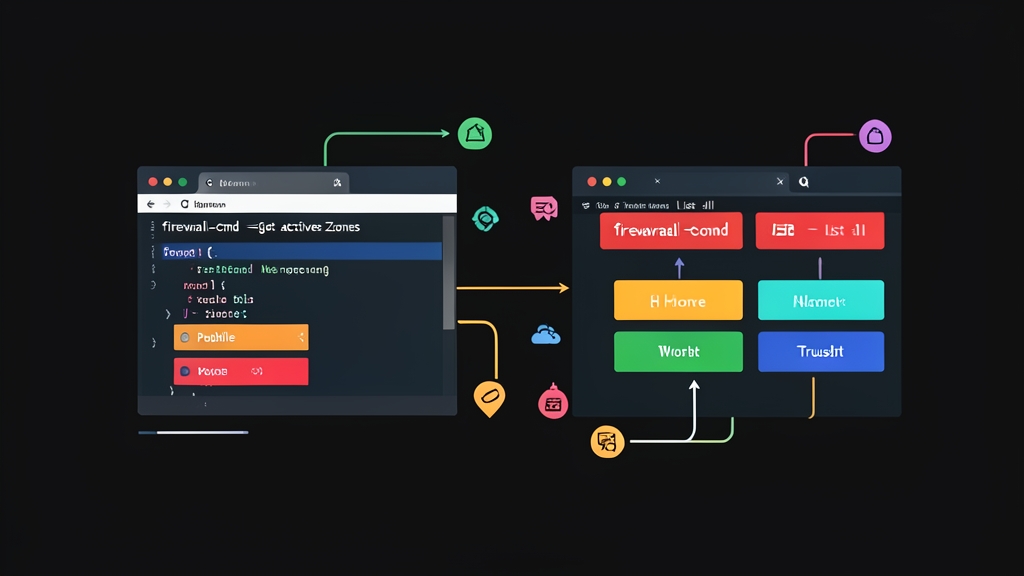
Real-World Problem: When UFW and iptables Break Live Connections
Managing a server with two or more network interfaces can be nerve-wracking. A typical setup involves one interface bound to a public IP facing the internet, while the other connects to an internal private subnet for a database cluster.
Many system administrators routinely rely on custom background iptables scripts or switch to UFW for simplicity. However, a single mistake while reloading rules to open a port for a partner can abruptly sever all active SSH sessions. Even worse, an errant rule might accidentally block an internal interface, instantly cutting off a web cluster’s access to its 10.0.0.x database backend.
This issue stems from the fundamental architecture of traditional iptables. Every time a script is applied, iptables must flush all existing rules in the kernel’s netfilter subsystem and reload the entire chain from scratch. On high-throughput servers handling 5,000 to 10,000 requests per second, the few hundred milliseconds needed to reload these tables can drop numerous TCP conntrack packets, triggering CPU spikes and service disruptions.
The Core Issue: Why Legacy Firewall Architectures Fall Short
In production environments, legacy solutions present three major bottlenecks:
- Iptables lacks runtime flexibility: Iptables does not operate as a persistent daemon. Modifying even a single rule forces the netfilter kernel module to reload the full ruleset, often discarding open session states.
- UFW struggles with multi-tiered networks: UFW works well for single-interface VPS instances. However, once a server utilizes multiple interfaces (such as eth0 and eth1) requiring routing or NAT across disparate IP ranges, UFW configurations become cumbersome and difficult to manage across distinct logical segments.
- High risk of accidental lockout: Iptables executes commands directly against the kernel immediately. An accidental
DROPcommand without an isolated runtime memory layer will lock you out of the machine entirely, requiring data center intervention via out-of-band KVM console access.
Firewalld was designed to overcome these challenges. It operates as a dynamic netfilter/nftables management daemon communicating over D-Bus, cleanly separating traffic into designated Zones and predefined Services.
Practical Comparison: iptables, UFW, or firewalld?
Each tool suits different operational phases and infrastructures:
1. Maintaining Pure iptables / nftables Scripts
This approach delivers optimal kernel-level performance and minimal overhead. However, maintenance costs are steep. A 200–300 line script is difficult to hand off to new team members and continually carries the risk of dropping active sessions upon execution.
2. Using UFW
UFW features simple syntax—running ufw allow 80/tcp gets the job done instantly. However, UFW is tailored primarily for Ubuntu and Debian. Deploying it on enterprise distributions like RHEL, Rocky Linux, or AlmaLinux frequently introduces conflicts with NetworkManager and SELinux.
3. Switching to firewalld
Firewalld comes preinstalled on most Red Hat-family distributions and runs seamlessly on Ubuntu and Debian. Its key advantage is the ability to add, modify, and delete rules directly in memory without restarting the process, preserving all active TCP sessions and data streams.
Hands-On firewalld Configuration Guide for Production Servers
Combining Zones and Services within firewalld represents the standard best practice for production systems. Here is a step-by-step implementation guide:
Step 1: Install and Start firewalld
On RHEL, Rocky Linux, and AlmaLinux, the package is typically preinstalled. If running Ubuntu or Debian, disable UFW first to avoid conflicts between the two firewall engines:
# For Ubuntu/Debian
sudo ufw disable
sudo apt update && sudo apt install firewalld -y

# For RHEL/Rocky Linux/AlmaLinux
sudo dnf install firewalld -y

# Enable service to start on boot
sudo systemctl enable --now firewalld

# Check daemon status
sudo firewall-cmd --state
Step 2: Assign Interfaces to Zones
A Zone defines the trust level of incoming traffic on a given network interface. The three most common zones include:
- drop: All incoming packets are dropped silently without sending ICMP error responses.
- public: An untrusted public area where only explicitly declared ports are accessible.
- internal / trusted: An internal area that permits traffic between systems located within the same private network range.
Check which zones are currently active on your interfaces:
sudo firewall-cmd --get-active-zonesFor example, if your server uses eth0 for its public IP and eth1 for the private subnet 10.0.0.0/24, assign them separately:
# Assign eth0 to the public zone
sudo firewall-cmd --zone=public --change-interface=eth0 --permanent

# Assign eth1 to the internal zone
sudo firewall-cmd --zone=internal --change-interface=eth1 --permanent

# Reload configuration
sudo firewall-cmd --reload
Step 3: Open Ports by Service Instead of Port Numbers
Managing ports by numeric values often leads to human error. Firewalld standardizes common application profiles into clear, structured XML definitions.
# List all predefined services supported by firewalld
sudo firewall-cmd --get-services

# Allow SSH and HTTPS services for external traffic
sudo firewall-cmd --zone=public --add-service=ssh --permanent
sudo firewall-cmd --zone=public --add-service=https --permanent

# Open a dedicated port for backend applications (e.g., port 8080)
sudo firewall-cmd --zone=public --add-port=8080/tcp --permanent

# Apply changes without dropping active connections
sudo firewall-cmd --reload
Running --reload causes firewalld to push only the delta changes into nftables/iptables, leaving your current SSH session untouched.
Step 4: Use Rich Rules to Block Malicious IPs and Secure Databases
A common operational scenario requires opening MySQL or PostgreSQL ports (3306/5432) exclusively to a designated backend server IP (such as 10.0.0.50) while blocking aggressive automated scanners. In these situations, leverage Rich Rules:
# Allow only backend IP 10.0.0.50 to access port 3306
sudo firewall-cmd --zone=public --add-rich-rule='rule family="ipv4" source address="10.0.0.50" port protocol="tcp" port="3306" accept' --permanent

# Immediately drop malicious scanner IP (e.g., 203.0.113.15)
sudo firewall-cmd --zone=public --add-rich-rule='rule family="ipv4" source address="203.0.113.15" drop' --permanent

# Reload configuration
sudo firewall-cmd --reload
Step 5: Configure Port Forwarding
To forward all external traffic on port 80 to port 8080 used by an internal Docker container:
sudo firewall-cmd --zone=public --add-forward-port=port=80:proto=tcp:toport=8080 --permanent
sudo firewall-cmd --reload
Step 6: Best Practice: Test on Runtime Before Committing to Permanent
Firewalld’s most valuable safeguard is its runtime testing mechanism. To prevent accidental lockouts:
- Execute commands without the
--permanentflag. These rules reside temporarily in RAM (Runtime). - Verify that your SSH connection and application endpoints remain reachable.
- If you make a typo or lose connectivity, wait for the timeout or log in via out-of-band console to run
sudo firewall-cmd --reload. All erroneous runtime rules in RAM will be cleared, restoring the previous stable configuration. - Once verified, commit the active rules from memory to disk using a single command:
# Save all working runtime rules from RAM to permanent storage
sudo firewall-cmd --runtime-to-permanent
This runtime-to-permanent workflow provides an essential safety net, giving administrators full confidence when modifying firewall configurations on live production servers.