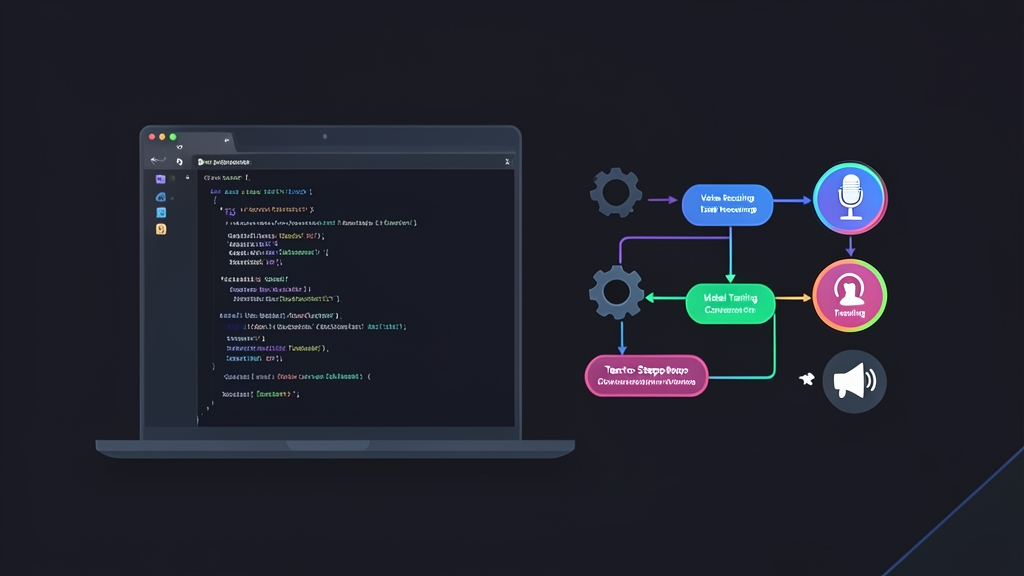
Six months ago, when our automated voiceover project for internal training videos needed to cut reliance on expensive cloud APIs like ElevenLabs, I set out to find a self-hosted solution that could run entirely on our local Linux servers. F5-TTS came along at just the right time and completely transformed our team’s audio workflow.
F5-TTS is a non-autoregressive Text-to-Speech model powered by Flow Matching. Its standout feature is zero-shot voice cloning: simply feed it a 3- to 10-second reference audio sample along with its transcript, and the system automatically mimics the speaker’s intonation, timbre, and emotion to read any new text—without spending hours fine-tuning the model.
1. Quick Start: Run F5-TTS in 5 Minutes
If your server is equipped with an NVIDIA GPU (an RTX 3060 12GB or higher is recommended, or workstation/datacenter cards like the RTX 4090 or A10G), you can spin up a test instance in just a few commands.
Set Up the Python Environment
First, create an isolated environment using Conda or virtualenv to prevent CUDA library conflicts:
# Create and activate a conda environment with Python 3.10
conda create -n f5-tts python=3.10 -y
conda activate f5-tts

# Install PyTorch compatible with your system's CUDA version (e.g., CUDA 12.1)
pip install torch torchvision torchaudio --index-url https://download.pytorch.org/whl/cu121
Install F5-TTS from PyPI
# Install the f5-tts package directly
pip install f5-tts
Test via the CLI
Prepare a short reference audio file (in .wav format) of about 5 seconds, say voice_sample.wav, where you know the exact transcript of what is spoken. Then run the following command:
f5-tts_infer-cli \
  --ref_audio "voice_sample.wav" \
  --ref_text "Hello, this is the initial reference voice sample." \
  --gen_text "The F5-TTS system is running directly on a Linux server, and the output sound is remarkably natural." \
  --output_dir "./output"
After a few seconds of processing, the generated audio will appear in the ./output directory. If you prefer a visual web interface to quickly test different voices, just run:
f5-tts_infer-gradio --port 7860 --host 0.0.0.0Open http://SERVER_IP:7860 in your browser, and you will have a mini voiceover studio running 100% offline.
2. How F5-TTS Works Under the Hood
To ensure smooth operation and deeper customization, it helps to understand how F5-TTS processes audio data under the hood.
Flow Matching vs. Traditional Diffusion
Historically, generative audio models relied primarily on autoregressive architectures (such as Tortoise-TTS) or pure diffusion models. The drawback of autoregressive models is their slow inference speed, as they must generate audio frame by frame sequentially. On the other hand, diffusion models require numerous denoising steps, putting heavy strain on the GPU.
F5-TTS adopts Flow Matching paired with a ConvNeXt V2 (or DiT) architecture. Instead of predicting the probability of individual audio tokens or simulating stochastic diffusion, Flow Matching learns a vector field that maps the noise distribution directly to the target acoustic features along straight trajectories. As a result, the model requires only 16 to 32 ODE solver steps to synthesize crisp audio, reducing latency by 4x to 5x compared to older TTS generations.
The Zero-Shot Voice Cloning Mechanism
The voice cloning process consists of three core steps:
- Feature Extraction: The reference audio is converted into a mel-spectrogram to capture pitch, timbre, and acoustic environment characteristics.
- In-Context Alignment: The reference text and target text are concatenated. The model leverages the relationship between the reference audio and text to infer how the new text should be pronounced.
- Audio Reconstruction: Once the vector field is computed, a vocoder (Vocos by default) reconstructs it into a standard PCM waveform (24kHz WAV).
3. Advanced Integration with Python Scripts
In production environments, rather than relying on the Gradio UI, you will typically call the model directly via Python scripts to handle batch processing or integrate it into a REST API.
Sample Code: Batch Audio Generation Pipeline
import os
import torchaudio
from f5_tts.model import DiT
from f5_tts.infer.utils_infer import load_model, infer_process

# Initialize model checkpoint paths
CKPT_PATH = "model_1200000.safetensors"
VOC_MODEL_NAME = "vocos"

# Load model onto GPU
device = "cuda" if torch.cuda.is_available() else "cpu"
model = load_model(DiT, dict(dim=1024, depth=22, heads=16, ff_mult=2, text_dim=512), CKPT_PATH, device=device)

def generate_voice(ref_audio_path, ref_text, target_text, output_path):
    print(f"Processing: {target_text[:30]}...")

    wav, sr, _ = infer_process(
        ref_audio_path,
        ref_text,
        target_text,
        model,
        vocoder_name=VOC_MODEL_NAME,
        device=device,
        nfe_step=32,  # Number of ODE solver steps; 32 is the sweet spot
        speed=1.0
    )

    torchaudio.save(output_path, wav, sr)
    print(f"Saved: {output_path}")

if __name__ == "__main__":
    ref_audio = "samples/lead_voice.wav"
    ref_text = "Hello and welcome, thank you for reaching out to support."

    tasks = [
        ("Your order has been successfully packaged.", "out1.wav"),
        ("The courier is scheduled to deliver your package this afternoon.", "out2.wav"),
    ]

    for text, filename in tasks:
        generate_voice(ref_audio, ref_text, text, os.path.join("output", filename))
The code above loads the model into VRAM only once, avoiding the costly overhead of reloading the checkpoint for every request during batch processing.
4. Practical Tips After 6 Months in Production
Moving from a proof-of-concept to a reliable production service invariably uncovers issues not covered in the standard docs. Here are the hard-earned lessons our team learned along the way:
Clean Up Background Noise in Reference Audio
The quality of your reference sample accounts for 80% of how natural the cloned voice will sound. F5-TTS picks up everything—heavy breathing, room reverb, and microphone hiss. Before passing any audio as a reference, run it through a denoiser or vocal isolation tool like demucs or deepfilternet to obtain a clean, isolated vocal track.
Sentence Chunking and Text Length
The model performs best with sentences between 10 and 25 words long. Avoid feeding an entire 200-word paragraph in a single inference call. Instead, write a simple regex function to split the text by periods and commas, generate short WAV segments individually, and stitch them back together using pydub with a 200ms pause between sentences.
GPU Resource Optimization
Here is what proved rock-solid in our production environment: always enable bfloat16 or fp16 alongside FlashAttention-2. This cuts VRAM usage from around 9GB down to just 4.2GB while boosting generation speed by nearly 35%. This optimization allows you to run 2 to 3 concurrent inference streams on a budget 12GB RTX 3060 without ever triggering a CUDA Out-of-Memory error.
Normalize Input Text
F5-TTS handles standard Latin text gracefully, but numbers (such as currency values), dates (“11/20/2026”), and tech acronyms (“API”, “K8s”) should undergo text normalization into spoken words before being passed to the model to avoid mispronunciations or unnatural pauses.