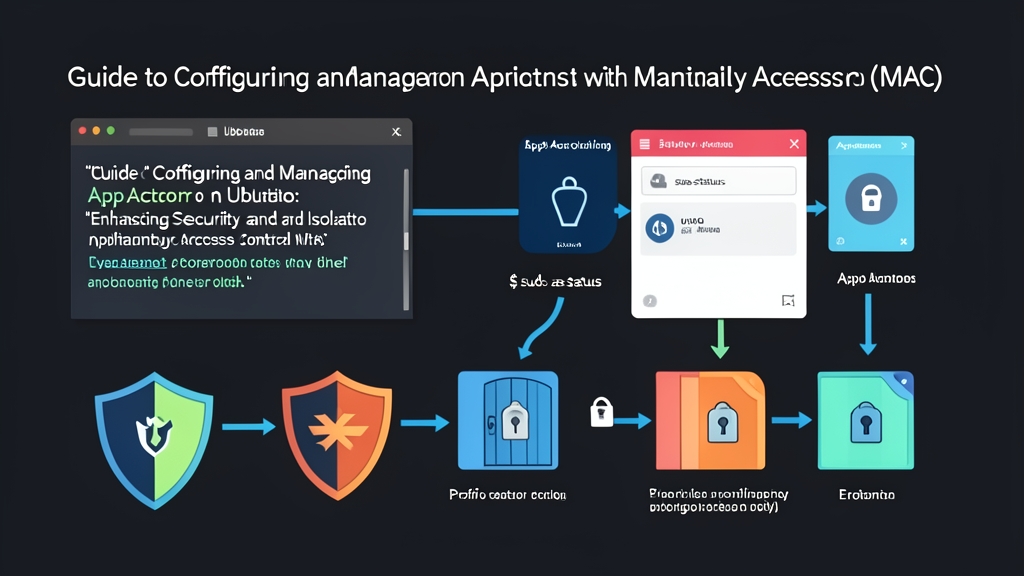
Comparing Process Isolation Methods on Linux
Most server data breaches start with a Remote Code Execution (RCE) vulnerability. Traditional Discretionary Access Control (DAC) mechanisms relying on chmod and chown expose critical weaknesses: once a process running as root is compromised, an attacker gains complete control of the server.
The three most common approaches today are:
- SELinux (Security-Enhanced Linux): A comprehensive MAC mechanism developed by the NSA that assigns labels to every inode, process, and socket. It is the standardized default on RHEL/CentOS.
- AppArmor (Application Armor): A path-based MAC mechanism that comes pre-installed and enabled by default on Ubuntu and SUSE.
- Container Isolation (Docker/Podman): Packages applications inside isolated namespaces and cgroups.
Practical Pros and Cons of Each Approach
1. SELinux: Multi-Layered Security, Complex Configuration
SELinux strictly governs every kernel syscall. However, its binary labeling system makes debugging notoriously time-consuming. Merely copying a web asset using rsync without running restorecon -R will cause Nginx to immediately throw an HTTP 403 Forbidden error—even if permissions are properly set to chmod 755.
2. Containerization: Convenient Packaging, Not a Substitute for Host-Level Security
Docker streamlines deployment environments quickly, but containers share the host’s kernel. When container breakout vulnerabilities arise—such as runC flaws (CVE-2019-5736 or CVE-2024-21626)—attackers can escape the container and take over the underlying host node.
3. AppArmor: Intuitive, Low Overhead, and Easy to Maintain
Unlike SELinux, AppArmor binds access privileges directly to binary file paths (e.g., /usr/sbin/nginx). Profiles use plain text syntax, making them easy to read, understand, and tweak without memorizing intricate security label tables. In practice, AppArmor introduces minimal latency, typically adding less than 1.5% CPU overhead.
When Should You Enable AppArmor on Ubuntu?
You should immediately leverage AppArmor in scenarios such as:
- Protecting Internet-facing services: Nginx, PHP-FPM, MySQL, BIND9.
- Locking down service boundaries to prevent processes from reading
/etc/shadow, writing to/tmp, or spawning a/bin/bashshell if a web shell is uploaded. - Implementing a Zero-Trust security model on bare-metal servers without disrupting production workloads.
Hands-On Steps to Deploy AppArmor
1. Check Status and Install Essential Utilities
AppArmor is enabled by default on Ubuntu 20.04/22.04/24.04 LTS. Verify its active status:
sudo aa-statusThe output shows the number of profiles running in enforce mode (blocking violations) and complain mode (logging warnings only). Install the profile generation utilities:
sudo apt update && sudo apt install -y apparmor-utils apparmor-profiles2. Golden Rule: Run in Complain Mode Before Enforce Mode
Never switch directly to Enforce mode in a live environment. Allow your application to run in Complain mode for at least 24 to 48 hours to capture all recurring operational behaviors:
- Complain mode: The system allows processes to execute normally even when rules are violated, logging audit events in the background.
- Enforce mode: Strictly blocks any action not explicitly permitted in the profile.
Commands to toggle modes for a specific service:
# Switch to complain (monitoring) mode
sudo aa-complain /usr/sbin/mysqld

# Lock down to enforce mode
sudo aa-enforce /usr/sbin/mysqld
3. Automatically Generate New Profiles with aa-genprof
Suppose you need to secure a Go or Python API located at /usr/local/bin/payment-api. Rather than writing a profile from scratch, let aa-genprof profile the application’s behavior:
sudo aa-genprof /usr/local/bin/payment-apiKeep that terminal open. In a separate terminal window, execute standard test workflows: send HTTP requests, trigger database read/writes, and generate logs. Return to the terminal running aa-genprof and press S to scan the audit logs. The wizard will prompt you to assign permissions for each accessed resource:
(A)llow: Permit access to the file or socket.(D)eny: Explicitly deny access.(G)lob: Match and permit using wildcards (e.g.,/var/log/payment/*.log).
Press F (Finish) to save the profile to /etc/apparmor.d/.
4. Anatomy of a Standard AppArmor Profile
All AppArmor rules reside in /etc/apparmor.d/. Below is a simplified, standard profile for securing Nginx:
#include <tunables/global>

/usr/sbin/nginx {
  #include <abstractions/base>
  #include <abstractions/nameservice>
  #include <abstractions/ssl_certs>

  # Main binary execution permissions
  /usr/sbin/nginx mr,

  # Allow read-only access to configuration and SSL certs
  /etc/nginx/** r,
  /etc/ssl/certs/** r,

  # Restrict logging and cache write access
  /var/log/nginx/* w,
  /var/cache/nginx/** rw,

  # Prevent shell execution if the web server is compromised
  deny /bin/sh mrpx,
  deny /bin/bash mrpx,
  deny /bin/dash mrpx,
  deny /usr/bin/python* mrpx,
}
Common permission flags explained:
r: Read permission.w: Write or create file permission.m: Memory map binary (required for shared libraries like.so).k: File locking (commonly required for databases and PID files).px: Execute under a separate, discrete AppArmor profile.deny: Explicit deny rule, which always takes precedence over allow rules.
5. Reload Configurations into the Linux Kernel
After modifying profile files in /etc/apparmor.d/, reload them into the kernel:
# Reload a specific profile
sudo apparmor_parser -r /etc/apparmor.d/usr.sbin.nginx

# Or reload the entire AppArmor service
sudo systemctl reload apparmor
6. Troubleshooting False Positives
Encountering a 500 Internal Server Error or Permission denied even after setting chmod 777? AppArmor likely blocked an unprivileged syscall. Inspect the kernel logs immediately:
sudo dmesg -T | grep -i apparmor

# Or filter denied events specifically via journalctl:
sudo journalctl -k -g "apparmor=\"DENIED\"" -n 50
To automatically grant missing permissions based on audit logs without editing files manually, use aa-logprof:
sudo aa-logprofThis tool analyzes recent violation logs. Simply press A (Allow) to whitelist authorized operations; the profile updates and applies instantly without requiring a service restart.