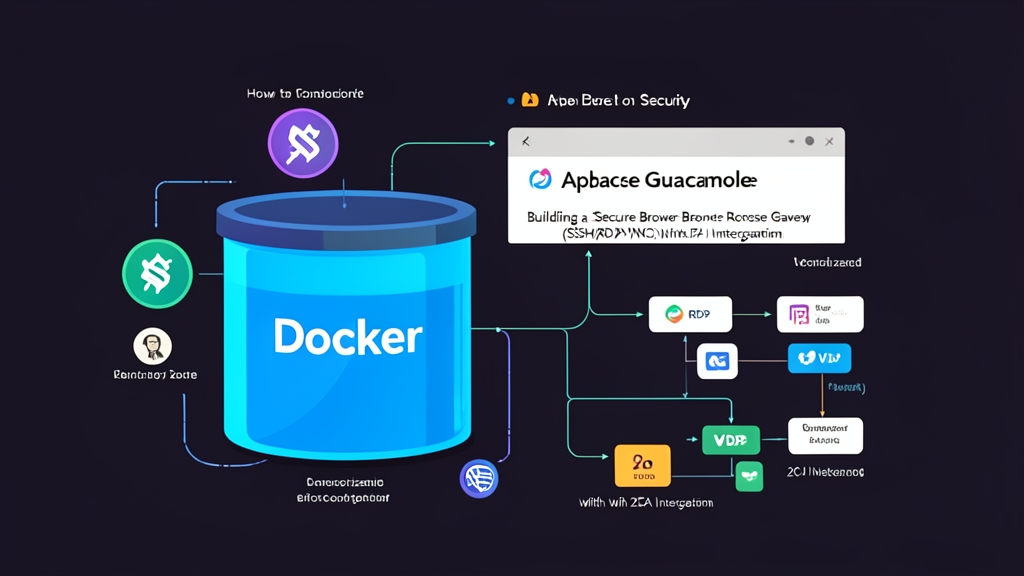
Comparing Remote Server Administration Methods
Managing internal server clusters or cloud VPS fleets always poses connectivity architecture challenges. In production environments, DevOps engineers and sysadmins typically evaluate three main approaches:
- Approach 1: Exposing SSH (port 22) and RDP (port 3389) directly to the Internet. This is the fastest method to implement. You simply configure port forwarding on your router or open up a security group rule (0.0.0.0/0), then connect directly to the server’s public IP using PuTTY or Remote Desktop.
- Approach 2: Setting up an internal VPN gateway (WireGuard or OpenVPN). All traffic routes through an encrypted tunnel. Engineers launch a VPN client, import a certificate profile (.ovpn or .conf), and only then access the servers’ private IP range.
- Approach 3: Deploying a clientless remote gateway (Apache Guacamole). All SSH, VNC, and RDP sessions are consolidated into a single HTML5 web portal. Engineers simply open their browser and authenticate via two-factor authentication (2FA)—no dedicated software required on client devices.
Pros and Cons: A Detailed Comparison
The comparison table below highlights the key differences across these three architectures:
| Criteria | Direct Port Exposure | VPN Access | Apache Guacamole Gateway |
|---|---|---|---|
| Setup Complexity | Very low (requires only NAT or firewall rules) | Moderate (requires key and certificate management) | Moderate (quick deployment with Docker Compose) |
| Endpoint Requirements | Requires client software (PuTTY, Remmina, MobaXterm) | Requires VPN client app plus remote desktop software | Any modern web browser (HTML5) |
| Attack Surface | Extremely large; constantly scanned by botnets | Narrow; hides all servers behind the VPN | Minimal; exposes only a single HTTPS endpoint |
| Logging & Auditing | Fragmented across individual servers | Limited to IP/timestamp connection metadata | Full session recording (video playback) |
Back in 2021, one of my staging VPS instances crashed at 2 AM due to a brute-force attack. I had been complacent, simply moving SSH to port 22022 and relying on a 14-character password. Overnight, botnets hammered the server with more than 400,000 login attempts. The auth.log file ballooned to over 12 GB, pegging the dual-core CPU at 100% and completely freezing the system. Exposing ports directly to the public Internet is practically an open invitation to attackers.
A VPN offers solid security, but it requires client-side software and pre-loaded configuration profiles on every device. Imagine you are traveling, your laptop battery dies, and you only have a borrowed iPad on hand. Trying to configure WireGuard or OpenVPN just to hotfix an urgent production crash can be an absolute nightmare.
When Should You Choose Apache Guacamole?
Guacamole shines brightest in the following operational scenarios:
- Bring Your Own Device (BYOD) flexibility: Engineers can jump on an iPad, Chromebook, or public workstation to troubleshoot incidents directly in Chrome, Safari, or Firefox without leaving behind local configuration files or keys.
- Secure bastion host architecture: All database and application servers remain in private subnets (e.g., 10.0.x.x) and only accept incoming connections from the Guacamole server’s IP. No backend node needs a public IP address.
- Multi-factor security with TOTP: Built-in two-factor authentication via Google Authenticator or Aegis. Even if credentials are compromised, attackers cannot bypass the time-based OTP challenge.
- Audit trails and contractor access: Guacamole supports real-time screen sharing (view-only or collaborative control) and can automatically record session video and keystrokes for compliance and security audits.
How to Deploy Apache Guacamole with Docker
The deployment consists of three independent services: guacd (the proxy daemon translating SSH/RDP protocols into WebSockets), guacamole (the Java-based web application), and PostgreSQL (storing users, permissions, and session logs).
Step 1: Set Up Directory Structure
SSH into your Ubuntu server and create a directory for the project:
mkdir -p /opt/guacamole/initdb
cd /opt/guacamole
Step 2: Generate PostgreSQL Database Initialization Script
Guacamole does not automatically generate database schemas on first launch. You need to export the official SQL schema from the container image using the following command:
docker run --rm guacamole/guacamole /opt/guacamole/bin/initdb.sh --postgresql > /opt/guacamole/initdb/01-initdb.sqlVerify the generated file’s size. A valid 01-initdb.sql file is typically around 40 KB to 50 KB and contains the complete set of CREATE TABLE statements.
Step 3: Create the docker-compose.yml File
Create the configuration file at /opt/guacamole/docker-compose.yml:
nano docker-compose.ymlPaste the optimized configuration below. Be sure to replace StrongGuacPassword2026! with your own secure random password (20+ characters recommended):
version: '3.8'

services:
  guacd:
    image: guacamole/guacd:latest
    container_name: guacd
    restart: always
    networks:
      - guac_net

  guacamole-db:
    image: postgres:15-alpine
    container_name: guac-postgres
    restart: always
    environment:
      POSTGRES_DB: guacamole_db
      POSTGRES_USER: guacamole_user
      POSTGRES_PASSWORD: StrongGuacPassword2026!
    volumes:
      - ./initdb:/docker-entrypoint-initdb.d:ro
      - postgres_data:/var/lib/postgresql/data
    networks:
      - guac_net

  guacamole:
    image: guacamole/guacamole:latest
    container_name: guac-web
    restart: always
    depends_on:
      - guacd
      - guacamole-db
    environment:
      GUACD_HOSTNAME: guacd
      POSTGRESQL_HOSTNAME: guacamole-db
      POSTGRESQL_DATABASE: guacamole_db
      POSTGRESQL_USER: guacamole_user
      POSTGRESQL_PASSWORD: StrongGuacPassword2026!
      # Enable two-factor authentication (2FA TOTP)
      TOTP_ENABLED: "true"
      TOTP_ISSUER: "ITFromZero-Gateway"
      TOTP_DIGITS: 6
      TOTP_PERIOD: 30
    ports:
      - "127.0.0.1:8080:8080"
    networks:
      - guac_net

networks:
  guac_net:
    driver: bridge

volumes:
  postgres_data:
Step 4: Launch the Services and Check Logs
Start the container stack in detached mode:
docker compose up -dFollow the web application logs in real time:
docker compose logs -f guacamoleWait about 20 to 30 seconds. Once Tomcat logs Server startup in [x] milliseconds, the system is ready to accept connections.
Step 5: Initial Login and 2FA Activation
- Open your browser and navigate to:
http://<SERVER_IP>:8080/guacamole/(be sure to include the trailing/guacamole/path). - Default login credentials: Username:
guacadmin| Password:guacadmin. - You will be redirected immediately to the TOTP setup screen displaying a QR code. Open Google Authenticator or Aegis, scan the code, and enter the 6-digit verification code to complete sign-in.
Step 6: Create a New User and Configure a Sample SSH Session
Using the default guacadmin root account for everyday tasks is a security risk. Create a dedicated user account instead:
- Click your username in the top right corner > select Settings > go to the Users tab > click New User.
- Fill in the new username, a secure password, and appropriate permissions.
- Switch to the Connections tab > click New Connection to configure your target server:
- Name:
Internal-Ubuntu-Prod - Protocol:
SSH - Under Parameters > Network: enter the
Hostname(internal IP such as10.0.1.15) andPort(22). - Under Authentication: paste the target server’s
Private Keyif you want passwordless automated login.
- Name:
- Click Save. Log out of the admin account, log in with your newly created user, and click the connection to access a smooth Linux terminal directly within your browser tab.
Critical Production Security Hardening
To safeguard your gateway from threats on the public Internet, strictly adhere to these three security essentials:
- Lock down port 8080 and enforce HTTPS via a reverse proxy: Notice that the Compose file above binds the port to
127.0.0.1:8080, preventing direct external access. Put Nginx, Caddy, or Cloudflare Tunnel in front with a Let’s Encrypt SSL/TLS certificate. Running over plain HTTP risks password keystrokes being intercepted in clear text. - Disable or change the password for the guacadmin user: Once your personal administrative account is set up, immediately change the
guacadminpassword to a random 30-character string or revoke its administrative privileges. Botnets aggressively scan exposed Guacamole endpoints looking for these default credentials. - Configure inactivity timeouts and bandwidth limits: Set an automatic session timeout (e.g., 15–30 minutes of inactivity) in the connection parameters. This mitigates unauthorized access if an engineer leaves their workstation unattended in a public space.