Last month I wrapped up a pretty nasty incident: a client’s e-commerce website had its entire database dumped by an attacker exploiting an SQL injection vulnerability. The Nginx server was running fine, UFW firewall was fully enabled — and yet it still happened. The reason was frustratingly simple: neither of those things actually “understands” that an HTTP request can carry a malicious payload inside it.
The Real Problem: Why Websites Still Get Attacked Even With a Firewall?
After auditing security on 10+ servers, I noticed they all shared the same blind spot: UFW enabled, fail2ban running, SSH port changed — but nothing inspecting HTTP content. That’s the most dangerous gap, and most people overlook it.
Think of it this way: a network firewall is like a building security guard at the front door — they only check whether you have a valid access card (correct IP, correct port). But they don’t open your bag to check what you’re bringing inside. An attacker can walk right in through port 80/443 with a perfectly valid request, then stuff a payload like '; DROP TABLE users; -- into a URL parameter.
Common attack types that network firewalls are completely powerless against:
- SQL Injection — injecting SQL code into forms or URLs to access or delete the database
- Cross-Site Scripting (XSS) — injecting malicious scripts into pages to steal user cookies
- Path Traversal — reading system files outside the web directory (
../../etc/passwd) - Remote File Inclusion (RFI) — loading and executing files from an external server
Root Cause Analysis: Missing an Application-Layer Control
The traditional security model only has two layers: a network firewall and application code. When the code has vulnerabilities — and virtually all code does — there’s nothing to stop an attack before it reaches the database.
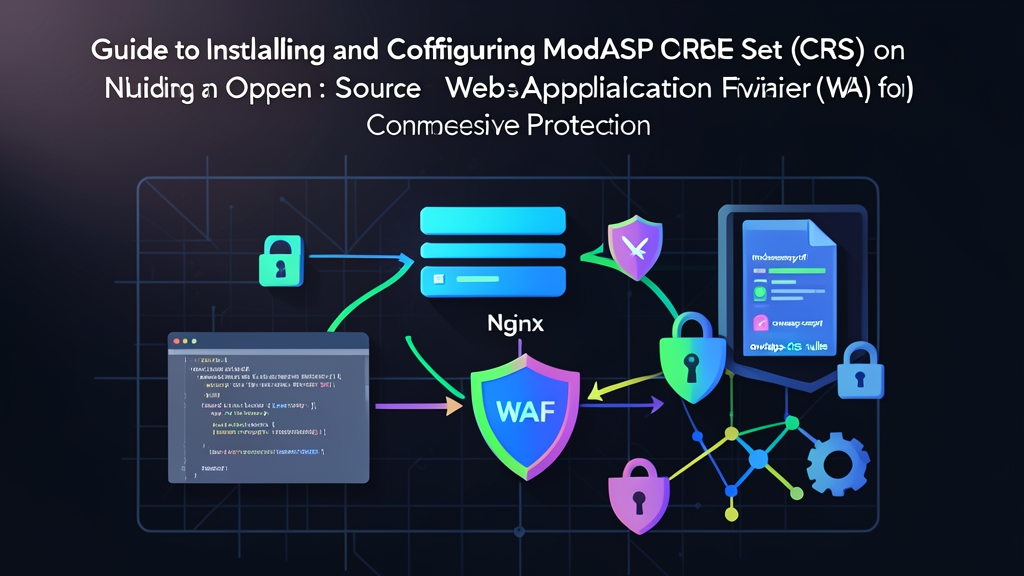
A Web Application Firewall (WAF) fills exactly that gap. It sits between users and the application, reads every HTTP request, compares it against a ruleset, and blocks anything that looks malicious before the request ever reaches your code.
The most practical benefit: a WAF doesn’t require an immediate code fix. Even if the application still has an SQL injection vulnerability, the WAF will block the payload before it causes damage — buying you time to fix it properly instead of patching things in a panic at 2 AM.
Your Options: Which WAF Should You Choose?
I’ve personally tried all three approaches, and here’s my honest take:
1. Cloud WAF (Cloudflare, AWS WAF, Sucuri) — easy to enable, no server configuration needed, but costs money ($20–$200/month depending on plan), request data passes through a third party, and you’re locked into the provider.
2. Commercial WAF hardware/software — F5, Imperva, Fortiweb. Powerful but enterprise-priced, not suitable for personal VPS or small startups.
3. Self-hosted ModSecurity + OWASP CRS — completely free, runs directly on the Nginx server, full control. This is what I use on most servers after trying all three options above.
ModSecurity is an open-source WAF engine that runs as a module inside Nginx. The OWASP Core Rule Set (CRS) is a ruleset maintained by the global security community — currently over 10,000 rules, continuously updated to cover the latest bypass techniques.
Installing ModSecurity + OWASP CRS on Nginx (Ubuntu 22.04)
Step 1: Install ModSecurity and the Nginx Module
sudo apt update
sudo apt install -y nginx libnginx-mod-security2 git
After installation, enable the module in Nginx:
# Check if the module is already present
ls /etc/nginx/modules-enabled/ | grep security

# If the symbolic link doesn't exist, create it manually
sudo ln -s /usr/share/nginx/modules-available/mod-http-modsecurity.conf \
  /etc/nginx/modules-enabled/50-mod-http-modsecurity.conf
Step 2: Basic ModSecurity Configuration
# Copy the sample configuration file
sudo cp /etc/nginx/modsecurity.conf-recommended /etc/nginx/modsecurity.conf

# Enable blocking mode (default is DetectionOnly — log only, no blocking)
sudo sed -i 's/SecRuleEngine DetectionOnly/SecRuleEngine On/' /etc/nginx/modsecurity.conf
Note: On first deployment, I recommend leaving it in DetectionOnly for a week to check for false positives, then switching to On. Toggle between modes like this:
# Log-only mode (safe for initial setup)
SecRuleEngine DetectionOnly

# Actual blocking mode
SecRuleEngine On
Step 3: Download and Configure OWASP CRS
# Download the latest OWASP CRS
cd /etc/nginx
sudo git clone https://github.com/coreruleset/coreruleset.git modsecurity-crs

# Create the configuration file from the template
sudo cp /etc/nginx/modsecurity-crs/crs-setup.conf.example \
  /etc/nginx/modsecurity-crs/crs-setup.conf

# Create the combined include file
sudo mkdir -p /etc/nginx/modsec
sudo tee /etc/nginx/modsec/main.conf <<'EOF'
Include /etc/nginx/modsecurity.conf
Include /etc/nginx/modsecurity-crs/crs-setup.conf
Include /etc/nginx/modsecurity-crs/rules/*.conf
EOF
Step 4: Enable the WAF in Your Nginx Configuration
Add the following to each server block you want to protect in /etc/nginx/sites-available/your-site.conf:
server {
    listen 80;
    server_name example.com;

    # Enable ModSecurity for this server block
    modsecurity on;
    modsecurity_rules_file /etc/nginx/modsec/main.conf;

    location / {
        proxy_pass http://127.0.0.1:8080;
        proxy_set_header Host $host;
        proxy_set_header X-Real-IP $remote_addr;
    }
}
# Test config before reloading
sudo nginx -t
# Reload Nginx
sudo systemctl reload nginxTesting That the WAF Is Working Correctly
Once installed, test it immediately by sending some classic attack payloads:
# Test SQL Injection
curl -v "http://your-server/?id=1'%20OR%20'1'='1"
# Expected: HTTP 403 Forbidden

# Test XSS
curl -v "http://your-server/?q=<script>alert(1)</script>"
# Expected: HTTP 403 Forbidden

# Test Path Traversal
curl -v "http://your-server/?file=../../etc/passwd"
# Expected: HTTP 403 Forbidden
Check the logs to monitor blocked requests:
# ModSecurity logs are written to Nginx's error log
sudo tail -f /var/log/nginx/error.log | grep -i modsecurity

# Or view the dedicated audit log
sudo tail -f /var/log/modsec_audit.log
Handling False Positives: When the WAF Blocks the Wrong Thing
False positives are the most frustrating part of a fresh deployment. I once ran into a case where a WordPress editor form was getting blocked because a blog post contained HTML code snippets — CRS mistakenly flagged it as XSS.
The fix: disable the specific rule causing the false positive, not the entire CRS. Add the following to /etc/nginx/modsec/main.conf before the rules include line:
# Disable a specific rule by ID (find the ID in the error log)
SecRuleRemoveById 941100 941110

# Or whitelist a specific path
SecRule REQUEST_URI "@beginsWith /wp-admin/post.php" \
  "id:1000,phase:1,pass,nolog,ctl:ruleRemoveById=941100"
My usual process: run DetectionOnly for a week, export the logs, filter for the rule IDs that fire most often on real traffic, then assess each one to determine whether it’s a genuine attack. For sites without complex editor forms, the false positive rate is typically under 1%.
Key Things to Keep in Mind During Operation
- Update CRS regularly — OWASP releases new rulesets frequently to patch emerging bypasses. Run
git pullin the/etc/nginx/modsecurity-crsdirectory, then reload Nginx. - Monitor performance — ModSecurity consumes CPU because it must parse every request. On small servers (<2 vCPU), watch the load after enabling it.
- Combine with fail2ban — parse ModSecurity logs to ban IPs during persistent attack attempts, rather than just returning 403 each time.
- Back up your config before making changes — I once accidentally misconfigured main.conf and took the entire site down with 403s, costing 20 minutes to restore from backup.
ModSecurity + OWASP CRS is not a silver bullet — you still need to patch code, update dependencies, and run regular audits. But at zero cost and a few hours of setup, you gain a real defensive layer before you’ve had time to fix every vulnerable line of code in your application. For me, that’s more than enough reason to install it on every server.