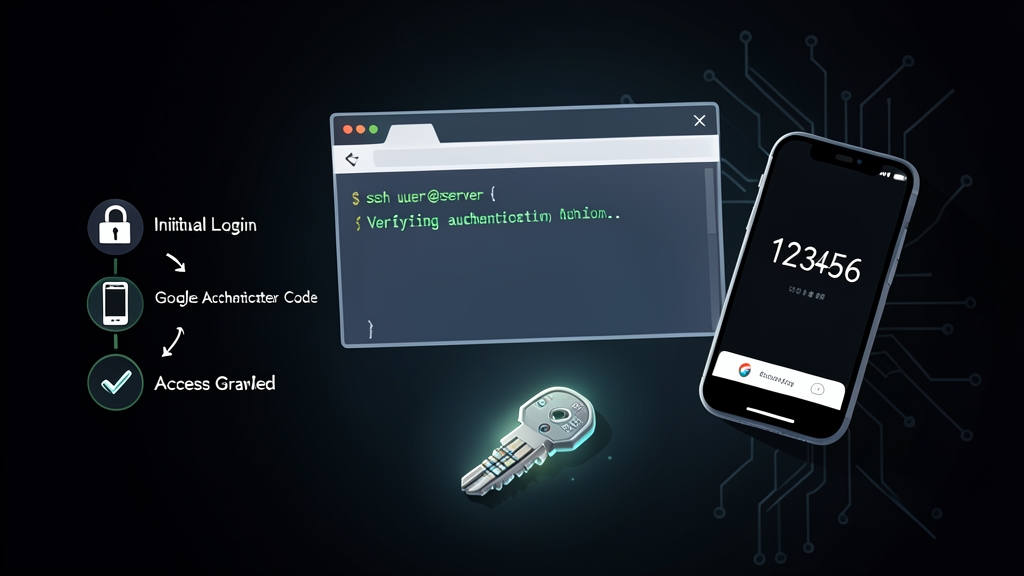
Quick start: Enable 2FA for SSH in 5 minutes
Need to tighten security quickly on your staging or production servers without wading through lengthy theory? Here are 4 quick steps for Ubuntu/Debian.
Step 1: Install the Google Authenticator PAM module
sudo apt update
sudo apt install -y libpam-google-authenticator
(For CentOS Stream, RHEL, or AlmaLinux, enable the EPEL repository first: sudo dnf install -y epel-release && sudo dnf install -y google-authenticator)
Step 2: Generate the secret key and save recovery codes
Run the configuration command directly as the regular user you use for SSH (avoid running as root):
google-authenticator
The terminal will prompt you with several questions; choose the following options:
Do you want authentication tokens to be time-based (y/n): y- Open the Google Authenticator, 2FAS, or Bitwarden app on your phone and scan the QR code displayed on the screen.
- SAVE IMMEDIATELY the 5 eight-digit emergency scratch codes into 1Password, Bitwarden, or your internal vault. If you lose your phone, these are the only keys that will save you.
Do you want me to update your "~/.google_authenticator" file? (y/n): yDo you want to disallow multiple uses of the same authentication token? (y/n): y (prevents replay attacks).By default, a new token is generated every 30 seconds... Increase window? (y/n): n (choose y if your server clock frequently suffers from drift).Do you want to enable rate-limiting? (y/n): y (limits to a maximum of 3 login attempts every 30 seconds).
Step 3: Configure PAM (Pluggable Authentication Module)
Open the PAM configuration file for SSH:
sudo nano /etc/pam.d/sshd
Add the following directive to the end of the file:
auth required pam_google_authenticator.so nullok
The nullok flag allows users who have not generated an OTP yet to log in via SSH normally. Without this flag, your teammates would be locked out immediately.
Step 4: Update the SSH daemon and restart the service
Open the SSH server configuration file:
sudo nano /etc/ssh/sshd_config
Check and enable the following two parameters (uncomment them by removing # if necessary):
KbdInteractiveAuthentication yes
UsePAM yes
Note: On older distributions (such as Ubuntu 20.04 and earlier), this directive is named ChallengeResponseAuthentication yes.
Test the configuration syntax before reloading the service:
sudo sshd -t
sudo systemctl restart sshd
Crucial warning: Keep your current SSH session open! Open a new terminal tab and attempt to SSH in to verify that it prompts for a Verification code. Only close the initial tab once you confirm everything works smoothly.
Under the hood: How it works
How SSH and PAM handshake
OpenSSH does not verify OTP codes directly. Instead, it delegates identity authentication entirely to PAM. The workflow proceeds as follows:
- The client sends an SSH request to the server.
sshdinspects its configuration; seeingKbdInteractiveAuthenticationenabled, it hands over authentication to the PAM stack defined in/etc/pam.d/sshd.- PAM invokes the
pam_google_authenticator.somodule. - The module reads the secret key stored in
~/.google_authenticatorin the user’s home directory and applies the TOTP algorithm (RFC 6238). - The server computes the expected OTP based on the current timestamp and matches it against the 6 digits you entered. If they match, the session is granted.
Why SSH keys alone aren’t bulletproof
Many developers assume: “With Ed25519 or 4096-bit RSA SSH keys, brute-forcing is practically impossible—why bother with 2FA?”
The issue is rarely the cryptographic strength of the algorithm. The real vulnerability lies on your local workstation. An infostealer infecting your laptop, accidentally committing a private key to a public repository, or backing up unencrypted keys to cloud storage can compromise your servers instantly. In those scenarios, 2FA serves as a critical second barrier. An attacker with your private key will still be stopped in their tracks without physical access to your phone and its 30-second OTP.
Advanced configuration: Require BOTH an SSH key AND 2FA
By default, when OpenSSH finds a valid SSH key, it grants access immediately without prompting for an OTP. To enforce strict security policies—requiring a valid SSH key AND the correct 6-digit OTP—we need to configure sequential multi-factor authentication.
Open /etc/ssh/sshd_config:
sudo nano /etc/ssh/sshd_config
Specify the sequential authentication methods at the end of the file:
AuthenticationMethods publickey,keyboard-interactive
This configuration mandates that the client must first authenticate with an SSH key before moving on to the OTP verification prompt.
Next, adjust /etc/pam.d/sshd to bypass the standard Linux account password prompt:
sudo nano /etc/pam.d/sshd
Comment out @include common-auth (or auth substack password-auth on RHEL/AlmaLinux) with a #:
# @include common-auth
auth required pam_google_authenticator.so
The login experience is now completely frictionless: Run your SSH command → The server verifies the private key → The terminal prompts for Verification code: → Enter the 6 digits and land straight in your shell without ever entering your Linux account password.
Battle-tested tips from real production rollouts
After rolling out 2FA across a team of more than 30 engineers, here are 4 crucial lessons learned in production:
1. Time synchronization (NTP) is non-negotiable
TOTP tokens rely on rigid 30-second time windows. If your server clock drifts by more than 30 seconds from UTC, every OTP generated by the app will be rejected regardless of accuracy. Always verify your time synchronization service first:
timedatectl status
Only proceed when you confirm that NTP service: active and System clock synchronized: yes.
2. Keep the nullok flag for at least one week during rollout
Do not remove the nullok flag on day one. Keep auth required pam_google_authenticator.so nullok active for about 7 days. This grace period gives team members time to SSH in and configure their OTP tokens without interrupting daily operations. Once you verify that every user directory in /home/ has a configuration file, remove nullok to enforce 2FA strictly across the board.
3. Bypass 2FA for office subnets or internal VPNs
Prompting developers for an OTP dozens of times a day causes fatigue and leads to bypass workarounds. If your organization uses dedicated static IPs or an internal VPN (such as WireGuard or Tailscale), whitelist those networks. Append the following block to the end of /etc/ssh/sshd_config:
Match Address 192.168.1.0/24,10.8.0.0/24
    AuthenticationMethods publickey

Match Address *
    AuthenticationMethods publickey,keyboard-interactive
Working from the office or connected to the VPN: Authenticate instantly with just an SSH key. Working from a coffee shop or connecting from an unknown IP: The system immediately enforces the OTP prompt.
4. Store emergency scratch codes systematically
Every setup run outputs exactly 5 single-use emergency scratch codes. Make it mandatory for team members to store them immediately in the company password vault. When a phone gets dropped in water or replaced before exporting 2FA profiles, these five short backup codes will save you from having to open a cloud console just to mount a rescue disk.