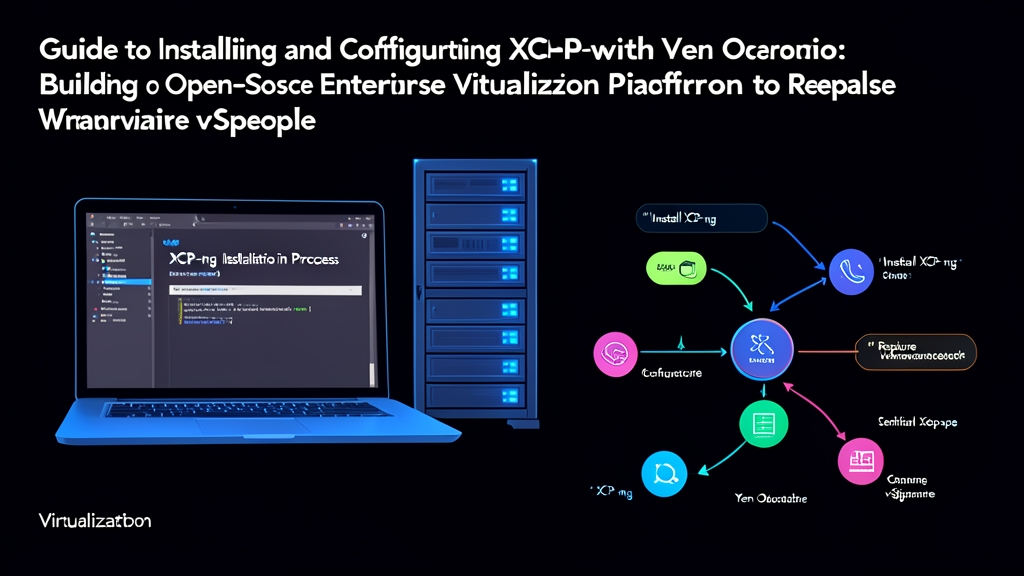
Background & Why Migrate to XCP-ng
At exactly 2:00 AM, PagerDuty blared incessantly. An ESXi host in a 6-node production cluster lost contact with vCenter. Four MySQL database virtual machines exceeding 800 GB were instantly isolated. At that exact moment, leadership demanded a 40% reduction in infrastructure costs following VMware’s shift to per-core subscription licensing. Staring at a frozen vSphere Client screen caused by a SCSI reservation conflict on the SAN, the on-call team was pushed to the brink.
At homelab scale, Proxmox VE is a fantastic solution. I once ran a smooth 3-node cluster hosting 20 VMs. However, enterprise workloads with 150+ VMs demand far stricter standards: granular RBAC, seamless multi-host live migration, and snapshot-based delta backups. Proxmox often requires sysadmins to rely heavily on custom manual scripts. The combination of XCP-ng (an open-source hypervisor based on XenServer) and Xen Orchestra (XO) emerges as the definitive drop-in replacement for the ESXi + vCenter stack.
Architecturally, XCP-ng acts as a Type-1 Hypervisor running directly on bare metal (equivalent to ESXi). Xen Orchestra serves as the centralized web management console (equivalent to vCenter). The entire cluster, templates, virtual networks, and backup schedules are controlled via XO’s REST API without requiring heavy agents inside individual VMs.
Installing XCP-ng and Xen Orchestra
1. Preparing and Installing XCP-ng on Bare Metal
Download the XCP-ng 8.2 LTS (or 8.3) ISO from the official website and create a bootable USB drive using Rufus or the dd command. Boot your server (e.g., Dell PowerEdge R640), enter the BIOS to enable hardware virtualization (Intel VT-x/VT-d or AMD-V/IOMMU), plug in the USB drive, and boot into the ncurses-based installer.
Key configuration steps to note:
- Select the default keyboard layout (US) and accept the GPLv2 open-source license.
- Select the OS installation disk: We recommend using two SSD/SAS drives in Hardware RAID-1 (at least 120 GB) to keep the OS separate from VM storage.
- Set a strong
rootpassword: This password will be used for both SSH access and API connections later. - Assign a static IP to the Management Interface (e.g.,
192.168.10.50/24, gateway192.168.10.1); avoid using DHCP in production environments.
Once the server reboots, the xconsole screen appears displaying the management IP. Verify host status via SSH:
ssh [email protected]
# List host status and dom0 resources
xe host-list
xentop
2. Deploying Xen Orchestra Appliance (XOA)
The cleanest and fastest way to set up the management console is using Vates’ official deployment script directly from dom0:
# Quickly deploy the Xen Orchestra Appliance (XOA) VM
curl -sL https://xoa.io/deploy | bash
If you want a free build with 100% of Enterprise features unlocked (Xen Orchestra Community Edition), create a Debian 12 VM (allocate 2 vCPUs, 4 GB RAM) and build it from source:
# On the Debian 12 VM:
sudo apt update && sudo apt install -y curl git build-essential

# Run the automated build script for Xen Orchestra Community Edition
curl -sL https://raw.githubusercontent.com/ronivay/XenOrchestraInstallerUpdater/master/xo-install.sh | bash
The build process takes about 5–7 minutes. Once complete, open your browser and navigate to http://<XOA_OR_VM_IP>. The default credentials are [email protected] with password admin. Change this password immediately under Settings > Users.
Detailed Infrastructure Configuration
1. Connecting XCP-ng Hosts to Xen Orchestra
In the XO web interface, go to Settings > Servers and click Add Server:
- Label: Enter an identifier (e.g.,
Node-01-DellR640). - Host: Enter the XCP-ng host IP (
192.168.10.50). - Username:
root - Password: The host’s administrative password.
- Check Auto-connect and click Connect. Once the icon turns green, XO is ready to manage the pool.
2. Configuring a Storage Repository (SR) via CLI
Shared storage (NFS/iSCSI) is a prerequisite for zero-downtime Live Migration. If the web UI encounters SAN/NAS connectivity issues, you can quickly create a Storage Repository via the CLI:
# Create an NFS Storage Repository from a Synology NAS or TrueNAS
xe sr-create \
  name-label="NFS-Production-Pool" \
  type=nfs \
  device-config:server=192.168.10.20 \
  device-config:serverpath=/volume1/xcp-vms \
  shared=true
When the command returns the SR’s UUID, the storage repository has been successfully mounted across all hosts in the pool.
3. Configuring VLANs and Virtual Networks
Enterprise environments should isolate management, backup, and production traffic. Use a 10GbE network interface to create a VLAN interface:
# Get the UUID of physical network interface eth1 (10GbE uplink)
PIF_UUID=$(xe pif-list device=eth1 --minimal)

# Create VLAN 100 dedicated to Database VMs
xe vlan-create pif-uuid=$PIF_UUID vlan=100
Verification & Monitoring
1. Testing Zero-Downtime Live Migration
Create an Ubuntu 22.04 test VM on Node 1. Run a continuous high-frequency ping from your workstation to the VM’s IP:
ping -i 0.2 192.168.10.105In Xen Orchestra, select the VM, click Migrate, and choose Node 2 as the target. Memory synchronization occurs transparently in the background. In practice, the host migration dropped only a single packet (with latency under 80 ms), and the web server inside continued serving requests without interruption—matching vMotion performance.
2. Resource Monitoring and Bottleneck Troubleshooting
dom0 is the control domain that governs overall hypervisor I/O performance. When VMs experience disk bottlenecks, inspect dom0 immediately:
# Monitor real-time CPU, RAM, and I/O metrics for each VM
xentop

# Inspect storage management logs for VDI locking errors
tail -f /var/log/SMlog | grep -E "ERROR|WARNING"
Additionally, navigate to Backup > New in Xen Orchestra to schedule delta backups every 4 hours to MinIO S3 or a secondary NFS server. Thanks to Changed Block Tracking (CBT), each backup transfers only a few hundred megabytes, finishing in 2–3 minutes without saturating the production network.