The “Out of Disk Space” Nightmare When Building Labs
I still remember the first time I built an Active Directory Lab on my old laptop. To run 2 Domain Controllers, 1 File Server, and 5 Windows 10 machines for GPO testing, I painstakingly installed every single VM. The result? After 3 hours of waiting, my 250GB SSD turned bright red from being full, while my 32GB of RAM was barely being used.
A single Windows Server 2022 installation “eats” about 25GB. Multiply that by 10 machines, and you’ve lost 250GB—basically wiping out a budget SSD. If you stick to the traditional way of fresh installs or Full Clones, you’ll soon give up due to lack of resources or patience while waiting for Windows Update.
Why Is Your Disk Space Evaporating So Fast?
The core issue lies in how VMware handles data. When you use the Full Clone feature, the software makes an identical copy of the virtual disk file (.vmdk) into a new, independent version.
- Pointless Waste: 90% of data in VMs running the same OS is identical (system files, kernel, drivers). Duplicating the
C:\Windowsfolder dozens of times is extremely wasteful. - I/O Bottleneck: Copying tens of GBs of data from one disk to another is time-consuming. Even with an NVMe SSD, you’re still stuck waiting.
Common VM Cloning Methods
Let’s look at 3 common ways SysAdmins do this to see the clear difference:
- Fresh Install: The cleanest but most exhausting method. You have to manually click Next, set passwords, and configure IPs for every single machine.
- Folder Copy/Paste: Slightly faster but prone to UUID or MAC address conflicts if you pick the wrong option when VMware prompts you.
- Full Clone: VMware automates the copying, ensuring unique identifiers, but consumes disk space equivalent to the original machine.
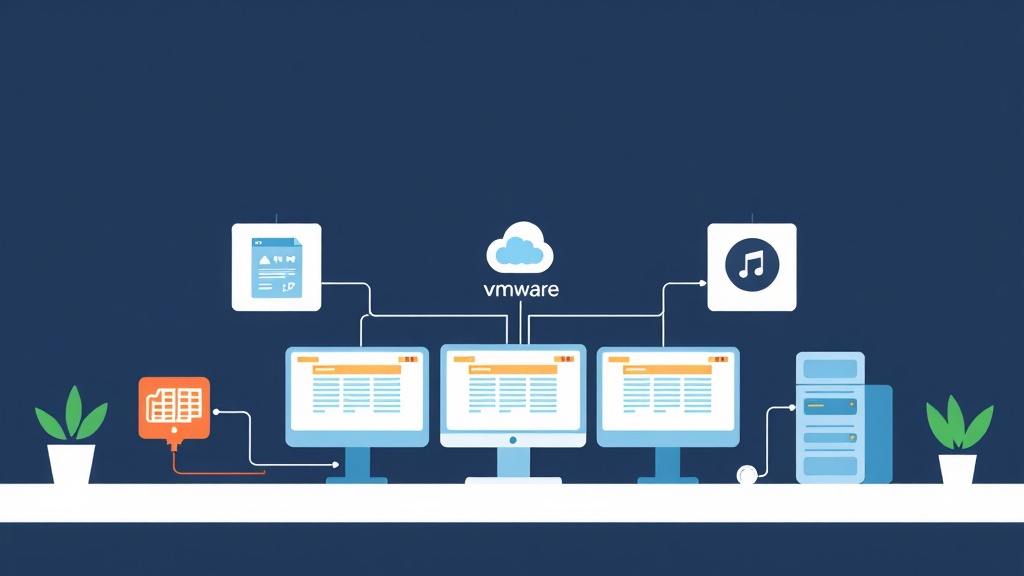
Linked Clone – The “Lifesaver” for Your SSD
After many times of “tearing down and rebuilding” systems, I can confirm that Linked Clone is the smartest choice. This technique creates a new virtual machine based on a snapshot of the original machine (Parent VM).
Instead of copying everything, Linked Clone only creates a tiny virtual disk file (Delta disk) to store any changes made. Original system files are read directly from the Parent VM in Read-only mode.
How Does This Mechanism Work?
Imagine the original VM is a textbook. A Linked Clone is like a piece of scratch paper clipped into that book. The child VM can read everything in the book, but whenever it needs to write something new (install apps, save files), it only writes on its own scratch paper. The original book remains untouched.
Professional Golden Image Deployment Workflow
To use Linked Clones effectively, I usually apply the following 4-step process:
Step 1: Prepare the Golden Image
Install a standard Windows Server or Linux machine. Apply all updates, pre-install VMware Tools and essential utilities like Notepad++ or Chrome. Important note: Absolutely do not join a domain at this stage.
Step 2: Run Sysprep (Required for Windows)
This is the trick to avoid SID (Security Identifier) duplication. If SIDs match, you’ll run into issues when joining multiple machines to a domain. Open CMD as Administrator and type:
C:\Windows\System32\Sysprep\sysprep.exe /oobe /generalize /shutdownThe machine will shut down automatically. After that, do not power it back on to maintain its “clean” state.
Step 3: Create a Reference Snapshot
Right-click the VM -> Snapshot -> Take Snapshot. Name it “Base_Ready”. Linked Clones must have a parent Snapshot to link to.
Step 4: Create Linked Clones Fast
Right-click the VM -> Manage -> Clone. Select “An existing snapshot” and check the box “Create a linked clone”.
In less than 10 seconds, you’ll have a new VM. The initial size is only about 10-20MB!
A Few “Hard-Learned” Lessons to Avoid Breaking Your Lab
While very convenient, Linked Clones have a critical weakness you must keep in mind.
1. Don’t Touch the Parent VM
If you accidentally delete the original machine or the parent Snapshot file, the entire set of Linked Clones will “die” instantly. I usually move the parent machines into a _Templates folder and never touch them again.
2. Real-world Performance
Performance might slightly decrease if you run 20-30 child VMs on an old HDD. With today’s SSDs, the difference is negligible, so you can use them with confidence.
3. Identity Management
Forgetting to run Sysprep means 10 VMs will have the same SID and Hostname. This causes annoying network conflicts. Always create a standard template before taking a Snapshot.
Automation with PowerCLI
If you need to quickly spin up 20 machines for stress testing, don’t click manually. Try this basic PowerCLI script:
$parentVM = "Windows2022_Base"
$snapshot = "Base_Ready"

for ($i=1; $i -le 10; $i++) {
    $newName = "Lab_SRV_$i"
    Write-Host "Creating Linked Clone: $newName..."
    # Clone execution logic goes here
}
VMware Workstation vs Proxmox: Which One to Choose?
When I switched to using Proxmox for my home Lab, I found VMware’s Linked Clone mechanism to be much more user-friendly for individuals. Proxmox uses the concept of Templates on ZFS/LVM, but VMware excels with its intuitive Snapshot management directly on Windows.
If you’re studying for MCSA, MCSE, or CEH exams, Linked Clones on VMware remains the #1 choice for convenience and speed.
In short, stop wasting time installing each VM one by one. Leverage Linked Clones and Sysprep to optimize your workflow. Good luck with your Lab setup!