Real-world Scenario: When a VM Freezes and You Need Urgent Data Recovery
Accidentally edited the wrong /etc/fstab file or misconfigured netplan, causing your VM to fail to boot? Usually, you’d have to scramble to find a rescue ISO, attach it to the VM, and wait for it to boot into a Live environment. This process often wastes at least 15-20 precious minutes.
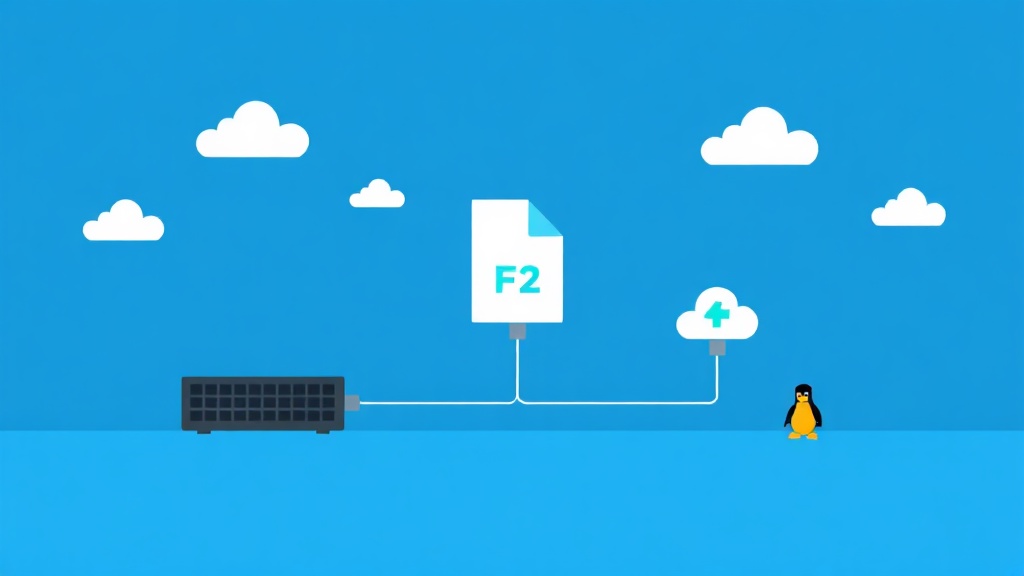
On my Proxmox VE-based homelab, system tinkering—and the resulting errors—are a daily occurrence. Instead of using a sluggish console, I opt for Network Block Device (NBD) to perform “surgery” on virtual disks directly from the Host machine. This method allows you to interact with the VM’s file system like an external USB drive, saving up to 80% of troubleshooting time.
Quick Start: Mount a qcow2 Disk in 3 Steps
Here is a summary of the process for quickly handling a .qcow2 file (the standard KVM/QEMU format) on Ubuntu or Debian.
# 1. Install tools and load the module
sudo apt update && sudo apt install qemu-utils -y
sudo modprobe nbd max_part=8

# 2. Connect the image to the nbd0 device
sudo qemu-nbd --connect=/dev/nbd0 /var/lib/vz/images/101/vm-101-disk-0.qcow2

# 3. Mount the partition and start editing
# Check partitions with lsblk before mounting
sudo mount /dev/nbd0p1 /mnt
Once finished editing, you must disconnect in the correct order to prevent file structure corruption:
sudo umount /mnt
sudo qemu-nbd --disconnect /dev/nbd0
sudo rmmod nbd
Why is NBD the Optimal Choice?
NBD is more than just a network protocol. In virtualization, qemu-nbd acts like a translator. It turns complex formats like qcow2, vmdk, or raw into a block device that the Linux kernel can read instantly.
Many wonder why they shouldn’t just use the standard mount command. In reality, qcow2 files contain multiple layers of metadata, snapshots, and may be compressed to save space. Standard mount commands will fail with these structures, whereas NBD can smoothly extract each internal partition.
Important Warning
Never mount a disk using NBD while the VM is running. Having two operating systems writing data to the same disk without coordination will lead to total filesystem corruption. Always shut down the VM (Power Off) before proceeding.
Handling Complex Scenarios
1. Working with VMware Disks (.vmdk)
If a colleague sends you a VMDK file from ESXi, you don’t need to install VMware Workstation to open it. NBD supports this format exceptionally well:
sudo qemu-nbd --connect=/dev/nbd1 /path/to/disk.vmdk
sudo fdisk -l /dev/nbd1
2. Accessing LVM Partitions Inside a VM
Distributions like CentOS or Ubuntu Server often use LVM. When connecting via NBD, partitions like nbd0p1 might not appear immediately. You need an extra step to activate the Volume Group:
sudo qemu-nbd --connect=/dev/nbd0 /path/to/image.qcow2
sudo vgscan
sudo vgchange -ay
# Now the partitions will be located in /dev/mapper/
3. Safe Mode (Read-only)
When you need to extract data from an old backup and are afraid of accidental deletion, add the -r flag. This is a best practice for professional SysAdmins:
sudo qemu-nbd --readonly --connect=/dev/nbd0 file.qcow2Tips for Handling “Device busy” Errors
Sometimes you can’t disconnect because a process is still “haunting” the mount directory. Don’t force it. Use the lsof /mnt command to find the ID of the accessing process, kill it, and then proceed with the disconnect.
If the device still reports as busy due to a previous session crash, use this aggressive cleanup command:
sudo qemu-nbd --disconnect /dev/nbd0
sudo rmmod nbd && sudo modprobe nbd max_part=8
Summary
Mastering NBD is like having a master key for all types of virtual disks. Whether you’re managing a large server cluster or just a personal homelab, this technique will save you in the tightest spots. Try incorporating it into your administrative workflow today and experience the difference in speed!