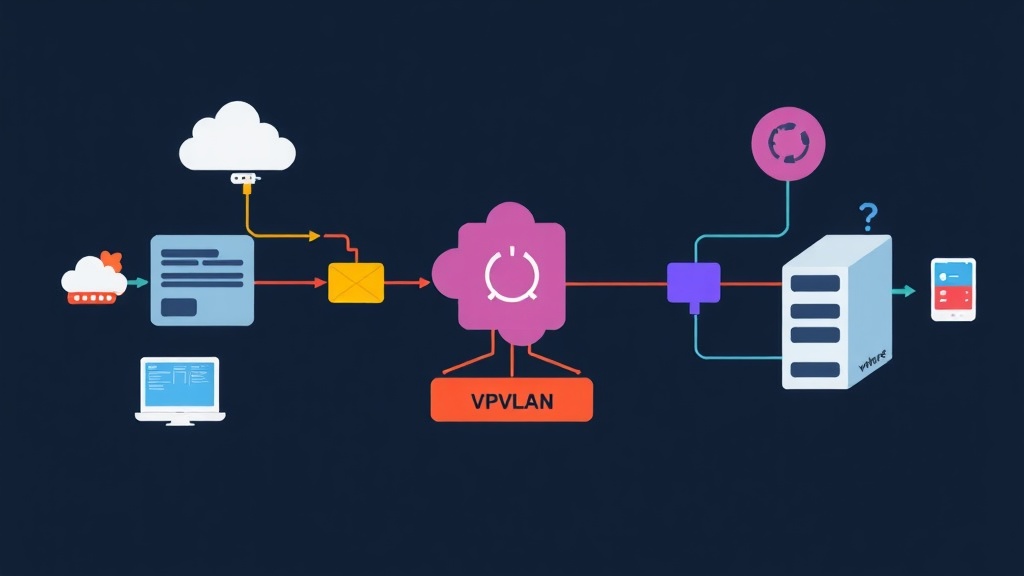
The Problem: Same Subnet, But VMs Shouldn’t See Each Other
Imagine you’re running a small hosting infrastructure — 10 customers, each with their own VM, all sitting in the 192.168.1.0/24 range. In theory, a single VLAN should be enough. But there’s a hidden problem: Customer A could use ARP spoofing to intercept Customer B’s traffic, or launch a direct attack on a neighboring VM in the same subnet.
The usual fix is to put each customer in their own VLAN — but with 10 or 100 customers, you’d need 10–100 VLANs, 10–100 different subnets, and a pile of routing rules to go with them. IP addresses get fragmented, and management becomes a nightmare.
Private VLAN (PVLAN) solves exactly this problem: it isolates traffic between VMs within the same subnet, without requiring additional VLANs or any IP reconfiguration on any machine.
How Private VLAN Works
PVLAN uses a “Primary + Secondary VLAN” model. The Primary VLAN is the parent VLAN, which is subdivided into Secondary VLANs with three types of ports:
- Promiscuous port: Can communicate with everything — typically used for routers, firewalls, and load balancers.
- Isolated port: Can only communicate with Promiscuous ports, invisible to other VMs even on the same subnet.
- Community port: Can communicate with other ports in the same community and with Promiscuous ports — but cannot see Isolated ports or other Community groups.
A practical example: Primary VLAN 200, containing:
- Secondary VLAN 201 — Isolated (each customer’s web server, invisible to each other)
- Secondary VLAN 202 — Community (Dev Team A can ping each other, but not Team B)
- Secondary VLAN 203 — Community (Dev Team B, completely isolated from Team A)
- Promiscuous port using Primary VLAN 200 (gateway/firewall)
Prerequisites
PVLAN on VMware vSphere has a few requirements you need to meet:
- vSphere Distributed Switch (VDS) — Standard Switch does not support PVLAN
- vSphere Enterprise Plus license or higher (VDS is an enterprise feature)
- Access to vCenter Server with Network Administrator privileges
- The underlying physical switch must also support PVLAN if traffic needs to leave the host
If you only have a Standard Switch or are running standalone ESXi without vCenter, PVLAN will not be available — this is a significant difference compared to Proxmox, which I’ll cover later.
Setup: Creating PVLAN on a Distributed Virtual Switch
Step 1: Open PVLAN Configuration in vCenter
Log in to vCenter, go to Networking → select your Distributed Switch → Configure → Private VLAN. You’ll see an empty configuration table. Click Add to add your first Primary VLAN.
Step 2: Define Primary VLAN and Secondary VLANs
I typically use VLAN 200 as the Primary to avoid conflicts with standard VLANs (1–199). When you add Primary VLAN 200, vCenter automatically creates a Promiscuous 200↔200 entry. Next, add the Secondary VLANs:
Primary VLAN: 200
  Secondary VLAN 201 → Type: Isolated
  Secondary VLAN 202 → Type: Community
  Secondary VLAN 203 → Type: Community
For Community VLANs, you can create multiple groups — VMs in VLAN 202 can see each other but not VMs in VLAN 203.
Step 3: Create Port Groups with PVLAN Mapping
Once the PVLAN mapping is defined, create the corresponding Port Groups. Go to VDS → Distributed Port Groups → New Distributed Port Group:
# Port Group for Gateway/Firewall
Name: PVLAN-200-Promiscuous
VLAN Type: Private VLAN
Private VLAN Mode: Promiscuous (Primary VLAN 200)

# Port Group for isolated VMs
Name: PVLAN-201-Isolated
VLAN Type: Private VLAN
Private VLAN Mode: Isolated (Secondary VLAN 201)

# Port Group for Team A
Name: PVLAN-202-Community-A
VLAN Type: Private VLAN
Private VLAN Mode: Community (Secondary VLAN 202)

# Port Group for Team B
Name: PVLAN-203-Community-B
VLAN Type: Private VLAN
Private VLAN Mode: Community (Secondary VLAN 203)
Detailed Configuration: Assigning VMs and Verifying IPs
Assign VMs to the Correct Port Group
Edit settings for each VM → Network Adapter → select the appropriate Port Group:
- VM-Gateway → PVLAN-200-Promiscuous
- VM-WebServer-CustomerA → PVLAN-201-Isolated
- VM-WebServer-CustomerB → PVLAN-201-Isolated (same Isolated VLAN but invisible to each other)
- VM-Dev-TeamA-01 → PVLAN-202-Community-A
- VM-Dev-TeamA-02 → PVLAN-202-Community-A
- VM-Dev-TeamB-01 → PVLAN-203-Community-B
IP Configuration — No Changes Needed
This is the beauty of PVLAN: all VMs still share the same IP range. PVLAN handles isolation at Layer 2 without affecting Layer 3:
# VM-WebServer-CustomerA
IP: 192.168.1.10/24
Gateway: 192.168.1.1

# VM-WebServer-CustomerB
IP: 192.168.1.11/24
Gateway: 192.168.1.1

# Both can ping the gateway but CANNOT ping each other
Physical Switch Configuration (if traffic leaves the host)
If the ESXi host uplink goes through a Cisco physical switch:
! Define PVLANs
vlan 200
 private-vlan primary
vlan 201
 private-vlan isolated
vlan 202
 private-vlan community
vlan 203
 private-vlan community

! Associate secondary VLANs with primary
vlan 200
 private-vlan association 201,202,203

! Port connected to ESXi uplink
interface GigabitEthernet0/1
 switchport mode trunk
 switchport trunk allowed vlan 200-203
If all VMs are on the same ESXi host (lab/test environment), you can skip this step — traffic never needs to reach the physical switch.
Testing & Monitoring
Test Isolation with Ping
Once configured, verify behavior from each VM using the following scenarios:
# From VM-WebServer-CustomerA (Isolated, IP: 192.168.1.10)
ping 192.168.1.1    # Gateway Promiscuous → MUST succeed
ping 192.168.1.11   # CustomerB same Isolated → MUST fail
ping 192.168.1.20   # Community VM → MUST fail

# From VM-Dev-TeamA-01 (Community 202, IP: 192.168.1.20)
ping 192.168.1.1    # Gateway → MUST succeed
ping 192.168.1.21   # TeamA-02 same Community 202 → MUST succeed
ping 192.168.1.30   # TeamB Community 203 → MUST fail
ping 192.168.1.10   # CustomerA Isolated → MUST fail
Audit Configuration with PowerCLI
# View PVLAN config of VDS
$vds = Get-VDSwitch -Name "DSwitch-Production"
$vds.ExtensionData.Config.PrivatVlanConfig |
    Format-Table PrimaryVlanId, SecondaryVlanId, PrivateVlanType

# List Port Groups using PVLAN
Get-VDPortgroup | Where-Object { $_.VlanConfiguration -match "Private" } |
    Select-Object Name, VlanConfiguration
Monitor with NetFlow/IPFIX
Enable IPFIX on the VDS to track traffic patterns and detect anomalies:
# Enable IPFIX for VDS
$vds = Get-VDSwitch -Name "DSwitch-Production"
$spec = New-Object VMware.Vim.DVSConfigSpec
$spec.IpfixConfig = New-Object VMware.Vim.VMwareIpfixConfig
$spec.IpfixConfig.CollectorIpAddress = "192.168.1.200"  # NetFlow collector
$spec.IpfixConfig.CollectorPort = 2055
$spec.IpfixConfig.ActiveFlowTimeout = 60
$spec.ConfigVersion = $vds.ExtensionData.Config.ConfigVersion
$vds.ExtensionData.ReconfigureDvs($spec)
Real-World Comparison: PVLAN on VMware vs. Proxmox
When I migrated from VMware to Proxmox for a personal lab, I noticed some interesting differences in how the two platforms handle network isolation.
Proxmox uses Linux bridge and can achieve similar results by combining a VLAN-aware bridge with ebtables rules, but there’s no built-in GUI for it. Getting “true” PVLAN on Proxmox requires writing your own scripts or using Open vSwitch — significantly more complex than a few clicks in vCenter.
What I appreciate about VMware PVLAN is its consistency: configure it once at the VDS level and it instantly applies across all hosts in the cluster. With Proxmox, you’d need to configure each node individually or write an automation script to keep things in sync.
That said, the Enterprise Plus license is a real barrier — especially for a personal lab or small startup. For environments that don’t require high SLAs, Proxmox + OVS is a far more cost-effective choice.
Common Issues
- VM can’t ping the gateway after configuration: Verify that VM-Gateway is assigned to the Promiscuous port group, not an Isolated one.
- Community VMs can’t see each other: Make sure both VMs share the same Secondary VLAN ID — for example, both must be 202, not one 202 and one 203.
- Physical switch not forwarding traffic: PVLAN must be configured on the physical switch if the uplink is a trunk port, not an access port.
- Private VLAN menu missing in vCenter: Double-check — Standard Switch and Standard license do not include this feature.
- PVLAN config missing after adding a new host to the cluster: PVLAN mapping is stored at the VDS level and should auto-apply, but verify the uplink configuration on the new host.