When Your Linux VM Desktop Feels Like a Slideshow
Have you ever tried to demo an app on a virtual machine only to watch the terminal window take two full seconds to appear? I ran into exactly this on a server powered by an Intel i5-12400. The CPU was plenty fast, yet the GNOME desktop was painfully sluggish. Just dragging a Chrome window would spike a single CPU core straight to 100%.
The culprit shows up with one command: glxinfo | grep "renderer". If the output says llvmpipe, your VM is using the CPU to handle all graphics rendering in software. Instead of spending money on a dedicated GPU for a complex GPU Passthrough setup, I went with VirtIO-GPU paired with Virgil3D.
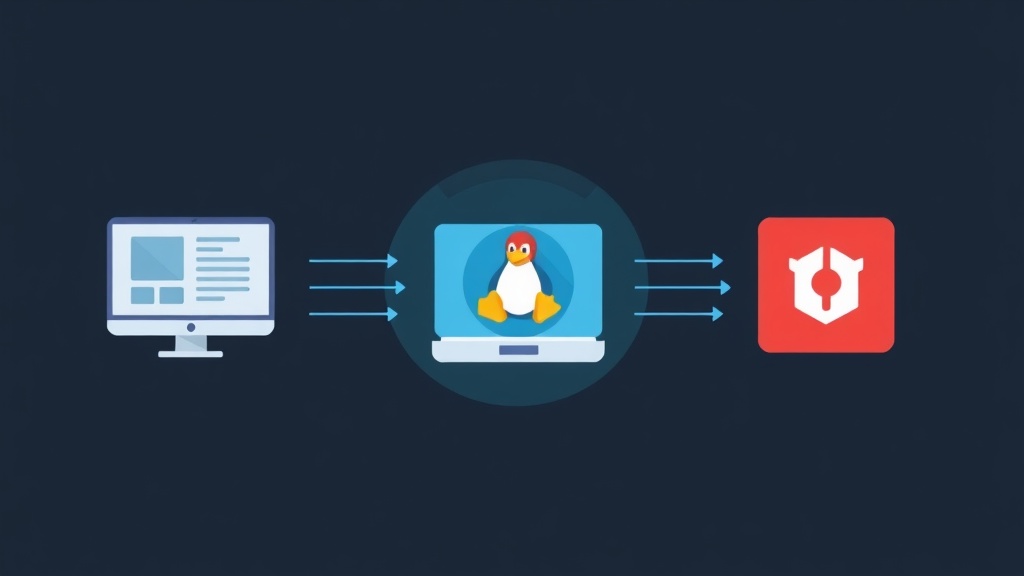
This solution lets the VM “borrow” compute power from the host’s integrated GPU (iGPU) through a translation layer. The results were striking: frame rates jumped from 10–15 FPS to a smooth 60 FPS, and CPU load while streaming 1080p YouTube inside the VM dropped from 80% down to around 15%.
Why VirtIO-GPU Is More Practical Than Passthrough
GPU Passthrough is an all-or-nothing approach. It requires dedicating an entire physical graphics card to a single VM. For anyone running a home lab or using a mini PC (like an Intel NUC or Dell OptiPlex), this is basically impossible since these machines typically have only one onboard GPU.
VirtIO-GPU with Virgil3D offers three major advantages:
- Shared resources: 5–10 VMs can simultaneously share a single Intel iGPU or AMD card.
- Fast setup: No need to mess with IOMMU groups or complex driver blacklisting.
- Versatile: Works equally well on laptops, office desktops, and dedicated servers.
Step 1: Configure Hardware Access on the Host
First, the host machine needs the virglrenderer library. On Ubuntu or Debian, a single command is all it takes to get the environment ready.
sudo apt update && sudo apt install qemu-system-x86 libvirglrenderer-dev libepoxy-dev virt-manager -yThe most critical step that people often overlook is hardware access permissions. QEMU needs read/write access to the GPU device file (typically /dev/dri/renderD128). Add your user to the render group now:
sudo usermod -aG render $USER
# Log out and log back in for the change to take effect
Step 2: Edit the VM’s XML Configuration
The virt-manager GUI doesn’t always expose all the advanced options you need. The most reliable approach is to edit the VM’s XML definition directly.
Run virsh edit your_vm_name and locate the <devices> section. You’ll need to replace or add the following two blocks:
1. Configure the Spice Graphics Backend
Enable OpenGL and point it to the correct render node on the host GPU.
<graphics type='spice' autoport='yes'>
  <listen type='address'/>
  <gl enable='yes' rendernode='/dev/dri/renderD128'/>
</graphics>
2. Declare the Video Model
Switch the graphics card type to virtio and enable the accel3d feature.
<video>
  <model type='virtio' heads='1' primary='yes'>
    <acceleration accel3d='yes'/>
  </model>
</video>
After saving, do a full shutdown of the VM and boot it fresh — don’t just use the Restart option.
Step 3: Verify the Results Inside the VM
Modern distributions like Ubuntu 22.04 and later already ship with the necessary drivers. Just open a Terminal inside the VM and install the diagnostic tools:
sudo apt update && sudo apt install mesa-utils -y
glxinfo | grep "renderer"
If you see “Virgl” or “VirtIO V3D” in the output, you’re done. Run glmark2 to see the difference firsthand — 3D objects will now rotate smoothly instead of stuttering as before.
Tips to Avoid a Black Screen
Through plenty of trial and error, I learned three hard-won lessons for dealing with common issues:
- Spice only: Virgil3D does not work over VNC. You must use
virt-vieweror Remote Viewer to get 3D acceleration. - AppArmor errors: If the VM fails to start, check the logs at
/var/log/libvirt/qemu/. You may need to grant QEMU access to/dev/dri/in/etc/libvirt/qemu.conf. - Kernel version: Make sure the VM is running kernel 4.4 or later. Older distros won’t recognize the VirtIO graphics device.
Wrapping Up
VirtIO-GPU is one of the smartest ways to optimize your homelab without spending a dime on extra hardware. It transforms a frustrating virtual desktop experience into something that feels as responsive as a physical machine. If you’re running WebGL apps or simply want a fluid GNOME or KDE session inside a VM, give this setup a try — you won’t go back.