The Fear of Data Loss When Relying on Big Tech
Imagine waking up one morning to find your Google Drive account, which contains all your photos from the last 10 years, locked due to a “mistaken” policy violation. Or simply reaching the 15GB free limit and having to spend $2 – $10 every month just to maintain your storage. Entrusting your data to third parties is not only expensive but also means losing complete control over your privacy.
Many tech enthusiasts have started turning to Home Labs or renting cheap VPS (around $5/month) to self-host Nextcloud. However, manually installing components like PHP, Apache, or Databases is often a “nightmare” of version conflicts. A single wrong command can easily lead to “dependency hell,” wasting an entire day on troubleshooting.
Why Docker Compose is the Optimal Choice?
Instead of installing directly on the operating system (Bare-metal), I always prioritize Docker Compose. This method isolates the application from the host system, keeping your Ubuntu installation “clean.”
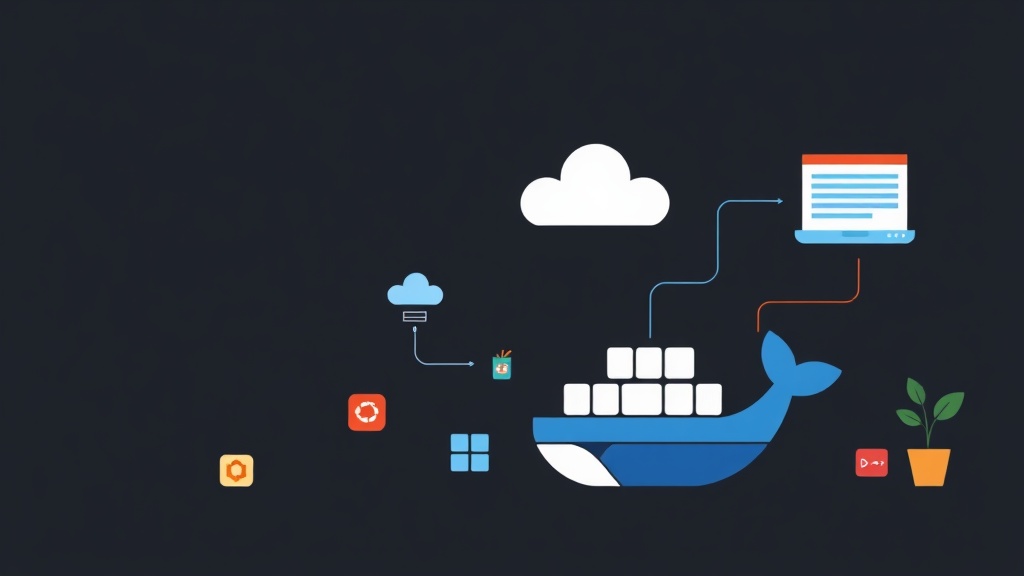
In projects I’ve implemented, using Docker reduced maintenance time by 90%. When an upgrade is needed, it takes only 30 seconds to pull a new Image. The system operates smoothly through three components:
- Nextcloud Container: Acts as the brain processing all tasks.
- MariaDB Container: A highly stable place to store user information and metadata.
- Redis Container: A powerful “assistant” that speeds up photo loading and file processing by 2-3 times.
All configurations are encapsulated in a single file. When you want to switch servers, you just need to copy the project folder to the new machine and you’re done.
Detailed Deployment on Ubuntu 24.04
Step 1: Proper Docker Installation
First, update your system to ensure everything runs smoothly:
sudo apt update && sudo apt upgrade -y
sudo apt install curl git -y
Avoid using the default Ubuntu Docker package as it is often outdated. Install the official version from the Docker Repo for the best performance:
# Set up GPG key
sudo install -m 0755 -d /etc/apt/keyrings
sudo curl -fsSL https://download.docker.com/linux/ubuntu/gpg -o /etc/apt/keyrings/docker.asc
sudo chmod a+r /etc/apt/keyrings/docker.asc

# Add repository
echo "deb [arch=$(dpkg --print-architecture) signed-by=/etc/apt/keyrings/docker.asc] https://download.docker.com/linux/ubuntu $(. /etc/os-release && echo "$VERSION_CODENAME") stable" | sudo tee /etc/apt/sources.list.d/docker.list > /dev/null

sudo apt update
sudo apt install docker-ce docker-ce-cli containerd.io docker-buildx-plugin docker-compose-plugin -y
Step 2: Create a Workspace
I recommend creating a directory in /opt or home for easier management and backups later.
mkdir ~/nextcloud-docker && cd ~/nextcloud-docker
mkdir data mysql redis
Step 3: Set up the Docker Compose File
Create the docker-compose.yml file. This is where the “soul” of the system resides:
services:
  db:
    image: mariadb:10.11
    restart: always
    command: --transaction-isolation=READ-COMMITTED --binlog-format=ROW
    volumes:
      - ./mysql:/var/lib/mysql
    environment:
      - MYSQL_ROOT_PASSWORD=your_strong_password
      - MYSQL_PASSWORD=your_db_password
      - MYSQL_DATABASE=nextcloud
      - MYSQL_USER=nextcloud

  redis:
    image: redis:alpine
    restart: always

  app:
    image: nextcloud:latest
    restart: always
    ports:
      - 8080:80
    depends_on:
      - db
      - redis
    volumes:
      - ./data:/var/www/html
    environment:
      - MYSQL_PASSWORD=your_db_password
      - MYSQL_DATABASE=nextcloud
      - MYSQL_USER=nextcloud
      - MYSQL_HOST=db
      - REDIS_HOST=redis
Pro tip: Replace your_db_password with a strong, unpredictable string for better security.
Step 4: Activate the “Cloud”
Just a single command for Docker to automatically download and set up everything:
sudo docker compose up -dAfter about a minute, check the status with sudo docker ps. If all three containers are in the “Up” state, you’ve succeeded.
Step 5: Complete Installation via Web Interface
Access your server’s IP address on port 8080 (e.g., http://192.168.1.10:8080). On the welcome screen, create an Admin account. Nextcloud will automatically connect to MariaDB thanks to the environment variables we’ve already set.
Performance Optimization: Don’t Skip Redis
Without Redis, Nextcloud will feel sluggish when you scroll through a list of thousands of photos. To make the system as smooth as Google Drive, edit the config file:
sudo nano ~/nextcloud-docker/data/config/config.phpAdd this code snippet before the final closing bracket:
  'memcache.local' => '\OC\Memcache\APCu',
  'memcache.distributed' => '\OC\Memcache\Redis',
  'memcache.locking' => '\OC\Memcache\Redis',
  'redis' => [
    'host' => 'redis',
    'port' => 6379,
  ],
Finally, restart to apply the changes: sudo docker compose restart app.
Conclusion
Owning a private storage server isn’t difficult if you follow the right path. With Ubuntu 24.04 and Docker Compose, you now have a powerful, secure system that is completely free to maintain (excluding electricity or VPS costs).
For absolute security when accessing remotely, you should look into Cloudflare Tunnel or Nginx Proxy Manager to set up HTTPS. Good luck!