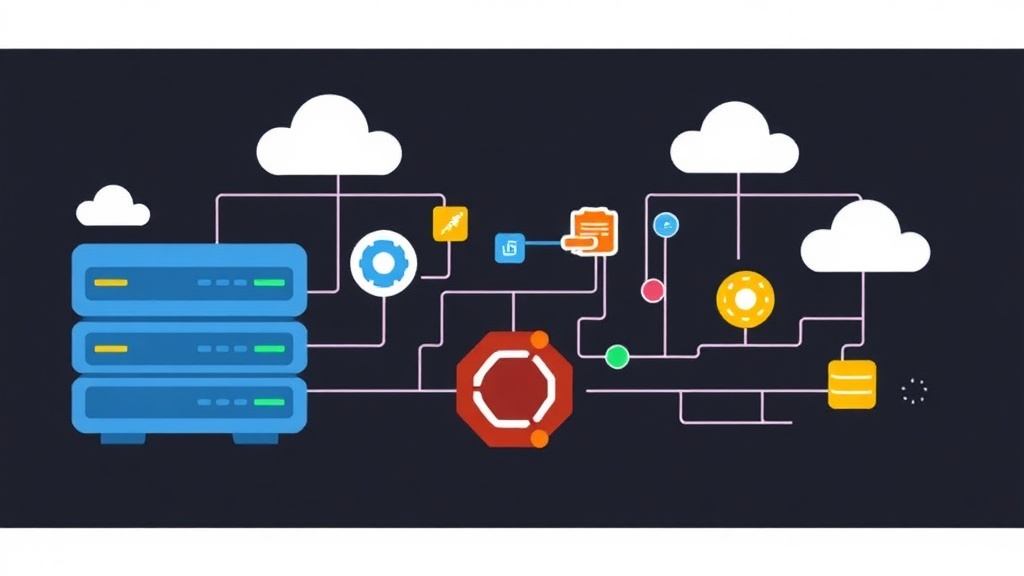
Data Storage: When RAID is No Longer the Only Savior
Storage has always been a headache for sysadmins. Previously, I had absolute faith in RAID to protect data on individual servers. But reality is often harsher. If a server’s power supply burns out, the motherboard fails, or the network connection is lost, all data (even with RAID 10) remains stuck in one place. You will have to wait for hardware replacement before you can access it again. That’s when I realized the need to switch to Distributed Storage.
In the Sysadmin community, Ceph is a name that guarantees self-healing and nearly limitless scalability. However, installing Ceph the traditional way is often a “painful” experience with dozens of complex configurations. Fortunately, Canonical has released MicroCeph. This is a lightweight version that retains the full power of Ceph, helping me set up a storage cluster in minutes instead of taking all day as before.
Quick Lab Setup in 5 Minutes
If you have a clean Ubuntu Server 22.04 and an empty hard drive (e.g., /dev/sdb), try the commands below to see the results:
# Install MicroCeph via Snap
sudo snap install microceph

# Initialize cluster (Bootstrap)
sudo microceph cluster bootstrap

# Add hard drive to the storage system
sudo microceph disk add /dev/sdb

# Check status
sudo microceph status
That’s it, you have a basic Ceph node. However, for the system to be truly fault-tolerant, we need at least 3 nodes. Let’s dive deeper into the actual deployment.
Why Choose MicroCeph Over Traditional Ceph?
The Complexity Barrier
Installing pure Ceph requires a deep understanding of components like MON, OSD, Manager, or MDS. Just a small mistake in the config file or a network delay can cause the entire cluster to hang immediately. For medium-sized projects or newcomers, Ceph is like attaching a jet engine to a bicycle – too excessive and hard to control.
MicroCeph: Simple Yet Effective
MicroCeph packages everything into a single Snap package. It automates everything from network configuration to disk management and data synchronization. I once tried running MicroCeph on 5 low-spec VPS nodes as a backend for a Proxmox cluster. The results were impressive: the system ran stably for 6 months without much maintenance.
Building a High-Availability 3-Node Cluster
To achieve High Availability (HA), I recommend preparing at least 3 Ubuntu servers running in a 1Gbps or 10Gbps local network.
Step 1: Simultaneous Installation
On all 3 nodes (Node1, Node2, Node3), perform the MicroCeph installation:
sudo snap install microcephStep 2: Connecting Nodes into a Unit
On Node1, generate a Token to authorize other machines to join:
sudo microceph cluster add node2
sudo microceph cluster add node3
The screen will display long Token strings. Copy each code and run the join command on the corresponding nodes:
# Run on Node2
sudo microceph cluster join [TOKEN_NODE2]

# Run on Node3
sudo microceph cluster join [TOKEN_NODE3]
Step 3: Hard Drive Configuration (OSD)
Important note: Ceph will take control of the entire physical hard drive. This drive must be completely empty and contain no partitions.
# Execute on each node
sudo microceph disk add /dev/sdb --wipe
Hard-earned lesson: Don’t skimp on investing in SSDs or NVMe drives. Ceph is extremely sensitive to latency. If you use old HDDs, read/write speeds will plummet when multiple machines access it simultaneously.
Monitoring System Health
After setting up the 3-node cluster, you need to regularly check if everything is “healthy”. The most important command is:
sudo microceph.ceph statusIf the status line says health: HEALTH_OK, you can rest easy. If you see HEALTH_WARN, immediately check the network connection between nodes or the hard drive status.
To see the actual remaining capacity, use the command:
sudo microceph.ceph dfReal-World Experience to Help You Avoid Headaches
Here are some important notes I’ve gathered after many real-world deployments:
- Local Network (Backend Network): Use a 10Gbps network if possible. Never run the cluster over the public Internet without a dedicated channel (Direct Connect or VPN), as high latency will cause data to go out of sync.
- Odd Number Rule: Always keep an odd number of nodes (3, 5, 7) to avoid Split-brain errors during Quorum elections.
- RAM Resources: Each OSD (storage drive) should be allocated at least 2GB of RAM. If your cluster has 10TB of data, ensure the system has about 20GB of spare RAM for background processes.
- Real-world Applications: You can create Block Devices (RBD) to mount to a Web Server cluster. When one Web Server fails, the remaining server can still mount that exact drive from Ceph and continue serving users.
MicroCeph has truly democratized high-end storage technology. You don’t need to be an expert to build a fault-tolerant storage system. Use old machines in your lab to set up a MicroCeph cluster today. The feeling of unplugging a server while the data on the website continues to function smoothly is truly exhilarating!