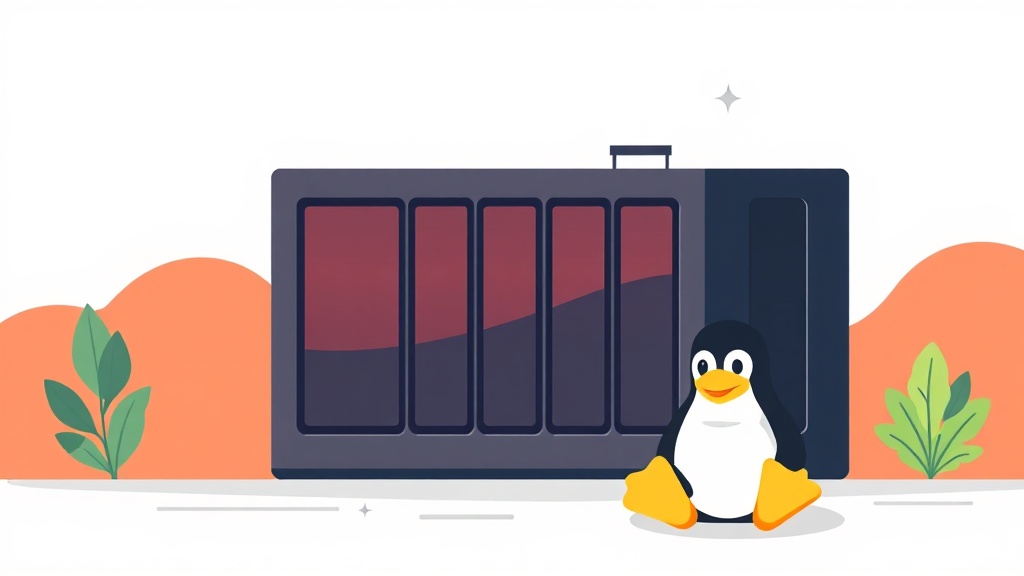
Why Software RAID instead of Hardware RAID?
In my early days as a Sysadmin, I had a heated debate with my boss about choosing between a dedicated RAID card and software RAID. Back then, I believed specialized hardware was always superior. However, after a “close call” where a RAID card failed and no immediate replacement was available, I completely changed my mind.
Hardware RAID offloads CPU tasks but traps you in the “Vendor lock-in” snare. If the card fails, you are forced to find the exact same model to recover your data. With mdadm on Linux, you can simply plug the drives into any other Linux machine to access your data immediately. In reality, with modern CPUs, parity calculations for RAID 5/6 consume less than 3-5% of system resources.
Quick Comparison of Popular RAID Options
- RAID 1 (Mirroring): Requires at least 2 drives. Data is mirrored exactly. Allows for 1 drive failure. This is the top choice for OS partitions or critical databases.
- RAID 5 (Striping with Parity): Requires at least 3 drives. Allows for 1 drive failure. Usable capacity is (n-1). It offers a balance between read speed and storage cost.
- RAID 6 (Double Parity): Requires at least 4 drives. Allows for 2 simultaneous drive failures. Extremely safe for storage servers holding tens of terabytes of data.
Preparation Before Deployment
Before typing any commands, you must accurately identify your existing drives. Never confuse drive names unless you want to wipe the data of a running system.
lsblkSuppose I have two empty drives, /dev/sdb and /dev/sdc (20GB each). Our goal is to combine them into a single RAID 1 array.
Warning: All data on the target drives will be wiped. Ensure you have backed up anything important before pressing Enter.
Deploying a RAID 1 Array with mdadm
First, install the management tool if it’s not already on your server:
# Ubuntu/Debian
sudo apt update && sudo apt install mdadm -y

# CentOS/AlmaLinux/RHEL
sudo yum install mdadm -y
Step 1: Initialize the RAID Array
The following command will create the /dev/md0 device from two physical drives:
sudo mdadm --create --verbose /dev/md0 --level=1 --raid-devices=2 /dev/sdb /dev/sdcKey parameters to note:
--level=1: Defines the RAID 1 type.--raid-devices=2: The number of drives participating in the array.
Step 2: Format the File System and Mount
Once created, the RAID array will appear as a single drive. You need to format it to start using it:
sudo mkfs.ext4 /dev/md0
sudo mkdir -p /mnt/raid1
sudo mount /dev/md0 /mnt/raid1
Step 3: Configure Auto-Detection (Crucial)
Many people forget this step, causing the RAID to be renamed to /dev/md127 or lose its mount point after a reboot. Save the configuration to the system file to ensure stability.
sudo mdadm --detail --scan | sudo tee -a /etc/mdadm/mdadm.conf
sudo update-initramfs -u  # Only applies to Ubuntu/Debian distributions
Monitoring RAID Array Health
System operation leaves no room for laziness. Don’t wait for the server to report an error before checking. In practice, I always monitor the /proc/mdstat file to keep track of drive health.
cat /proc/mdstatThe symbol [UU] means everything is perfect. If you see [_U] or [U_], it’s an alarm signal that one drive has stopped functioning.
Recovery Scenarios for Failed Drives
When drive /dev/sdb encounters a physical failure, the safe replacement process consists of the following 3 steps.
1. Remove the Faulty Drive from the Array
You need to inform the system that the drive has failed to remove it from the logical array:
sudo mdadm /dev/md0 --fail /dev/sdb
sudo mdadm /dev/md0 --remove /dev/sdb
2. Replace with a New Drive and Re-add
After plugging in the new drive (assuming it is still /dev/sdb), simply add it back to the existing array:
sudo mdadm /dev/md0 --add /dev/sdb3. Monitor the Rebuild Process
Linux will automatically synchronize the data. For large capacity HDDs, this process can take several hours.
watch -n 1 cat /proc/mdstatNote: During the rebuild, limit heavy I/O tasks such as backups or large file exports. If the remaining drive becomes overloaded and fails, all data will be lost forever.
Expanding to RAID 5 and RAID 6
Managing RAID 5 or 6 is similar, differing only in the initial setup. For example, with RAID 5 using 3 drives:
sudo mdadm --create --verbose /dev/md0 --level=5 --raid-devices=3 /dev/sdb /dev/sdc /dev/sddRAID 5 offers very fast read speeds, but write speeds are slower due to parity calculations. If you need maximum data protection, RAID 6 is the wise choice as it allows for up to 2 simultaneous drive failures.
Operational Summary and Best Practices
After 6 months of running mdadm in a production environment, I’ve found it to be extremely reliable. The issue isn’t which technology is more expensive, but how well you master the tool.
Final advice: Set up email alerts for failures and regularly check the drives’ SMART parameters. RAID keeps the system running during hardware failures, but it is NOT a substitute for backups. Never be complacent with your data!