Solving the “Dependency Hell” Nightmare When Installing Airflow
Installing Apache Airflow directly via pip install is the fastest way to waste an entire afternoon. I once spent 4 hours just because a cryptography version conflicted with system libraries. Airflow isn’t just a Python script; it’s a whole ecosystem consisting of a Webserver, Scheduler, Database, and Worker.
The most common issue is a DAG running perfectly locally but failing on the server. This is often due to missing system libraries for Google Cloud or AWS, or mismatched PostgreSQL versions. Managing fragmented components makes the environment extremely fragile. Even a minor change in environment variables can cause the entire scheduling system to stop for no apparent reason.
Why Default Configurations Aren’t Production-Ready
By default, Airflow uses SequentialExecutor and SQLite as the database. This mode only allows running one task at a time. Imagine having 50 ETL tables to process every morning; if run sequentially, when would they ever finish?
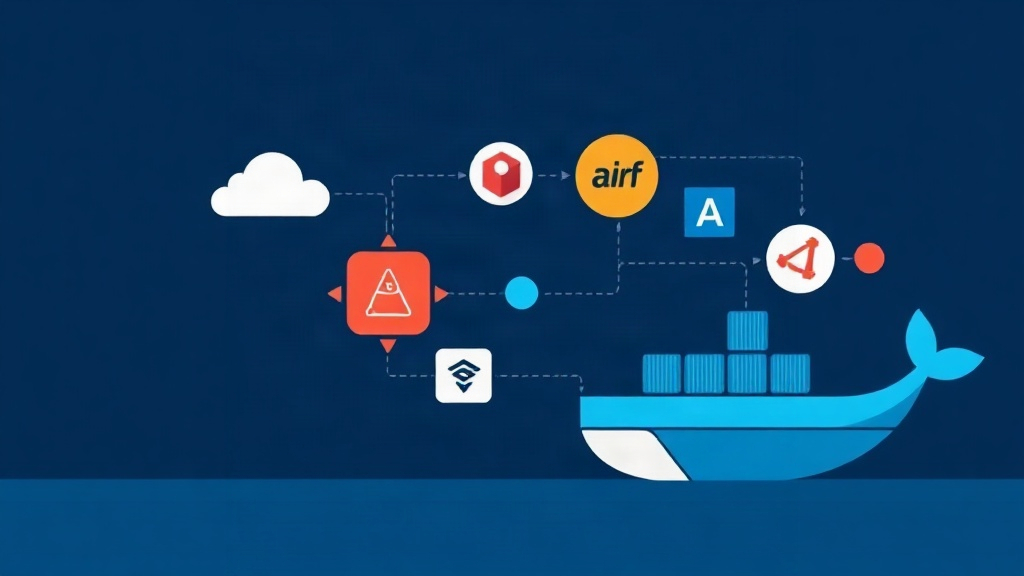
To achieve real-world performance, you need PostgreSQL for metadata storage and Redis as a message broker. Combined with CeleryExecutor, the system gains distributed execution capabilities. Manually configuring these five components on a host OS is a nightmare. Everything becomes overlapping, hard to debug, and nearly impossible to package for a DevOps team.
Three Common Ways to Deploy Airflow
Tech professionals usually consider these three paths:
- Local Install: Only suitable for quick code tests. It’s a nightmare for scaling or teamwork.
- Managed Services (Astronomer, AWS MWAA): Very convenient. However, the costs are high, making it unsuitable for labs or startups on a budget.
- Docker Compose: This is the “sweet spot.” The entire infrastructure is contained within a single
.yamlfile, ensuring 100% consistency from dev to production.
The Optimal Solution: Dockerizing with CeleryExecutor and Redis
Using Docker Compose to deploy CeleryExecutor is the best way to build a professional scheduling system. This architecture allows you to flexibly scale the number of Workers to handle heavy tasks.
1. Environment Setup
Ensure your machine has Docker Desktop and Docker Compose v2.0 or higher. A minimum of 4GB RAM is required, though I recommend 8GB if you plan to run DAGs for large-scale data processing.
2. Initializing Configuration
Don’t write the Compose file from scratch, as it’s easy to make mistakes with environment variables. Start with the community-standard configuration. First, create the project directory:
mkdir airflow-docker && cd airflow-docker
mkdir -p ./dags ./logs ./plugins ./config
echo -e "AIRFLOW_UID=$(id -u)" > .env
The AIRFLOW_UID line helps avoid permission errors when Docker writes logs to the host machine. This is a very common issue that can leave developers stuck for hours.
3. Download the docker-compose.yaml File
Fetch the official configuration file from Apache Airflow using this command:
curl -LfO 'https://airflow.apache.org/docs/apache-airflow/stable/docker-compose.yaml'This file will launch critical services:
- postgres: Metadata storage.
- redis: Broker to forward tasks to workers.
- airflow-webserver: UI management interface.
- airflow-scheduler: The brain controlling the entire system.
- airflow-worker: Where the actual Python code is executed.
4. Initialize the Database
Before running, you need to initialize the database and create an admin user:
docker compose up airflow-initWhen you see exited with code 0, everything is ready.
5. Activate the System
Now it’s time to enjoy the results:
docker compose up -dAccess localhost:8080 with the default credentials airflow / airflow. If you need to inspect long JSON responses from the Airflow API, you can use JSON Formatter to reformat them for readability instead of installing heavy browser extensions.
Writing Your First DAG to Test CeleryWorker
Create a test_dag.py file in the ./dags directory to test parallel execution capabilities:
from airflow import DAG
from airflow.operators.python import PythonOperator
from datetime import datetime
import time

def heavy_task():
    # Processing data...
    print("Processing data...")
    time.sleep(5)
    return "Done"

with DAG(
    dag_id='test_celery_executor',
    start_date=datetime(2023, 1, 1),
    schedule_interval=None,
    catchup=False
) as dag:

    task_1 = PythonOperator(task_id='run_1', python_callable=heavy_task)
    task_2 = PythonOperator(task_id='run_2', python_callable=heavy_task)

    task_1 >> task_2
Enable the DAG on the Webserver and trigger a test run. If the tasks turn green, your distributed system is working correctly.
Real-World Deployment Tips
To avoid painful mistakes during operation, keep these points in mind:
- Resource Limit: If a container dies unexpectedly (Exit code 137), it’s due to a lack of RAM. Increase the resource limits in Docker Settings.
- Custom Library: If you need
pandasorscikit-learn, you must write a customDockerfile. UseFROM apache/airflowandpip installthe additional libraries into a new image. - Log Cleanup: The
./logsdirectory grows very quickly. Configure logs to mount to a large disk or set up a script to auto-delete logs after 7 days.
Mastering Docker Compose makes you more confident when handing over projects. Instead of sending a 10-page manual, you can just tell your colleague: “Just run docker compose up and you’re good to go!”