Pressure from the Numbers: Why You Shouldn’t Guess Performance
If your app is running smoothly with 1,000 users, will it crash when that number jumps to 10,000? Don’t just guess. When your boss approves a server upgrade from 4 Cores and 8GB of RAM to a more powerful configuration, you need data to prove the actual performance gain.
I once handled a high-pressure case: migrating 100GB of data from MySQL to PostgreSQL. It took 3 days of planning and 1 day of execution. The biggest question then wasn’t how to move the data, but whether the new system could handle the heat as well as the old one? To answer that, I used data from sysbench instead of relying on intuition.
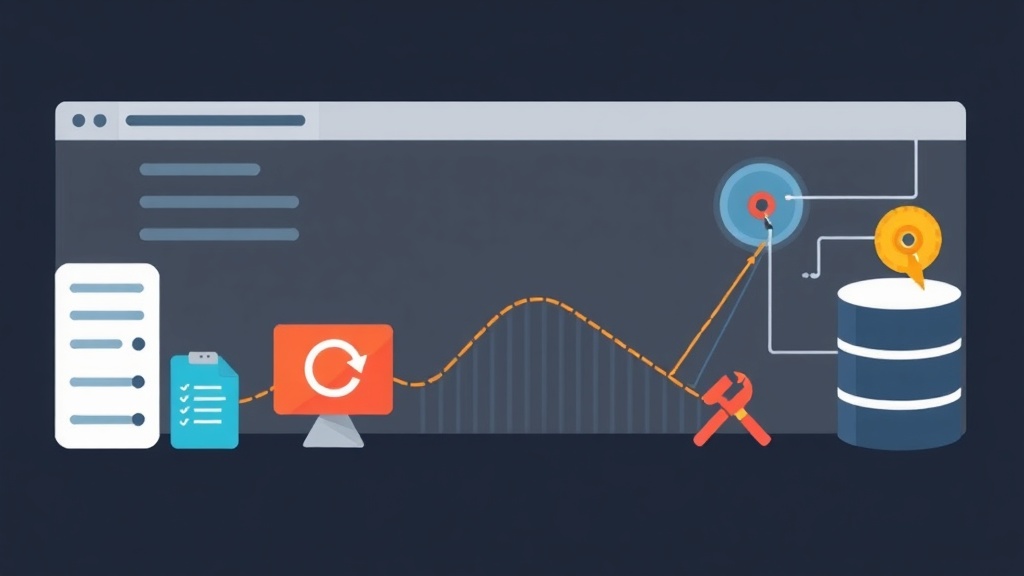
Sysbench is a powerful open-source tool for OLTP-style database benchmarking. It simulates thousands of concurrent transactions, pushing the database to its limits. This clearly reveals bottlenecks in CPU, RAM, or disk I/O.
Installing sysbench on Linux
Most Linux distributions have sysbench available in their official repositories. Installation takes only a few seconds.
On Ubuntu/Debian:
sudo apt update
sudo apt install sysbench -y
On CentOS/RHEL:
sudo yum install epel-release -y
sudo yum install sysbench -y
Once installed, check it with the command sysbench --version. Version 1.0.x is currently the most stable choice for engineers.
The Standard 3-Step Process
Whether testing MySQL or PostgreSQL, sysbench always runs in three stages: Prepare -> Run -> Cleanup.
- Prepare: Create dummy tables (like
sbtest1,sbtest2…) and populate them with millions of records. If the dataset is too small (fitting entirely in RAM), the results will be misleading because the disk isn’t being stressed. - Run: Perform read/write tests. You can customize the number of threads, execution time, and transaction types.
- Cleanup: Wipe the temporary tables to reclaim disk space.
Real-World Benchmarking for MySQL
First, create an empty database named test_db as a testing ground.
mysql -u root -p -e "CREATE DATABASE test_db;"Step 1: Data Preparation
This command creates 10 tables, each with 1 million records (totaling approximately 10 million rows).
sysbench /usr/share/sysbench/oltp_read_write.lua \
  --mysql-db=test_db \
  --mysql-user=root \
  --mysql-password='your_password' \
  --db-driver=mysql \
  --tables=10 \
  --table-size=1000000 \
  prepare
Step 2: Running the Load Test
Test with 16 concurrent threads for 60 seconds. Observe the server’s CPU during this time.
sysbench /usr/share/sysbench/oltp_read_write.lua \
  --mysql-db=test_db \
  --mysql-user=root \
  --mysql-password='your_password' \
  --db-driver=mysql \
  --tables=10 \
  --table-size=1000000 \
  --threads=16 \
  --time=60 \
  --report-interval=10 \
  run
Key parameters to remember:
--threads=16: Simulates 16 simultaneous connections.--time=60: Runs for 1 minute.--report-interval=10: Prints results every 10 seconds.
How is Benchmarking for PostgreSQL Different?
The syntax is almost identical, but you need to change the driver. Ensure your system has the libpq library installed.
Initialize Database:
sudo -u postgres psql -c "CREATE USER benchmark_user WITH PASSWORD 'password';"
sudo -u postgres psql -c "CREATE DATABASE benchmark_db OWNER benchmark_user;"
Execute Prepare:
sysbench /usr/share/sysbench/oltp_read_write.lua \
  --db-driver=pgsql \
  --pgsql-host=localhost \
  --pgsql-port=5432 \
  --pgsql-user=benchmark_user \
  --pgsql-password=password \
  --pgsql-db=benchmark_db \
  --tables=10 \
  --table-size=1000000 \
  prepare
Use the run command similar to MySQL but switch the parameters to --pgsql-*. Postgres manages transactions very strictly, and the efficiency becomes clear as the number of tables increases.
Understanding the “Vital” Metrics
Don’t panic at the wall of numbers. Focus on these three key lines:
- transactions (TPS): Number of transactions per second. The higher the TPS, the healthier the database. For example, a 2-Core VPS usually achieves around 500-800 TPS for a read-write test.
- queries (QPS): Total number of queries (Select, Insert…) per second.
- latency (ms):
- 95th percentile: This is the most realistic figure. It means 95% of queries completed faster than this value. If the 95th percentile exceeds 100ms, users will start to notice significant lag in the app.
Monitor the System During Testing
While sysbench is running, open another terminal window to monitor the server:
htop: Check CPU. If CPU is at 100% but TPS remains low, the queries might be missing indexes.iostat -xz 1: Check%utilof the hard drive. If it hits 100%, the disk is your bottleneck.
Experience shows that upgrading RAM from 8GB to 16GB sometimes barely increases TPS. However, switching from a standard SSD to NVMe makes a massive difference, especially during write tests.
Practical Advice
Absolutely never benchmark directly on Production during peak hours. You certainly don’t want a call from your boss at midnight because the system crashed. Set up a Staging environment with the exact same configuration for testing.
Run tests multiple times with increasing thread counts (1, 4, 8, 16, 32…). This helps you find the system’s “saturation point.” Sometimes adding more threads only causes latency to spike due to resource contention (locking).
Finally, don’t forget to clean up the battlefield:
sysbench /usr/share/sysbench/oltp_read_write.lua --db-driver=mysql ... cleanupHopefully, this tool gives you the confidence to answer: “How much load can the database handle?”. Good luck optimizing your systems!