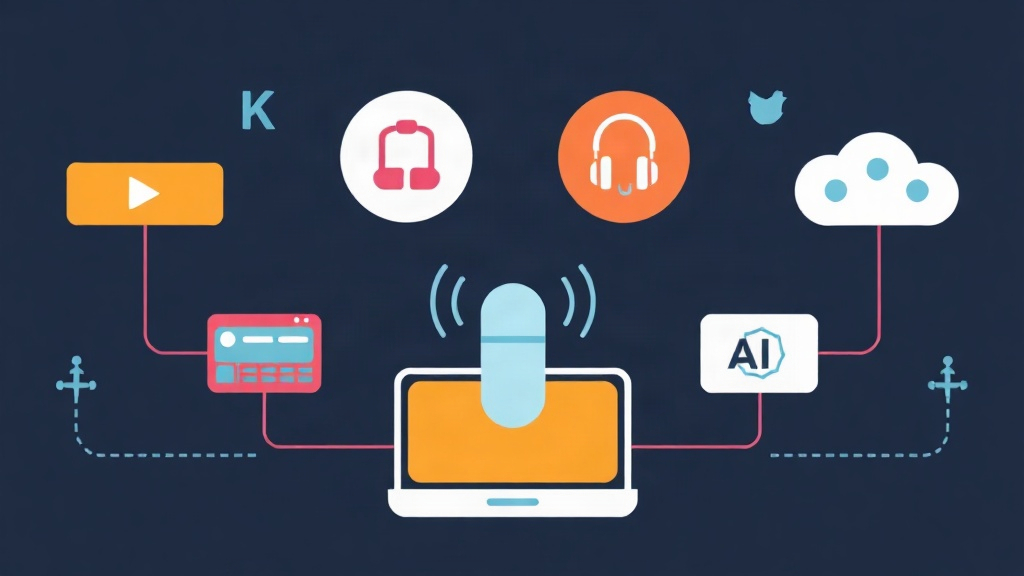
Say Goodbye to Latency Woes When Building Voice Bots
There was a time when creating a smooth conversational bot was the ultimate challenge for engineers. Previously, we had to manually stitch together three separate systems: Speech-to-Text (STT) for listening, an LLM for processing, and Text-to-Speech (TTS) for responding. This clunky process caused bots to take 3 to 5 seconds to reply, creating extremely unnatural silences.
The combination of OpenAI Realtime API and LiveKit has completely redefined this experience. Instead of waiting for sequential processing, audio data is streamed continuously via the WebRTC protocol. Real-world latency has now dropped below 500ms. At this speed, you can even interrupt the bot while it’s speaking, just like a natural human-to-human conversation.
Try Out the Voice Bot in 5 Minutes
To get started, you’ll need an OpenAI API Key (with credits), a LiveKit Cloud account, and Python 3.10 or higher.
1. Environment Setup
Initialize a virtual environment to keep your project clean. Run the following commands in your terminal:
python -m venv venv
source venv/bin/activate  # Or venv\Scripts\activate on Windows
pip install livekit-agents livekit-plugins-openai python-dotenv
2. Configure Environment Variables
Create a .env file and fill in the connection details. You can get a free URL and Key from the LiveKit Cloud dashboard:
LIVEKIT_URL=wss://your-project-id.livekit.cloud
LIVEKIT_API_KEY=YOUR_API_KEY
LIVEKIT_API_SECRET=YOUR_API_SECRET
OPENAI_API_KEY=sk-proj-xxx...
3. Deploying a Basic Agent
Below is the minimal source code for the agent.py file, enabling the bot to listen and respond instantly:
import asyncio
from dotenv import load_dotenv
from livekit.agents import JobContext, WorkerOptions, cli, multimodal
from livekit.plugins import openai

load_dotenv()

async def entrypoint(ctx: JobContext):
    # Directly connect to OpenAI's multimodal model
    model = openai.realtime.RealtimeModel(
        instructions="You are a professional virtual assistant. Keep your answers short and concise.",
        voice="alloy",
        temperature=0.8,
    )

    agent = multimodal.MultimodalAgent(model=model)

    await ctx.connect()
    agent.start(ctx.room)

    # Opening greeting
    await agent.say("Hello, I am ready!", allow_interruptions=True)

if __name__ == "__main__":
    cli.run_app(WorkerOptions(entrypoint_fnc=entrypoint))
Activate the bot using the command python agent.py dev. Now, simply access the LiveKit Sandbox to start chatting.
Why WebRTC and Realtime API are a Perfect Match?
Many developers wonder why not just use standard WebSockets for simplicity? The answer lies in handling audio in unstable network environments.
LiveKit: The Backbone for WebRTC Infrastructure
LiveKit acts as the orchestrator for bidirectional audio streams. It automatically handles complex technical issues like echo cancellation and packet loss compensation. If you were to build this infrastructure from scratch, it could take months just to handle connection errors across different devices.
OpenAI Realtime API: Thinking with Sound
Unlike traditional GPT models, the Realtime API directly accepts an Audio Stream. This provides three major advantages:
- Interruption Detection: The bot stops speaking as soon as it detects the user talking.
- Emotional Nuance: The AI understands tone and emphasis, making responses feel less robotic.
- Parallel Processing: Listening, thinking, and preparing a response all occur simultaneously.
Upgrade: Integrating Data Lookup Tools
A true assistant needs to do more than just chat. You can integrate additional functions (tools) so the bot can look up real-world information like order status or weather.
from livekit.agents import multimodal

def get_order_status(order_id: str):
    # Simulating a database query
    return f"Order {order_id} is out for delivery and will arrive in 20 minutes."

model = openai.realtime.RealtimeModel(
    instructions="Use the lookup tool when a customer asks about an order.",
)

agent = multimodal.MultimodalAgent(
    model=model,
    fnc_ctx=multimodal.FunctionContext().add_callable(get_order_status)
)
Real-world Experience and Optimization
After practical deployment, I’ve gathered some important notes to ensure the project doesn’t just run, but runs well.
1. The Cost Problem
The OpenAI Realtime API is not cheap, costing around $0.06 per minute of input audio. To save money, leverage LiveKit’s VAD (Voice Activity Detection) feature. Only send data to the cloud when someone is actually speaking to avoid wasting tokens on white noise.
2. Fine-tuning Sensitivity (VAD)
Sometimes the bot responds too quickly when the user is just taking a breath. Adjust the silence_duration_ms parameter to around 600ms – 800ms. This window is enough for the bot to distinguish between a pause and the end of a sentence.
3. Deployment Strategy
In a production environment, package your Agent into Docker. LiveKit operates on a Worker model, where each session consumes a certain amount of CPU resources. You should place your servers in regions close to OpenAI’s regions (such as US-East) to optimize transmission paths.
Building Voice AI is now simpler than ever. The key to success lies in how you design Function Calling and fine-tune your Prompts to create a unique personality for your bot. If you encounter any errors during installation, feel free to leave a question below!