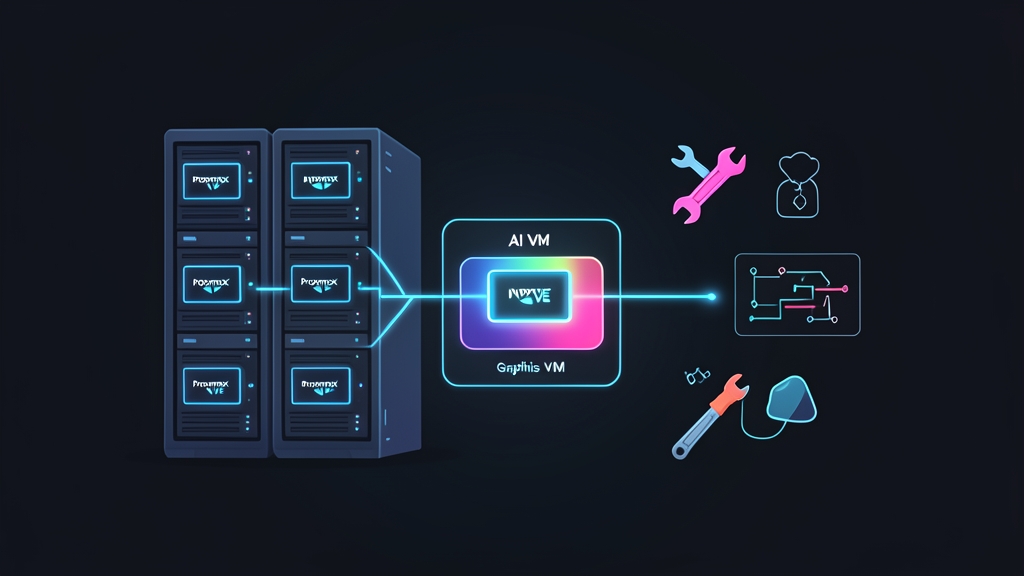
The Problem: The Costly Dilemma of Sharing Physical GPUs
If you have ever built a lab for an AI or graphics team, this scenario is probably familiar: you spend $1,000–$2,000 on an RTX 3090 24GB or Tesla T4 16GB, only to pass it through directly to a single VM via PCIe Passthrough. The result? The card sits idle 90% of the time.
Meanwhile, another engineer on the team who just needs 4GB of VRAM to test a Stable Diffusion model or cut a few quick clips is completely stuck due to a lack of resources.
In my personal homelab, I run a Proxmox VE 8.x cluster hosting 12 VMs and containers. Initially, I passed through my entire RTX 3090 to a single Windows VM. It was absurdly wasteful. VRAM is expensive, so making the most of every gigabyte is a top priority.
The solution here is NVIDIA vGPU (Virtual GPU). Instead of letting one VM monopolize the physical hardware, you slice the card into multiple virtual devices (mdev – Mediated Devices). Each virtual machine receives an allocated share of VRAM and compute power tailored to its actual needs. (If you are looking to share an integrated Intel GPU instead, check out our guide to configuring Intel i915 SR-IOV vGPU on Proxmox VE.)
Core Concept: How Does vGPU Work Under KVM?
vGPU runs on top of the VFIO mdev (Mediated Device) framework built into the Linux kernel and Proxmox’s QEMU/KVM stack. The host OS does not hand over the entire PCI device. Instead, it loads a specialized driver called the NVIDIA vGPU Host Manager.
This driver manages the card’s firmware directly. It slices CUDA cores, NVENC/NVDEC hardware encoders/decoders, and VRAM capacity into predefined profiles. Keep in mind the three primary profile types:
- Q Profile (Quadro/vWS – Virtual Workstation): Designed for 3D graphics, CAD workloads, and fully unlocked CUDA capabilities. Perfect for Premiere Pro, Blender, or 3D rendering.
- C Profile (Compute): Strips out display output capabilities and focuses entirely on AI inference, LLMs, and data processing.
- B Profile (Virtual PC) / A Profile (Virtual Apps): Intended for office productivity and smooth desktop displays while conserving system resources.
To get these profiles recognized properly, you need three key pieces: a host kernel with IOMMU enabled, the vGPU host driver (along with an unlock patch if using consumer GeForce/RTX cards), and a local licensing server (such as FastAPI-DLS) to continuously license the guest VMs.
Step-by-Step Tutorial: Setting Up NVIDIA vGPU on Proxmox VE
Step 1: Enable IOMMU on the Proxmox Host
First, SSH into your Proxmox node. You need to enable IOMMU in the bootloader. Open the GRUB configuration file:
nano /etc/default/grubLocate the GRUB_CMDLINE_LINUX_DEFAULT variable and append the appropriate parameter for your CPU:
# For Intel CPUs (Core i 4th Gen or Xeon E5 v3 and newer):
GRUB_CMDLINE_LINUX_DEFAULT="quiet intel_iommu=on iommu=pt"

# For AMD CPUs (Ryzen or EPYC):
GRUB_CMDLINE_LINUX_DEFAULT="quiet amd_iommu=on iommu=pt"
Save the file. Next, update GRUB and ensure the four VFIO kernel modules load at boot:
update-grub

cat <<EOF >> /etc/modules
vfio
vfio_iommu_type1
vfio_pci
vfio_virqfd
EOF

reboot
Once the host finishes rebooting, verify that IOMMU is active with the following command:
dmesg | grep -e DMAR -e IOMMUIf you see DMAR: IOMMU enabled or AMD-Vi: Initialized, your hardware is ready.
Step 2: Install the Host Driver and vgpu_unlock
Running enterprise hardware like a Tesla P4, T4, or A10/A16? You can directly install NVIDIA’s official vGPU driver. However, if you are repurposing consumer GeForce cards (like an RTX 3060 or 3090) to save money, you will need the Rust-based vgpu_unlock-rs utility to unlock mdev profiles.
Install the required kernel build tools and the Rust compiler:
apt update && apt install -y build-essential pve-headers-$(uname -r) git dkms cargo rustc

# Build the unlock tool for GeForce/RTX cards
git clone https://github.com/mbilker/vgpu_unlock-rs.git /opt/vgpu_unlock-rs
cd /opt/vgpu_unlock-rs
cargo build --release
Blacklist the open-source Nouveau driver to prevent device conflicts:
echo "blacklist nouveau" >> /etc/modprobe.d/blacklist.conf
update-initramfs -u
Download the Host Driver package (typically named NVIDIA-Linux-x86_64-*-vgpu-kvm.run) onto the host and run the installer with the DKMS flag:
chmod +x NVIDIA-Linux-x86_64-*-vgpu-kvm.run
./NVIDIA-Linux-x86_64-*-vgpu-kvm.run --dkms
Enable and start the management service, then check the supported mdev profile list:
systemctl enable --now nvidia-vgpu-mgr.service
mdevctl types
The command outputs specific profile identifiers—for example, nvidia-222 (corresponding to RTX A4000-4Q with 4GB VRAM) or nvidia-223 (8GB VRAM). Note down the identifier you want to assign to your VM in the next step.
Step 3: Assign the vGPU Profile to a Virtual Machine
Open the Proxmox Web UI and select the target VM (e.g., VM ID 101):
- Navigate to the Hardware tab > click Add > select PCI Device.
- In the Device field, choose the PCI address of your physical NVIDIA card.
- Check the box for MDev (Mediated Device).
- Under MDev Type, select your target profile (for instance, assign a 4GB VRAM profile to a VM running a quantized Llama 3 8B chatbot).
- Click Add to apply the changes.
If you prefer working via the CLI, you can achieve the exact same result with a single command:
qm set 101 -hostpci0 0000:01:00.0,mdev=nvidia-222Step 4: Install the Guest VM Driver and Configure Licensing
Power on the guest VM. A crucial warning: on the guest OS, never install regular GeForce drivers downloaded from the public NVIDIA website. You must install the official NVIDIA vGPU Guest Driver (its major version must match your host driver).
Once the driver is installed on the guest OS (such as Ubuntu 22.04), run the standard verification command:
nvidia-smiThe status table should now accurately display your allocated 4GB or 8GB of VRAM. However, NVIDIA enforces strict license checks: if the driver cannot contact a licensing server within 20 minutes, it will automatically throttle GPU clock speeds to minimum baseline levels (crippling performance).
The standard workaround for homelabs and internal setups is deploying a lightweight FastAPI-DLS Docker container on Proxmox, then pulling the client token onto the guest:
# Run directly on the Guest VM (Linux):
curl --insecure -L -X GET https://<IP_DLS_SERVER>/-/client-token -o /etc/nvidia/ClientConfigToken/client_configuration_token.tok
systemctl restart nvidia-gridd
Check the activation status:
nvidia-smi -q | grep -i "license"If you see License Status: Licensed, congratulations! Your virtual machine now has full access to allocated GPU resources and can run heavy workloads 24/7 without thermal or licensing throttling.
Conclusion: Configure Once, Save Long-Term
Setting Up NVIDIA vGPU takes about an hour or two of hands-on work with kernel tweaks and licensing configuration. The payoff, however, is massive. A single 24GB RTX card can comfortably power three VMs at once: an 8GB instance serving AI models, an 8GB workstation editing in Premiere, and the remaining VRAM dedicated to developer testing environments.
What GPUs are you running in your lab? If you run into issues with mdev profiles failing to load after a Proxmox kernel upgrade, drop your logs in the comments and let’s troubleshoot together!