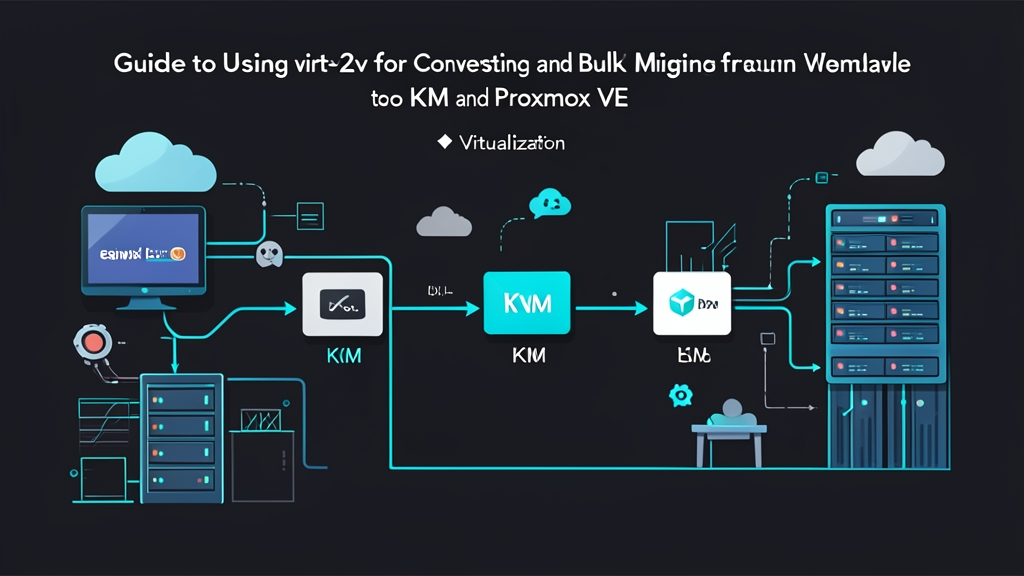
Background: When the VMware Bill Triples
Following Broadcom’s acquisition of VMware and its aggressive pivot to costly subscription-only licensing, vSphere licensing costs for many enterprises skyrocketed three- to fivefold. For infrastructures running dozens or hundreds of VMs, migrating to Proxmox VE 8.x or pure KVM has become a vital priority.
Many assume that simply copying the .vmdk file to a new host and running qemu-img convert is enough. In practice, it is rarely that simple. Windows guests will immediately hit an INACCESSIBLE_BOOT_DEVICE Blue Screen of Death (BSOD), while Linux guests frequently drop into dracut rescue or trigger a kernel panic.
The root cause lies in storage controllers and chipset drivers. VMware typically utilizes LSI Logic SAS or PVSCSI controllers, whereas KVM achieves optimal performance with VirtIO SCSI. If the kernel lacks the VirtIO driver when loading initramfs, the operating system will lose track of its root disk during boot.
This is precisely where virt-v2v excels. It modifies the disk image offline via libguestfs: injecting VirtIO drivers into the Windows Registry or rebuilding the initramfs on Linux, removing VMware Tools, converting disk formats, and generating a ready-to-use VM configuration. The entire process runs automatically with a single command.
Preparing the Conversion Environment
You will need an intermediate Linux conversion host with at least 4 CPU cores, 8GB of RAM, and a 10GbE network connection to prevent I/O bottlenecks. In leaner infrastructures, you can run the tool directly on a target Proxmox VE node.
Install the toolchain on Proxmox VE or Debian 12:
apt-get update
apt-get install -y virt-v2v libguestfs-tools
On RHEL 9 or Rocky Linux 9:
sudo dnf install -y virt-v2v guestfs-toolsTo migrate Windows VMs (from Server 2012 R2 to 2022), you must download the official VirtIO driver ISO from the Fedora Project into the standard directory:
mkdir -p /usr/share/virtio-win
wget https://fedorapeople.org/groups/virt/virtio-win/direct-downloads/stable-virtio/virtio-win.iso \
     -O /usr/share/virtio-win/virtio-win.iso
Executing the Migration
Save your vCenter or ESXi password to a dedicated file to prevent exposing sensitive credentials in your terminal history:
echo "ESXi_Admin_Password_Here" > /root/.esxi_pass
chmod 600 /root/.esxi_pass
Important note: power off the VM on VMware (cold migration) and delete all snapshots prior to running the command to prevent disk fragmentation.
1. Direct Conversion to KVM / libvirt
The following command pulls the VM db-master-01 directly from a standalone ESXi host, converts it to qcow2, and automatically registers it in the default libvirt storage pool:
virt-v2v -ic esx://[email protected]/?no_verify=1 \
         --password-file /root/.esxi_pass \
         db-master-01 \
         -o libvirt \
         -os default \
         -of qcow2
If pulling from a vCenter cluster, change the connection URI to the format vpx://[email protected]/Datacenter/Cluster/esxi-node-01?no_verify=1.
2. Converting Virtual Machines for Proxmox VE
Proxmox manages disks by VM ID and dedicated storage volumes. The standard workflow consists of four steps: exporting the disk to a staging directory, creating the VM shell, importing the disk into LVM-Thin or ZFS, and configuring the boot order.
# Step 1: Extract and convert the VM from ESXi to a local qcow2 file
virt-v2v -ic esx://[email protected]/?no_verify=1 \
         --password-file /root/.esxi_pass \
         app-server \
         -o local \
         -os /mnt/scratch \
         -of qcow2

# Step 2: Create a new VM shell with ID 105 on Proxmox
qm create 105 --name app-server --memory 8192 --cores 4 --net0 virtio,bridge=vmbr0

# Step 3: Import the virtual disk into local-lvm storage
qm importdisk 105 /mnt/scratch/app-server-sda local-lvm

# Step 4: Attach the disk to the virtio-scsi-pci controller and set boot order
qm set 105 --scsihw virtio-scsi-pci --scsi0 local-lvm:vm-105-disk-0,discard=on,ssd=1
qm set 105 --boot order=scsi0
3. Automating Batch Migrations with Bash
When migrating dozens of VMs during a maintenance window, a sequential Bash script saves hours of manual execution and minimizes human error.
#!/usr/bin/env bash
set -euo pipefail

ESXI_IP="192.168.10.50"
PASS_FILE="/root/.esxi_pass"
OUTPUT_DIR="/mnt/scratch"
LIST_FILE="migration_vms.txt"

while IFS= read -r vm || [[ -n "$vm" ]]; do
    [[ -z "$vm" || "$vm" =~ ^# ]] && continue

    echo "[$(date +'%H:%M:%S')] Migrating: $vm..."

    if virt-v2v -ic "esx://root@${ESXI_IP}/?no_verify=1" \
                 --password-file "$PASS_FILE" \
                 "$vm" \
                 -o local \
                 -os "$OUTPUT_DIR" \
                 -of qcow2; then
        echo "[SUCCESS] Completed $vm" >> migration.log
    else
        echo "[FAILED] Failed on $vm, check logs for details" >> migration.log
    fi
done < "$LIST_FILE"
Create a migration_vms.txt file containing the exact VM names as registered on ESXi:
billing-api
auth-service
redis-cluster-01
Post-Migration Verification and Cleanup
A 100GB disk over a 1Gbps network takes approximately 18 to 25 minutes to transfer. Open an additional terminal tab to monitor disk throughput and file write progress:
# Monitor real-time disk write throughput
iostat -mh 2

# Check generated file size
watch -n 3 "ls -lh /mnt/scratch"
After powering on the new VM with qm start 105 or virsh start web-production-01, open the VNC console immediately to observe the kernel boot process. Once inside the OS, address these three post-migration tasks:
- Rename network interfaces on Linux: VMware typically names NICs
ens192orens160, whereas KVM recognizes VirtIO NICs asens18oreth0. Verify withip linkand update configuration files in/etc/netplan/or/etc/network/interfaces, otherwise the VM will lose network connectivity. - Verify Windows drivers: Open
devmgmt.msc, verify that Storage controllers displaysRed Hat VirtIO SCSI controller, and ensure no devices show a yellow exclamation mark. - Clean up legacy services: Completely uninstall VMware Tools to prevent unnecessary background services. On Linux, run
apt purge open-vm-tools; on Windows, uninstall via Programs and Features, then reboot one final time.