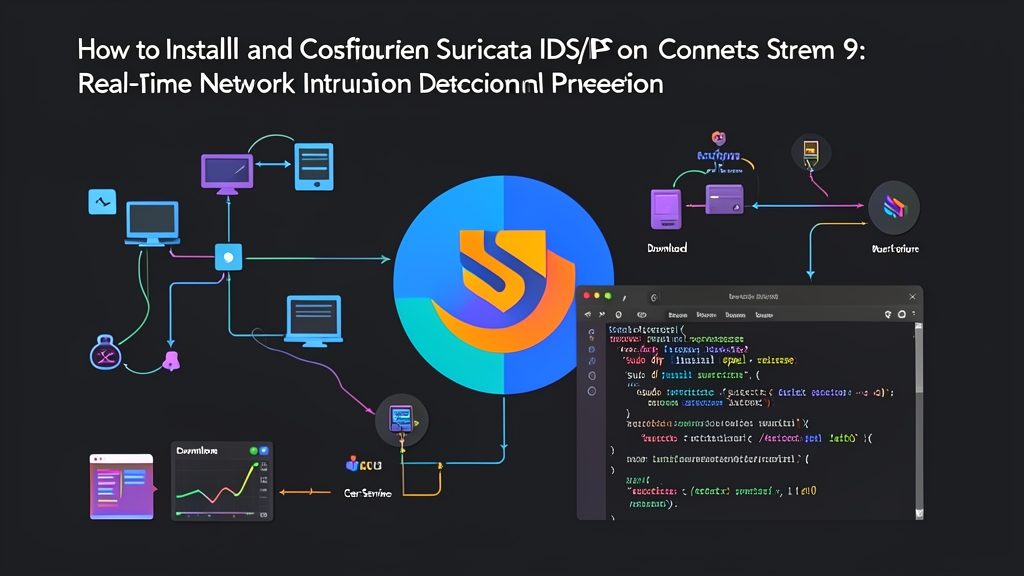
Background & Why It’s Needed: When Traditional Firewalls Aren’t Enough
Think your server is secure just because you set up firewalld, closed unused ports, and changed the SSH port to 2222? Think again. A SQL Injection query or a request exploiting a Log4j/RCE vulnerability will still slip right through port 80 or 443. Layer 3/Layer 4 firewalls like iptables or firewalld only inspect source IPs, destination IPs, and ports. When it comes to the packet payload inside, they are completely blind.
That is why you need a NIDS/NIPS (Network Intrusion Detection / Prevention System) equipped with Deep Packet Inspection (DPI) capabilities.
When building a CentOS Stream 9 gateway cluster handling 300–500 Mbps of company traffic, I chose Suricata as our primary line of defense. Unlike Snort 2.x, which runs single-threaded and easily bottlenecks CPU resources, Suricata scales multi-threading smoothly across 16–32 core servers. It evenly distributes load using the AF-PACKET engine, preventing packet drops during sudden traffic spikes.
Installing Suricata on CentOS Stream 9
Suricata is available in the CentOS Stream 9 EPEL repository. However, you first need to enable the CRB (CodeReady Builder) repository to pull in all required dependencies.
Update the system and enable the necessary repositories:
dnf update -y
dnf config-manager --set-enabled crb
dnf install -y epel-release epel-next-release
Install Suricata along with two handy auxiliary tools: jq (for processing JSON logs) and ethtool (for tweaking network interface settings):
dnf install -y suricata jq ethtoolVerify the compiled modules after installation:
suricata --build-infoKeep an eye on three key items: AF_PACKET, PCRE, and Libnetfilter_queue. If all show YES, the engine is ready for both IDS mode (passive sniffing) and IPS mode (inline blocking via NFQUEUE).
Configuring Suricata: IDS Mode and Rule Management
1. Identify the Network Interface and Internal Subnet
List your active network interfaces:
ip -br addrAssume the network interface receiving external traffic is eth0 and the internal server subnet to protect is 192.168.1.0/24.
2. Edit the suricata.yaml Configuration File
Open the primary configuration file /etc/suricata/suricata.yaml:
nano /etc/suricata/suricata.yamlFocus on editing two core sections:
Define your internal subnet (HOME_NET): Do not leave this set to any. Assigning your actual server IP ranges helps Suricata accurately identify traffic flow directions and significantly reduces false positives:
vars:
  address-groups:
    HOME_NET: "[192.168.1.0/24, 10.0.0.0/8]"
    EXTERNAL_NET: "!$HOME_NET"
Configure AF-PACKET capture: Scroll to the af-packet section and update interface: eth0 to match your actual network interface:
af-packet:
  - interface: eth0
    cluster-id: 99
    cluster-type: cluster_flow
    defrag: yes
    use-mmap: yes
    tpacket-v3: yes
3. Disable Network Card Packet Offloading (Mandatory)
Modern NICs typically enable LRO/GRO by default to coalesce small packets into larger chunks (up to 64KB) before passing them to the OS. While this reduces CPU overhead, it breaks DPI engines. Suricata cannot reliably match signatures against non-standard coalesced packets, causing attacks to slip through undetected.
Disable offload features immediately on the monitored interface:
ethtool -K eth0 rx off tx off gso off gro offTo persist these settings across reboots on CentOS Stream 9, configure them with NetworkManager:
nmcli connection modify eth0 ethtool.feature-rx off ethtool.feature-tx off ethtool.feature-gro off ethtool.feature-gso off
nmcli connection up eth0
4. Download Signature Rules with suricata-update
Suricata bundles the suricata-update utility out of the box. This command automatically fetches the free Emerging Threats Open (ET Open) ruleset, containing over 40,000 signatures updated daily:
suricata-updateThe combined ruleset will reside at /var/lib/suricata/rules/suricata.rules. Before starting the service, test your YAML file for indentation errors or syntax issues:
suricata -T -c /etc/suricata/suricata.yaml -vWhen you see the message Configuration provided was successfully verified, everything is properly configured. Enable and start the service:
systemctl enable --now suricata
systemctl status suricata
Testing & Monitoring: Reading Logs and Simulating Attacks
Suricata writes logs to /var/log/suricata/, with two primary log files:
fast.log: Records a concise single-line summary per alert, making it ideal for quick real-time monitoring viatail -f.eve.json: Comprehensive JSON logs containing full metadata, DNS queries, HTTP headers, TLS handshakes, and network flows.
1. Send a Test Payload to Trigger Alerts
No need for complicated exploitation tools. Simply use curl to query the IDS community standard test domain:
curl http://testmyids.comThis website returns the string uid=0(root) gid=0(root), simulating the response of a compromised root shell. Check fast.log immediately:
tail -n 5 /var/log/suricata/fast.logSuricata will catch it immediately:
[1:2100498:7] GPL ATTACK_RESPONSE id check returned root [**] [Classification: Potentially Bad Traffic] [Priority: 2] {TCP} 217.160.0.187:80 -> 192.168.1.50:492842. Filter Real-Time Logs with jq
The eve.json file can log tens of thousands of events per hour, making it chaotic to read with nano or cat. Use jq to extract only the critical alerts:
tail -f /var/log/suricata/eve.json | jq -c 'select(.event_type=="alert") | {time: .timestamp, alert: .alert.signature, src: .src_ip, dst: .dest_ip}'The output is clean, compact, and ready for ingestion into Graylog or the ELK Stack:
{"time":"2026-11-05T12:00:15.123456+0700","alert":"GPL ATTACK_RESPONSE id check returned root","src":"217.160.0.187","dst":"192.168.1.50"}Production tip: Do not rush into switching directly to IPS mode to drop packets. Let Suricata run in IDS mode for at least 1–2 weeks. This observation period allows you to analyze baseline system behavior, fine-tune rules, and whitelist internal vulnerability scanners or automated backups—preventing you from inadvertently blocking legitimate users right after enabling IPS.