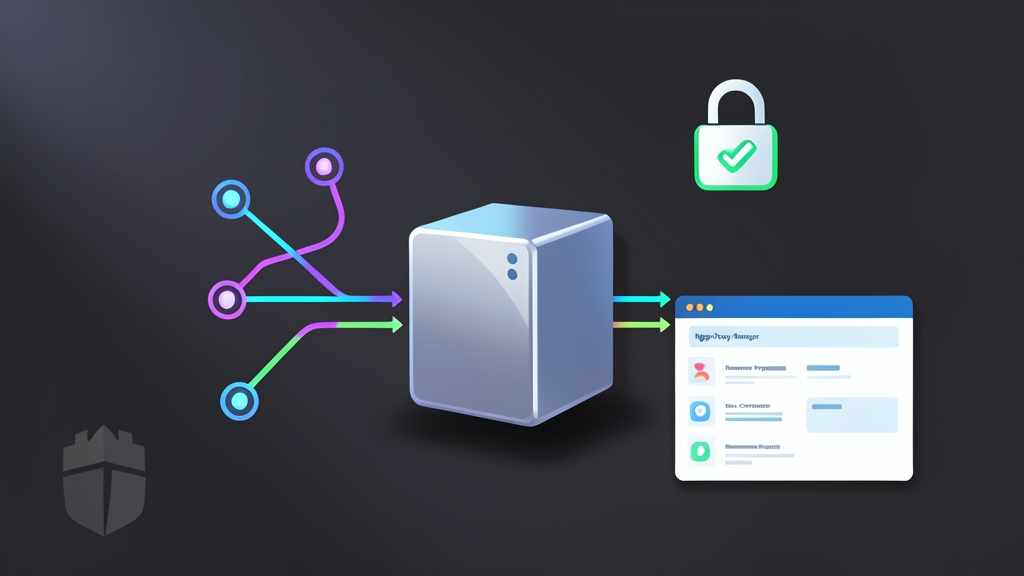
Tinkering with config files line by line inside /etc/nginx/sites-available/, reloading the service, and getting greeted by a bright red syntax error is an experience every web administrator knows all too well. Each SSL renewal with Certbot brings that familiar suspense of wondering whether the cron job will actually execute. Once your infrastructure scales past 15–20 subdomains, manual configuration turns into a minefield of missed details. Nginx Proxy Manager (NPM) streamlines this entire workflow into an intuitive web interface, replacing sprawling config files with a few clean input forms.
1. Quick Start: Deploy Nginx Proxy Manager in 5 Minutes
On a fresh Ubuntu 22.04 or 24.04 VPS, this is always the first service I spin up to act as the reverse proxy gateway for all internal web applications. Everything comes packaged and ready to go with Docker Compose.
Install the Docker engine and Compose plugin on Ubuntu:
sudo apt update && sudo apt install -y docker.io docker-compose-v2
sudo systemctl enable --now docker
Create a directory for your configuration:
mkdir -p ~/npm && cd ~/npm
nano docker-compose.yml
Paste the following contents into docker-compose.yml:
services:
  app:
    image: 'jc21/nginx-proxy-manager:latest'
    restart: unless-stopped
    ports:
      - '80:80'
      - '81:81'
      - '443:443'
    volumes:
      - ./data:/data
      - ./letsencrypt:/etc/letsencrypt
Start the container in detached mode:
docker compose up -dWait about 30–45 seconds for the container to initialize its default SQLite database. Then, open your browser and navigate to: http://SERVER_IP:81.
Default login credentials:
- Email:
[email protected] - Password:
changeme
The system will prompt you to change your email and password immediately after your first login. Do not skip this step, as port 81 is exposed directly to the public internet.
2. Deep Dive: How Nginx Proxy Manager Works Under the Hood
Where Does Traditional Nginx Usually Fall Short?
Under the conventional workflow, routing a domain to a Node.js app (port 3000) or a Docker container (port 8080) requires creating a dedicated virtual host file. You need to define upstream servers, set up the location / block, configure proxy_pass, and manually forward headers like X-Real-IP and X-Forwarded-For.
Next comes running Certbot to obtain SSL certificates. When your system scales to dozens of apps, missing a single semicolon (;) in one configuration file will prevent all of Nginx from reloading.
How Does Nginx Proxy Manager Handle This?
NPM doesn’t rewrite Nginx from scratch. Instead, it functions as a centralized management panel orchestrating Nginx and Certbot inside the container:
- Every time you add a host via the Web UI, the system generates a standardized
.conffile in the./data/nginx/proxy_host/directory. - Certbot runs inside the container and automatically handles ACME challenges via HTTP-01 or DNS-01 to request certificates from Let’s Encrypt, storing them in
./letsencrypt. - NPM triggers an instant
nginx -s reloadwithout dropping any active HTTP connections.
Step-by-Step: Creating a Production-Ready Proxy Host
- Navigate to Hosts → Proxy Hosts → click Add Proxy Host.
- Details Tab:
- Domain Names: Enter your domain (e.g.,
api.itfromzero.com). Verify that the DNS A record correctly points to your VPS IP address. - Scheme: Keep it as
httpif your internal application doesn’t have SSL enabled. - Forward Hostname / IP: Enter the server’s internal IP address or the Docker container name if sharing the same network.
- Forward Port: Enter the application port (e.g.,
3000). - Toggle on Websockets Support (mandatory if your web app relies on Socket.io, NestJS, or Next.js live reload/chat features).
- Enable Block Common Exploits for quick protection against typical attack payloads like basic SQL injection and directory traversal.
- Domain Names: Enter your domain (e.g.,
- SSL Tab:
- Under SSL Certificate, select Request a new SSL Certificate.
- Enable Force SSL to automatically redirect all HTTP traffic (port 80) to HTTPS (port 443).
- Turn on HTTP/2 Support and HSTS Enabled to boost page load performance and defend against protocol downgrade attacks.
- Check I Agree to the Let’s Encrypt Terms of Service and click Save.
3. Advanced: Access Lists and Internal Docker Networks
Locking Down Admin Dashboards with Access Lists
Sensitive dashboards like Portainer, pgAdmin, or internal backup tools should never be publicly exposed. The Access Lists feature in NPM provides a two-layer defense:
- HTTP Basic Authentication: Prompts visitors for a username and password via a browser dialog before they can even reach the application’s login screen.
- IP Whitelisting: Restricts access exclusively to trusted IP ranges (such as your corporate network IP
14.241.x.x/32or a WireGuard VPN IP); all unauthorized requests immediately receive a 403 Forbidden response.
Connecting Containers Directly via Docker Networks
Exposing container ports directly to the host machine using ports: ["8080:8080"] leaves services vulnerable to automated port scans. The most secure approach is placing NPM and backend applications inside a shared internal bridge network:
# Create shared bridge network
docker network create proxy-net
Update the docker-compose.yml file for Nginx Proxy Manager to attach to this network:
services:
  app:
    image: 'jc21/nginx-proxy-manager:latest'
    restart: unless-stopped
    ports:
      - '80:80'
      - '81:81'
      - '443:443'
    volumes:
      - ./data:/data
      - ./letsencrypt:/etc/letsencrypt
    networks:
      - proxy-net

networks:
  proxy-net:
    external: true
Run docker compose up -d to apply the changes. Now, for any web application attached to proxy-net, you can simply enter its container name (e.g., strapi-cms or grafana) in the Forward Hostname field in NPM rather than dealing with dynamic IP addresses.
4. Battle-Tested Tips for Ubuntu Deployments
Resolving Port 80 and 443 Conflicts on Existing VPS Instances
The most common setup error is Docker reporting: bind: address already in use. This indicates another process on your server is already binding to port 80 or 443. Identify the conflicting process immediately with:
sudo ss -tulpn | grep -E ':(80|443)'If you see pre-installed instances of apache2 or nginx occupying those ports, stop them and disable automatic startup:
sudo systemctl stop nginx apache2
sudo systemctl disable nginx apache2
Securing Admin Port 81 from the Public Internet
Leaving port 81 publicly accessible makes it an easy target for brute-force attacks against your admin account. Here are two ways to harden it:
- Bind to localhost in docker-compose.yml: Change the port mapping to
- '127.0.0.1:81:81'. Whenever you need to configure NPM, establish an SSH tunnel from your local machine using:ssh -L 8181:localhost:81 user@SERVER_IPand openhttp://localhost:8181in your browser. - Create a Proxy Host for NPM itself: Point an internal subdomain (such as
npm.internal.yourdomain.com) to127.0.0.1:81and enforce an Access List with strict IP restrictions.
A Reliable Backup Strategy
Your entire proxy configuration and all SSL certificates live inside two directories: ./data and ./letsencrypt. To prevent SQLite database corruption caused by copying files during an active write operation, briefly pause the container before creating an archive:
cd ~/npm
docker compose pause
tar -czvf npm-backup-$(date +%F).tar.gz data/ letsencrypt/
docker compose unpause
Pausing takes only around 2 seconds, causes virtually no network disruption, and guarantees that your backup archive remains 100% consistent.