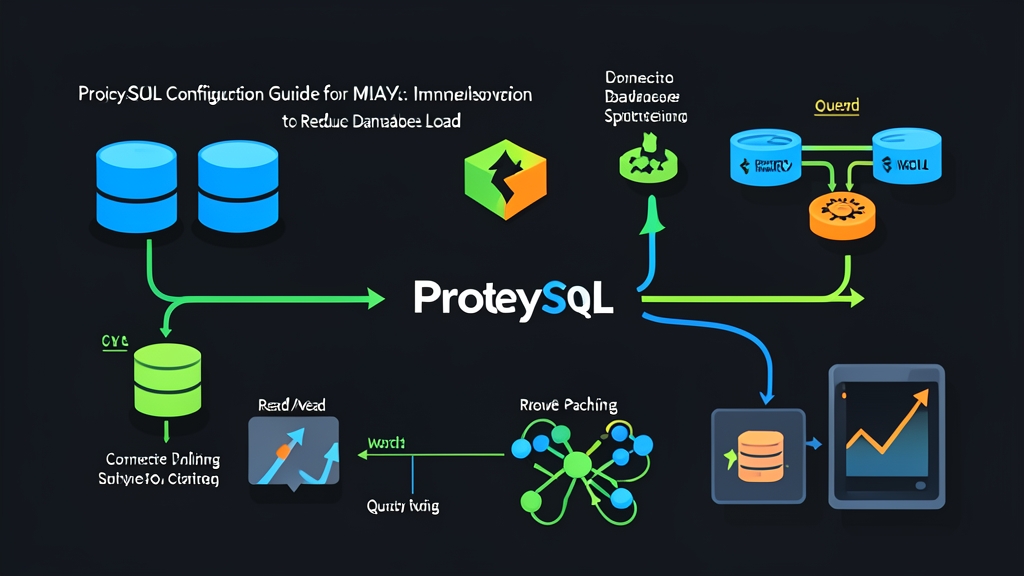
Context & Why Do You Need ProxySQL?
When web traffic surges, the database layer is often the first single point of failure. The most common solution is setting up a MySQL replication cluster: one Master node handling writes alongside 2-3 Slave nodes absorbing read traffic.
However, this architecture introduces a tough challenge for the application layer. How does the app determine which queries belong on the Master and which should go to the Slaves? Forcing engineering teams to refactor every repository in their codebase can take weeks and introduces significant regression risks.
On top of that, connection pressure creates another severe bottleneck. During flash sales or peak traffic events, thousands of web workers open simultaneous connections to MySQL. With each connection consuming roughly 2MB to 4MB of RAM, the database quickly hits its max_connections ceiling, causing thread thrashing and crashing services across the board.
ProxySQL comprehensively solves these issues. Acting as an intelligent Layer 7 reverse proxy, ProxySQL delivers three critical capabilities:
- Transparent Read/Write Splitting: The application connects to a single ProxySQL endpoint. The proxy parses incoming SQL statements automatically:
SELECTqueries are routed to Slaves, whileINSERT/UPDATE/DELETEstatements are directed to the Master. - High-Performance Connection Pooling: ProxySQL multiplexes 5,000 client connections down to a pool of just 50-100 physical connections to the MySQL backend. This conserves gigabytes of RAM and eliminates continuous TCP/TLS handshake latency.
- In-Memory Query Caching: Results of repetitive read queries are cached directly in ProxySQL memory with configurable TTLs. Responses are served in under 1ms without ever touching MySQL disks.
Keep replication lag in mind. Because MySQL replication is asynchronous, a user who creates an order and immediately refreshes the page might not see it if the read query hits a Slave lagging by 0.5 seconds. Configure ProxySQL to strictly monitor replication lag or retain critical read-after-write operations on the Master.
Installing ProxySQL
ProxySQL supports most major Linux distributions. Here are the standardized installation steps on Ubuntu 20.04/22.04 LTS:
# Install prerequisite packages
sudo apt-get update && sudo apt-get install -y wget gnupg lsb-release

# Add ProxySQL official GPG key and repository
wget -qO - https://repo.proxysql.com/ProxySQL/proxysql-2.5.x/repo_pub_key | gpg --dearmor | sudo tee /usr/share/keyrings/proxysql-keyring.gpg > /dev/null
echo "deb [signed-by=/usr/share/keyrings/proxysql-keyring.gpg] https://repo.proxysql.com/ProxySQL/proxysql-2.5.x/$(lsb_release -sc)/ ./" | sudo tee /etc/apt/sources.list.d/proxysql.list

# Install and enable the service
sudo apt-get update && sudo apt-get install -y proxysql
sudo systemctl enable --now proxysql
sudo systemctl status proxysql
Once successfully launched, ProxySQL listens on two default ports:
- Port 6032: The Admin Interface used for management via SQL syntax (default credentials:
admin/admin). - Port 6033: The traffic port accepting queries from applications (replacing standard port 3306).
Step-by-Step Configuration
ProxySQL architecture operates across three configuration layers: MEMORY (runtime editing), RUNTIME (actively serving traffic), and DISK (persisted to SQLite at /var/lib/proxysql/proxysql.db). The standard workflow is to modify configs in MEMORY, load them into RUNTIME, and persist them to DISK.
1. Defining Backend Servers
Log in to the Admin Interface using your MySQL client:
mysql -u admin -padmin -h 127.0.0.1 -P 6032 --prompt='ProxySQLAdmin> 'Assume your infrastructure consists of Master 192.168.1.10 and Slave 192.168.1.11. We group them into two tiers: Hostgroup 10 for Writes (Master) and Hostgroup 20 for Reads (Slave).
-- Register Master to Hostgroup 10 (limit 200 connections)
INSERT INTO mysql_servers (hostgroup_id, hostname, port, max_connections, weight)
VALUES (10, '192.168.1.10', 3306, 200, 1000);

-- Register Slave to Hostgroup 20 (limit 500 connections)
INSERT INTO mysql_servers (hostgroup_id, hostname, port, max_connections, weight)
VALUES (20, '192.168.1.11', 3306, 500, 1000);

-- Load configuration to Runtime and persist to Disk
LOAD MYSQL SERVERS TO RUNTIME;
SAVE MYSQL SERVERS TO DISK;
2. Declaring Database Users
ProxySQL authenticates incoming client credentials before proxying requests to backend MySQL servers. Ensure the app_user account exists with identical passwords across all database nodes.
-- Route this user to Hostgroup 10 (Master) by default
INSERT INTO mysql_users (username, password, default_hostgroup, active)
VALUES ('app_user', 'MatKhauSieuKho123@', 10, 1);

LOAD MYSQL USERS TO RUNTIME;
SAVE MYSQL USERS TO DISK;
3. Configuring Read/Write Splitting
We classify and route queries using Regular Expressions (Regex) in the mysql_query_rules table. Rules with lower rule IDs are evaluated first:
DELETE FROM mysql_query_rules;

-- Rule 1: Keep SELECT ... FOR UPDATE on Master to prevent locking the wrong node
INSERT INTO mysql_query_rules (rule_id, active, match_pattern, destination_hostgroup, apply)
VALUES (1, 1, '(?i)^SELECT.*FOR UPDATE', 10, 1);

-- Rule 2: Route all regular SELECT queries to Slave
INSERT INTO mysql_query_rules (rule_id, active, match_pattern, destination_hostgroup, apply)
VALUES (2, 1, '(?i)^SELECT', 20, 1);

LOAD MYSQL QUERY RULES TO RUNTIME;
SAVE MYSQL QUERY RULES TO DISK;
The (?i) flag ensures case-insensitive regex matching. The apply = 1 parameter stops evaluation of subsequent rules as soon as a match occurs, ensuring FOR UPDATE queries halt at Rule 1 and route straight to the Master.
4. Tuning Connection Pooling
ProxySQL multiplexing dramatically decreases backend connection churn. You can fine-tune idle connection ratios and connection lifecycles via these two global variables:
-- Maintain at least 30% idle connections in the pool to handle traffic spikes
SET mysql-free_connections_pct = 30;

-- Recreate connections after 30 minutes (1800000ms) to prevent backend memory leaks
SET mysql-connection_max_age_ms = 1800000;

LOAD MYSQL VARIABLES TO RUNTIME;
SAVE MYSQL VARIABLES TO DISK;
5. Enabling In-Memory Query Caching
For infrequently changing data such as product categories or system configurations, caching query results in ProxySQL RAM significantly offloads Slave CPU. Cache duration is set in milliseconds via cache_ttl:
-- Cache categories query results for 10 seconds (10000ms)
INSERT INTO mysql_query_rules (rule_id, active, match_pattern, destination_hostgroup, cache_ttl, apply)
VALUES (3, 1, '(?i)^SELECT.*FROM\s+categories', 20, 10000, 1);

LOAD MYSQL QUERY RULES TO RUNTIME;
SAVE MYSQL QUERY RULES TO DISK;
On category tables sustaining 2,000 QPS, this rule cuts up to 95% of queries headed to the backend, allowing the Slave database to run virtually idle.
Testing & Monitoring
Update your application’s database host configuration to point to ProxySQL on port 6033. Verify query routing from the CLI:
# Run a SELECT query to verify routing to the Slave
mysql -u app_user -pMatKhauSieuKho123@ -h 127.0.0.1 -P 6033 -e "SELECT @@hostname;"

# Run an INSERT query to verify writing to the Master
mysql -u app_user -pMatKhauSieuKho123@ -h 127.0.0.1 -P 6033 -e "INSERT INTO my_db.logs (message) VALUES ('test_proxysql');"
Monitoring Performance with the stats Schema
ProxySQL collects real-time operational metrics inside its stats database. Three essential tables to inspect regularly include:
-- 1. Check connection pool status and query counts per node
SELECT hostgroup, srv_host, Queries, ConnUsed, ConnFree, ConnOK
FROM stats.stats_mysql_connection_pool;

-- 2. Check hit counts for each routing rule
SELECT rule_id, hits FROM stats.stats_mysql_query_rules;

-- 3. Check Query Cache memory efficiency
SELECT * FROM stats.stats_mysql_query_cache;
As long as ConnFree maintains a healthy buffer and query cache hits steadily increase, your database tier is primed to handle peak traffic effortlessly.