Background: Don’t Rely Solely on Firewalls for Database Security
Much like the defense strategies needed when securing a PostgreSQL server on Linux, many infrastructure engineers still rely on simply changing port 3306 or setting up iptables/UFW, assuming the database is secure. Reality is far more brutal. Once a web application on the same internal network suffers an SSRF or RCE vulnerability, the path from the web server to MySQL is wide open.
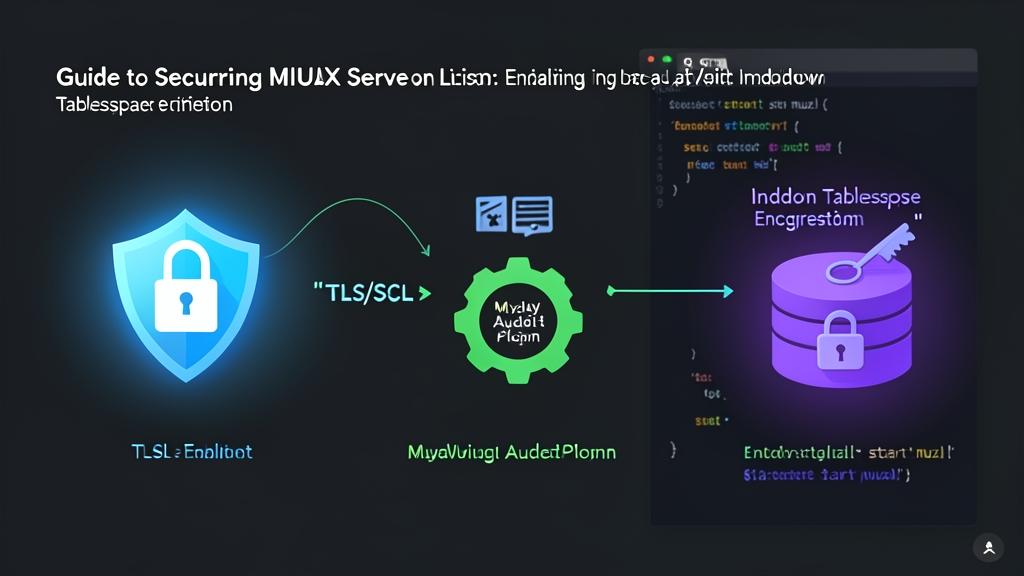
A database system compliant with PCI-DSS or ISO 27001 must strictly control three vital defense layers:
- Data-in-Transit: Without SSL/TLS enabled, the backend and database communicate entirely in cleartext. An eavesdropper on a network switch or an adjacent container only needs to run
tcpdumpto capture credentials and sensitive transaction data. - Data-at-Rest: Suppose an attacker gains access to a
.sqlbackup or a VPS NVMe drive snapshot. Running thestringscommand on.ibdtablespace files is enough to extract all raw data without needing the root password. - Auditing & Compliance: If data disappears in the middle of the night and detailed query logs are missing, you will be completely in the dark. Who executed the DROP command? From which IP address? At what exact timestamp?
The first critical step is strengthening administrative credentials. I always use the password generator at toolcraft.app/en/tools/security/password-generator to generate 24-32 character passwords containing uppercase, lowercase, numbers, and special characters. Because the tool runs purely client-side in the browser, there is zero risk of passwords leaking to an external server. Never reuse old passwords for the MySQL root account or application users.
Environment Preparation & Directory Permissions
The practice environment used in this guide is Ubuntu Server 22.04 LTS running MySQL 8.0.36. If you are using Rocky Linux 9 or RHEL, the primary configuration file resides at /etc/my.cnf instead of /etc/mysql/mysql.conf.d/mysqld.cnf.
1. Setting Up Directories for Certificates and Keyring
TLS certificates and the InnoDB master key must be protected at the file system level (which pairs well with systemd hardening for service isolation). The mysql user must be the only entity with read/write permissions:
# Directory for TLS certificates (if provisioned separately)
sudo mkdir -p /etc/mysql/certs
sudo chown -R mysql:mysql /etc/mysql/certs
sudo chmod 700 /etc/mysql/certs

# Secure directory for the InnoDB Master Key
sudo mkdir -p /var/lib/mysql-keyring
sudo chown -R mysql:mysql /var/lib/mysql-keyring
sudo chmod 700 /var/lib/mysql-keyring
2. Generating TLS/SSL Certificate Pairs
MySQL provides the mysql_ssl_rsa_setup utility to quickly generate self-signed certificate pairs. Run the following command if certificates do not already exist in your data directory:
sudo mysql_ssl_rsa_setup --datadir=/var/lib/mysql --uid=mysql
This command automatically generates a complete set of files: ca.pem, server-cert.pem, server-key.pem, client-cert.pem, and client-key.pem in the /var/lib/mysql directory.
Detailed Configuration: TLS, Encryption & Audit Log
1. Enforcing Full Connection Encryption (TLS v1.2 & v1.3)
Open the primary MySQL Server configuration file:
sudo nano /etc/mysql/mysql.conf.d/mysqld.cnf
Add the following directives to the [mysqld] block to completely disable vulnerable TLS 1.0 and 1.1 protocols:
[mysqld]
# Paths to certificate and private key
ssl_ca = /var/lib/mysql/ca.pem
ssl_cert = /var/lib/mysql/server-cert.pem
ssl_key = /var/lib/mysql/server-key.pem

# Allow only secure TLS protocols
tls_version = TLSv1.2,TLSv1.3

# Reject all unencrypted connections
require_secure_transport = ON
The require_secure_transport = ON directive serves as an absolute barrier. You do not need to modify each individual user account with REQUIRE SSL privileges; the server will immediately reject any client attempting an unencrypted connection.
2. Enabling InnoDB Tablespace Encryption (Data-at-Rest)
Much like configuring encryption at rest in MongoDB, MySQL uses a two-tier key architecture to encrypt on-disk data without causing application downtime. The Tablespace Key is stored in the .ibd file header and encrypted using the Master Key from the keyring file. Here, we use the default keyring_file plugin.
Add the following lines to the [mysqld] block in mysqld.cnf:
# Load keyring plugin at MySQL daemon startup
early-plugin-load = keyring_file.so
keyring_file_data = /var/lib/mysql-keyring/keyring

# Automatically encrypt newly created tables and all transaction logs
default_table_encryption = ON
innodb_undo_log_encrypt = ON
innodb_redo_log_encrypt = ON
Save the file and restart the service to apply the changes:
sudo systemctl restart mysql
For existing tables, execute an ALTER TABLE statement to encrypt them:
-- Encrypt users table in the app_production database
ALTER TABLE app_production.users ENCRYPTION='Y';

-- Check list of encrypted tables on the server
SELECT TABLE_SCHEMA, TABLE_NAME, CREATE_OPTIONS
FROM INFORMATION_SCHEMA.TABLES
WHERE CREATE_OPTIONS LIKE '%ENCRYPTION="Y"%';
3. Installing Percona Audit Plugin for Query Auditing
The audit feature in MySQL Enterprise comes with a licensing cost exceeding $5,000 per year. Fortunately, Percona provides a free open-source audit plugin that supports JSON log output and is fully compatible with MySQL Community 8.0.
Download the audit_log.so shared library matching your MySQL version and copy it to the plugin directory (typically /usr/lib/mysql/plugin/). Then add the configuration to mysqld.cnf:
[mysqld]
plugin_load_add = audit_log.so
audit_log_format = JSON
audit_log_policy = ALL
audit_log_file = /var/log/mysql/audit.log
audit_log_rotate_on_size = 50M
audit_log_rotations = 5
Initialize the log file and set permissions before reloading the service:
sudo touch /var/log/mysql/audit.log
sudo chown mysql:mysql /var/log/mysql/audit.log
sudo chmod 640 /var/log/mysql/audit.log
sudo systemctl restart mysql
Testing & Real-World Monitoring
1. Verifying In-Transit Encryption (TLS)
Log in to MySQL Console to check the cipher suite and protocol of the current session:
SHOW STATUS LIKE 'Ssl_cipher';
SHOW STATUS LIKE 'Ssl_version';
If the output returns TLS_AES_256_GCM_SHA384 and TLSv1.3, the transport channel is fully secured. Test remote connection with encryption disabled to ensure the server rejects it as configured:
mysql -u app_user -p -h 192.168.1.100 --ssl-mode=DISABLED
# Expected output: ERROR 3159 (HY000): Connections using insecure transport are prohibited while --require_secure_transport=ON.
2. Verifying Data Encryption with the strings Command
The definitive way to verify whether data is actually encrypted on disk is to inspect the raw binary .ibd file directly:
# Search for user data inside the tablespace file
sudo strings /var/lib/mysql/app_production/users.ibd | grep -i "[email protected]"
On an unencrypted table, this command prints plaintext emails or phone numbers in clear text. Once ENCRYPTION='Y' is enabled, the grep command yields nothing because the data has been transformed into AES-256 ciphertext blocks. Thanks to hardware-accelerated AES-NI instruction sets on modern CPUs, the additional CPU overhead is only around 2-4%.
One vital rule: back up the /var/lib/mysql-keyring/keyring file to an independent storage server. Losing the keyring file means your encrypted data is permanently unrecoverable.
3. Investigating Audit Logs & Verifying File Integrity
The audit log outputs in JSON Lines format. You can monitor it in real time using tail -f:
sudo tail -n 20 /var/log/mysql/audit.log
Structure of a standard JSON audit record:
{"timestamp":"2026-10-16T11:45:12 UTC","id":1,"class":"general","event":"query","connection_id":24,"account":{"user":"app_user","host":"192.168.1.50"},"status":0,"sqltext":"SELECT * FROM sensitive_orders WHERE status = 'PENDING'"}
On a system handling 1,000 QPS, audit logs can grow by 5-10 GB daily. The log rotation setting audit_log_rotate_on_size = 50M prevents storage disks from unexpectedly filling up.
During forensic investigations, you will need to sift through tens of thousands of complex log lines. I often use the JSON Formatter & Validator at toolcraft.app/en/tools/developer/json-formatter to format and validate log payload syntax. The tool runs 100% inside your browser, ensuring sensitive customer information within SQL queries is never exposed externally.
The final step is securing backups and keyring files during transfers to a Disaster Recovery (DR) site. When managing infrastructure as code, you can use Ansible Vault for encrypting secrets and key files securely. You should use the Hash Generator at toolcraft.app/en/tools/developer/hash-generator to precompute SHA-256 checksums. Verifying hash checksums after file transfer ensures data integrity against bit rot or in-transit tampering.
Three defense layers—TLS 1.3 for data-in-transit, InnoDB Encryption for data-at-rest, and Percona Audit Log at the application level—establish a robust defense-in-depth posture. Your database cluster is now resilient against internal scanning and fully prepared for rigorous security audits.