The Head-Scratching Problem: A Powerful Server Stuck at Home
SysAdmins and DevOps engineers are likely familiar with this scenario: you set up a high-spec home server, installing everything from Home Assistant and databases to media servers. It runs smoothly on your LAN, but as soon as you’re at a coffee shop wanting to check logs or remote desktop, you’re out of luck.
The biggest hurdles are NAT and Firewalls. Nowadays, most residential Internet plans are “locked” behind the ISP’s CGNAT. Without a true Public IP, port forwarding on your router becomes meaningless. At the office, firewalls typically block all inbound connections (Inbound), only allowing outbound traffic (Outbound).
In the past, I used to use a VPN or purchase a static IP for port forwarding. However, when managing a network for a 50-person office, I found this approach quite cumbersome. Especially when needing to quickly demo a web app for a client or getting a dev team into a terminal urgently, forcing them to install a VPN client just isn’t feasible.
A Quick Comparison of Popular “Bypass” Solutions
To solve this, we usually consider three main approaches:
1. Traditional Port Forwarding
- Pros: Direct connection, highest speed (low ping).
- Cons: Requires a Public IP, vulnerable to attacks if ports are exposed, complex router configuration.
2. VPN (WireGuard, Tailscale)
- Pros: Top-tier security, feels like being on the local office network.
- Cons: Requires apps on every device. Sending a web link to a client and asking them to install Tailscale is… simply out of the question.
3. Tunneling Services (frp, Ngrok, Cloudflare Tunnel)
- Pros: No Public IP needed, bypasses all types of NAT, extremely flexible.
- Cons: Requires an intermediate server (VPS) as a bridge.
Why I Chose frp over Ngrok or Cloudflare Tunnel?
The free version of Ngrok has a frustrating downside: the URL changes every time it restarts. Cloudflare Tunnel is great for Web, but for protocols like SSH, RDP, or Game Servers, the configuration can be a bit daunting for beginners.
frp (Fast Reverse Proxy) is a highly powerful open-source project. With a budget VPS costing around $5/month, you get full control over your data flow. Data doesn’t pass through a third-party server, and you can expose anything from TCP and UDP to HTTP/HTTPS.
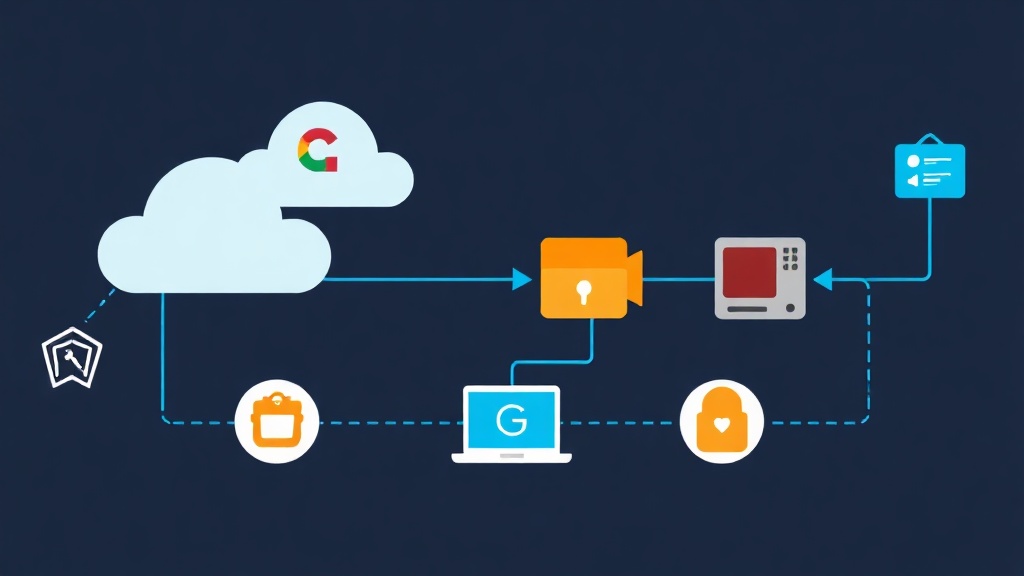
The mechanism of frp is divided into two main parts:
- frps (frp Server): Runs on a machine with a Public IP (VPS).
- frpc (frp Client): Runs on the internal machine (home/office server).
Step-by-Step frp Deployment Guide
Step 1: Infrastructure Preparation
You need a Linux VPS (Ubuntu is the popular choice) with a Public IP. On the local side, you can use Windows, Linux, or even a tiny Raspberry Pi.
Step 2: Configuring frps on the VPS (Server)
First, download the latest release from the fatedier/frp GitHub repository. Make sure to choose the correct amd64 architecture for your VPS.
# Download version v0.54.0
wget https://github.com/fatedier/frp/releases/download/v0.54.0/frp_0.54.0_linux_amd64.tar.gz
tar -zxvf frp_0.54.0_linux_amd64.tar.gz
cd frp_0.54.0_linux_amd64
Open the frps.toml file and configure it as follows (note that from version 0.52.0 onwards, frp uses the TOML format):
# frps.toml
bindPort = 7000

# Security token to prevent others from using your tunnel
auth.token = "your_super_secret_password"

# Web interface for connection management (optional)
webServer.addr = "0.0.0.0"
webServer.port = 7500
webServer.user = "admin"
webServer.password = "admin_password"
Run the command: ./frps -c frps.toml. If you see the message “frps started successfully,” you’re halfway there.
Step 3: Configuring frpc on the Local Machine (Client)
Similarly, download frp to your local machine. Open the frpc.toml file to set up the services you want to expose.
For example, I want to expose SSH (port 22) and a local web server (port 80) to the Internet via the VPS IP:
# frpc.toml
serverAddr = "123.45.67.89" # Replace with your VPS Public IP
serverPort = 7000

auth.token = "your_super_secret_password"

[[proxies]]
name = "ssh-remote"
type = "tcp"
localIP = "127.0.0.1"
localPort = 22
remotePort = 6000 # The port you use for remote SSH

[[proxies]]
name = "web-local"
type = "http"
localIP = "127.0.0.1"
localPort = 80
customDomains = ["your-domain.com"]
Activate the client: ./frpc -c frpc.toml. Now, you can SSH into your home server using the command ssh -p 6000 [email protected] from anywhere in the world.
Crucial Optimization and Security Tips
After years of deploying for real-world projects, here are three key takeaways to keep your system from crashing unexpectedly:
1. Don’t Run Commands Manually, Use Systemd
If you close the terminal window, the tunnel will die instantly. Set up Systemd so frp starts with the computer and automatically reconnects if the network drops.
2. Forgetting to Open Ports on the VPS Firewall
This is a classic mistake. Many users configure frp perfectly but forget to open ports 7000 and 6000 on UFW or the provider’s Security Group (like DigitalOcean or AWS). If not opened, data will be blocked right at the VPS gateway.
3. Always Force TLS Usage
Default traffic can be intercepted. Add the line transport.tls.force = true to both the server and client. This encrypts all data passing through the tunnel, giving you peace of mind when accessing sensitive services remotely.
Conclusion
frp is truly a versatile tool for technical users. Instead of waiting for your ISP to open NAT or spending millions on static IPs, a cheap VPS is all you need to take full control of your system.
I once used frp to manage a fleet of 20 backup servers located at clients’ homes without touching their routers for even a second. If you encounter difficulties setting up HTTPS or running on Docker, leave a comment, and I’ll help you out!