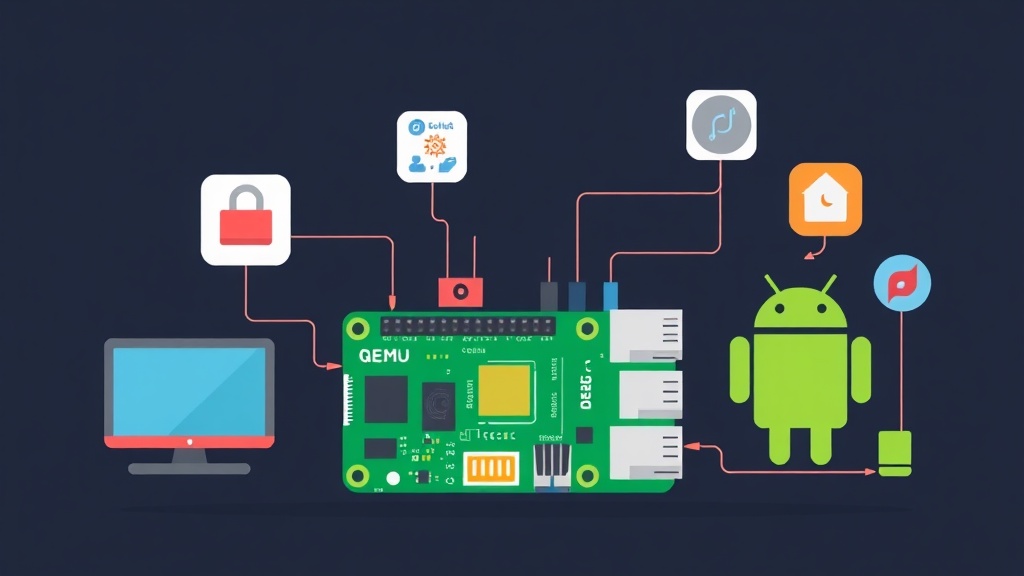
Running ARM64 on an x86 Machine in 5 Minutes
I run into this situation all the time: a Raspberry Pi is sitting right there, but I need to test firmware on ARM64 right now — or I’m doing a cross-compile and want to verify the output before flashing it to a real board. QEMU solves both problems — no hardware required, no extra board to buy.
My homelab runs Proxmox VE managing 12 VMs and containers — it’s my playground for testing everything before pushing to production. The most-used VM? QEMU ARM64 running Raspberry Pi OS for IoT code testing. Each iteration saves me 10–15 minutes compared to the flash-boot-debug cycle on real hardware.
Install QEMU on Ubuntu/Debian:
sudo apt update
sudo apt install -y qemu-system-arm qemu-utils qemu-efi-aarch64 wget
Verify QEMU is ready:
qemu-system-aarch64 --version
# QEMU emulator version 8.x.x
Download Raspberry Pi OS Lite (ARM64):
wget https://downloads.raspberrypi.com/raspios_lite_arm64/images/raspios_lite_arm64-2024-11-19/2024-11-19-raspios-bookworm-arm64-lite.img.xz
unxz 2024-11-19-raspios-bookworm-arm64-lite.img.xz

# Expand the disk (default ~2GB, resize to 8GB)
qemu-img resize 2024-11-19-raspios-bookworm-arm64-lite.img 8G
ARM64 requires UEFI firmware to boot — without it, the VM simply won’t start:
cp /usr/share/qemu-efi-aarch64/QEMU_EFI.fd .
# Create flash drive for UEFI vars
dd if=/dev/zero of=flash1.img bs=1M count=64
dd if=/dev/zero of=flash0.img bs=1M count=64
dd if=QEMU_EFI.fd of=flash0.img conv=notrunc
Boot the ARM64 virtual machine:
qemu-system-aarch64 \
  -machine virt \
  -cpu cortex-a72 \
  -m 2G \
  -smp 4 \
  -drive if=pflash,format=raw,file=flash0.img,readonly=on \
  -drive if=pflash,format=raw,file=flash1.img \
  -drive if=virtio,format=raw,file=2024-11-19-raspios-bookworm-arm64-lite.img \
  -netdev user,id=net0,hostfwd=tcp::2222-:22 \
  -device virtio-net-pci,netdev=net0 \
  -nographic
After about 30–60 seconds you’ll have a shell. SSH in via port 2222:
ssh -p 2222 pi@localhost
# Default password: raspberry
How QEMU ARM64 Works
The key distinction here: KVM uses hardware virtualization and runs at near-native speed. QEMU ARM64 on an x86 host is different — it has to translate every instruction, making it 5–10x slower than a real Pi. That’s fine for IoT development, but don’t expect performance on par with real hardware.
I primarily use QEMU ARM64 for these tasks:
- Testing Python/Go code on ARM64 before deploying to a Pi
- Building and testing ARM64 Docker images (using buildx)
- Debugging firmware logic without needing a physical board
- CI/CD pipelines: testing ARM64 code in GitHub Actions
Key parameters worth understanding:
-machine virt: Generic virtual ARM board, best-supported by QEMU-cpu cortex-a72: The CPU used in Raspberry Pi 4 — swap tocortex-a53for Pi 3-smp 4: 4 cores, equivalent to Pi 4hostfwd=tcp::2222-:22: Forwards the SSH port to the host so you can connect
Running Android for IoT Development
In IoT, Android shows up in many forms: from Android Things (discontinued by Google in 2022) to custom AOSP builds for embedded devices. With QEMU, there are two popular options: Android-x86 for quick experimentation, or Cuttlefish — Google’s official Android Virtual Device — for more serious development.
Option 1: Android-x86 (Simplest Approach)
# Download Android-x86 ISO
wget https://sourceforge.net/projects/android-x86/files/Release%209.0/android-x86_64-9.0-r2.iso

# Create disk image
qemu-img create -f qcow2 android.img 16G

# Boot from ISO to install
qemu-system-x86_64 \
  -m 4G \
  -smp 4 \
  -enable-kvm \
  -cpu host \
  -drive file=android.img,if=virtio \
  -cdrom android-x86_64-9.0-r2.iso \
  -boot d \
  -vga virtio \
  -display gtk \
  -netdev user,id=net0,hostfwd=tcp::5555-:5555 \
  -device virtio-net-pci,netdev=net0
After installation, reboot without the cdrom and connect via ADB:
adb connect localhost:5555
adb devices
adb shell
Option 2: Cuttlefish — Official Android Virtual Device
Cuttlefish runs a full AOSP stack and is better suited for IoT app development than Android-x86:
# Install dependencies
sudo apt install -y qemu-kvm libvirt-daemon-system unzip

# Download Cuttlefish host packages from Google CI
# Find the latest build at: https://ci.android.com/builds/branches/aosp-main/grid
# Download: cvd-host_package.tar.gz + aosp_cf_x86_64_phone-img-*.zip

# Extract and run
mkdir cuttlefish && cd cuttlefish
tar xzvf ../cvd-host_package.tar.gz
unzip ../aosp_cf_x86_64_phone-img-*.zip

# Start
./bin/launch_cvd \
  -daemon \
  -memory_mb 4096 \
  -num_instances 1
Practical IoT Development Workflow
Cross-Compile and Test Directly on QEMU
Here’s a workflow I use regularly: writing a Go service that runs on a Raspberry Pi, tested on QEMU first:
# Build Go binary for ARM64
GOOS=linux GOARCH=arm64 go build -o myservice ./cmd/myservice

# Copy to QEMU ARM64 via SSH
scp -P 2222 myservice pi@localhost:~

# SSH in and run
ssh -p 2222 pi@localhost './myservice --config /etc/myservice.yaml'
Docker buildx with QEMU
This combination is incredibly powerful for CI/CD — build ARM64 Docker images directly on an x86 machine:
# Register QEMU binfmt handlers with the kernel
docker run --privileged --rm tonistiigi/binfmt --install all

# Create a builder with multi-arch support
docker buildx create --name mybuilder --use
docker buildx inspect --bootstrap

# Build and push ARM64 image
docker buildx build \
  --platform linux/arm64 \
  --tag myregistry/iot-app:latest \
  --push .

# Test ARM64 image directly on x86 (QEMU emulates automatically)
docker run --rm --platform linux/arm64 myregistry/iot-app:latest --version
Quick-Start Script
Remembering all the QEMU flags is tedious. I wrap them into a script for faster invocation:
#!/bin/bash
# start-rpi-qemu.sh

DISK="${1:-rpi-arm64.img}"
RAM="${2:-2G}"
SMP="${3:-4}"
SSH_PORT="${4:-2222}"

qemu-system-aarch64 \
  -machine virt \
  -cpu cortex-a72 \
  -m "$RAM" \
  -smp "$SMP" \
  -drive if=pflash,format=raw,file=flash0.img,readonly=on \
  -drive if=pflash,format=raw,file=flash1.img \
  -drive if=virtio,format=raw,file="$DISK" \
  -netdev user,id=net0,hostfwd=tcp::"${SSH_PORT}"-:22 \
  -device virtio-net-pci,netdev=net0 \
  -nographic \
  -pidfile qemu-arm64.pid

echo "QEMU ARM64 running. SSH: ssh -p ${SSH_PORT} pi@localhost"
Practical Tips
If your host machine is ARM64 — AWS Graviton, Mac M-series via UTM — add -enable-kvm to your QEMU command and you’ll get near-native speed immediately. On x86, KVM won’t work when the CPU architectures differ.
Snapshots for fast rollback: Raw images don’t support snapshots. Convert to qcow2 to get this feature:
# Convert to qcow2
qemu-img convert -f raw -O qcow2 rpi.img rpi.qcow2

# Take a snapshot before testing
qemu-img snapshot -c clean-state rpi.qcow2

# Roll back to the clean snapshot
qemu-img snapshot -a clean-state rpi.qcow2
To mount a host directory inside the guest, use the 9P virtio filesystem — far more convenient than copying files with scp one by one:
# Add to the QEMU command:
-fsdev local,security_model=passthrough,id=fsdev0,path=/home/user/shared \
-device virtio-9p-pci,id=fs0,fsdev=fsdev0,mount_tag=hostshare

# Inside the ARM64 guest:
mount -t 9p -o trans=virtio hostshare /mnt/shared
Headless on a server: -nographic lets QEMU run entirely through the terminal. Add -daemonize to run it in the background, and use -pidfile so you can kill it later:
# Run in the background
qemu-system-aarch64 [parameters...] -daemonize -pidfile qemu.pid

# Stop it
kill $(cat qemu.pid)
QEMU also has its own monitor console — useful when you need to inspect VM state or manage snapshots without logging into the guest:
# Add this parameter:
-monitor unix:qemu-monitor.sock,server,nowait

# Connect to the monitor:
socat - UNIX-CONNECT:qemu-monitor.sock
# Commands: info status, savevm snapshot1, loadvm snapshot1, quit
QEMU ARM64 can’t replace real hardware in every situation — GPIO, hardware interrupts, and timing-sensitive code still need to be tested on actual boards. But for business logic, API layers, and the majority of application code, QEMU eliminates a huge number of debug-flash-test cycles.