The Problem with Default Tailscale
Tailscale is incredibly convenient — install it, log in, and your machines connect to each other instantly without touching a single firewall rule. But after running it in a production environment for a while, I started noticing something that bothered me: the entire control plane sits on Tailscale Inc.’s servers. Every piece of information about your devices, IPs, and routing policies depends on a third party you have no control over.
For personal use, that’s fine. But for companies subject to data residency requirements — GDPR, PDPA, or internal security policies — this is a serious issue worth solving, not just paranoia. And the free plan’s 100-device limit sounds generous until you start scaling with IoT devices or containers, and then it disappears fast.
That’s why I switched to Headscale — an open-source implementation of the Tailscale control plane that you self-host on your own VPS.
What Headscale Is and How It Works
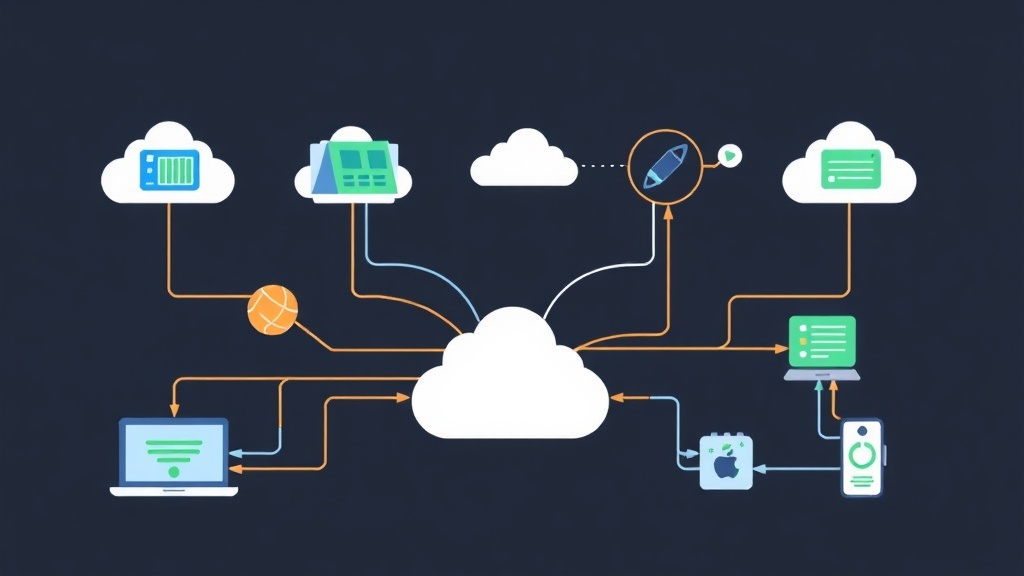
Tailscale operates on a split architecture with two completely separate components.
- Control plane: manages the device registry, distributes keys, handles authentication, and enforces ACL policy. By default, this lives at
controlplane.tailscale.com. - Data plane: actual traffic flows directly between peers over WireGuard (peer-to-peer) — the control plane never touches your data.
Headscale replaces the control plane component. You self-host it on your own server, while the Tailscale client on each device works exactly as before — you just point it at your Headscale server instead of Tailscale’s.
To be more specific: your actual traffic never passes through Headscale. Data still travels peer-to-peer over WireGuard — Headscale only acts as a broker: distributing public keys, maintaining the node list, and handling authentication. It’s lightweight enough that a 1 CPU / 1GB RAM VPS comfortably handles dozens of nodes, with CPU usage typically staying below 5%.
Installing Headscale on a VPS
Prerequisites
- VPS running Ubuntu 22.04 or Debian 12 (I’m using Ubuntu 22.04)
- A domain pointing to your VPS IP (e.g.
hs.example.com) - Ports 443 and 80 open in your firewall
- Nginx as a reverse proxy (recommended)
Step 1: Download and Install Headscale
# Download the latest binary (check current version at GitHub releases)
wget https://github.com/juanfont/headscale/releases/download/v0.23.0/headscale_0.23.0_linux_amd64.deb

# Install
sudo dpkg -i headscale_0.23.0_linux_amd64.deb

# Verify
headscale version
Step 2: Configure Headscale
The config file lives at /etc/headscale/config.yaml. Open it and adjust the key sections:
server_url: https://hs.example.com

listen_addr: 0.0.0.0:8080
metrics_listen_addr: 127.0.0.1:9090

grpc_listen_addr: 0.0.0.0:50443
grpc_allow_insecure: false

private_key_path: /var/lib/headscale/private.key
noise:
  private_key_path: /var/lib/headscale/noise_private.key

ip_prefixes:
  - 100.64.0.0/10

derp:
  server:
    enabled: false   # Use Tailscale's DERP servers (or self-host your own)
  urls:
    - https://controlplane.tailscale.com/derpmap/default

dns_config:
  nameservers:
    - 1.1.1.1
  domains: []
  magic_dns: true
  base_domain: mesh.example.com

db_type: sqlite3
db_path: /var/lib/headscale/db.sqlite

log:
  level: info

acme_url: https://acme-v02.api.letsencrypt.org/directory
acme_email: [email protected]
tls_letsencrypt_hostname: ""
tls_letsencrypt_cache_dir: /var/lib/headscale/cache
tls_letsencrypt_challenge_type: HTTP-01
Pay close attention to server_url — it must exactly match the domain you’re using. Getting this wrong means clients won’t connect, with no clear error message to guide you. I spent half a day debugging that one.
Step 3: Configure Nginx as a Reverse Proxy
sudo apt install nginx certbot python3-certbot-nginx -y

# Obtain an SSL certificate
sudo certbot --nginx -d hs.example.com
Create an Nginx config at /etc/nginx/sites-available/headscale:
server {
    listen 80;
    server_name hs.example.com;
    return 301 https://$host$request_uri;
}

server {
    listen 443 ssl http2;
    server_name hs.example.com;

    ssl_certificate /etc/letsencrypt/live/hs.example.com/fullchain.pem;
    ssl_certificate_key /etc/letsencrypt/live/hs.example.com/privkey.pem;

    location / {
        proxy_pass http://localhost:8080;
        proxy_http_version 1.1;
        proxy_set_header Upgrade $http_upgrade;
        proxy_set_header Connection "upgrade";
        proxy_set_header Host $host;
        proxy_set_header X-Real-IP $remote_addr;
        proxy_set_header X-Forwarded-For $proxy_add_x_forwarded_for;
        proxy_set_header X-Forwarded-Proto $scheme;
        proxy_buffering off;
    }
}
sudo ln -s /etc/nginx/sites-available/headscale /etc/nginx/sites-enabled/
sudo nginx -t && sudo systemctl reload nginx
Step 4: Start Headscale
sudo systemctl enable headscale
sudo systemctl start headscale
sudo systemctl status headscale
Adding Devices to Your Headscale Network
Create a User (Namespace)
Headscale uses the concept of “users” to group devices:
# Create a new user
headscale users create myteam

# List users
headscale users list
Register a Linux/macOS Device
On the machine you want to connect (with the standard Tailscale client already installed):
# Point to your Headscale server instead of Tailscale's
tailscale up --login-server https://hs.example.com
This command prints an authentication URL. On your Headscale server, approve the node with:
# List nodes pending approval
headscale nodes list --user myteam

# Approve the node (replace NODE_KEY with the key from the output above)
headscale nodes register --user myteam --key NODE_KEY
Manual approval works fine for a handful of machines, but for bulk deployments, auth keys are much more convenient:
# Create a reusable auth key
headscale preauthkeys create --user myteam --reusable --expiration 24h

# Use the auth key on the client
tailscale up --login-server https://hs.example.com --authkey tskey-auth-XXXX
Verify Connectivity
# On the Headscale server
headscale nodes list

# Example output:
# ID | Hostname    | Name        | MachineKey | NodeKey | User   | IP addresses         | Ephemeral | Last seen
# 1  | web-server  | web-server  | ...        | ...     | myteam | 100.64.0.1           | false     | 2026-04-25 10:30
# 2  | dev-laptop  | dev-laptop  | ...        | ...     | myteam | 100.64.0.2           | false     | 2026-04-25 10:31
# On the client, verify connectivity
tailscale status
tailscale ping 100.64.0.1A Real-World Debugging Story
About three months into running this in production, I hit an annoying issue: intermittent packet loss that only occurred during peak hours — mornings from 9–11am and afternoons from 2–4pm. Connections still showed as “up” in Tailscale status, but latency would spike from 5ms to 200ms+, then packets would drop.
My first instinct was ISP network issues. But running tailscale ping --verbose revealed the truth: traffic wasn’t going direct (peer-to-peer) — it was relaying through a DERP server. NAT traversal had failed; the two peers couldn’t punch through to each other.
The fix was adding a self-hosted DERP server that was geographically closer, and configuring ACLs to force direct connections wherever possible. Stability has been solid ever since.
The lesson: Tailscale/Headscale looks simple on the surface, but underneath it’s WireGuard + DERP + NAT traversal. When something goes wrong, you need to know which layer is failing — you can’t just glance at tailscale status and call it done. Tools like mtr and traceroute are invaluable for pinpointing exactly where the path breaks.
Managing ACL Policy
Headscale supports HuJSON policy (similar to Tailscale ACLs). For teams that also need fine-grained policy-based routing at the OS level, it pairs well with the Linux kernel’s routing rules. Create the file /etc/headscale/acl.yaml:
acls:
  # Dev team has access to everything
  - action: accept
    src: ["myteam:*"]
    dst: ["myteam:*:*"]

  # Production servers only accept connections from specific nodes
  - action: accept
    src: ["myteam:dev-laptop"]
    dst: ["myteam:prod-server:22,80,443"]
# Load the policy
headscale policy set --path /etc/headscale/acl.yamlConclusion
After six months running Headscale in production with ~30 nodes, my honest assessment is: it works well and is reliably stable. If you’re already comfortable with Tailscale and need to self-host — for privacy, compliance, or simply to avoid the 100-device limit — Headscale is the most mature option available.
The best part about Headscale: the Tailscale client on every node requires zero changes — just add --login-server and you’re done. A few Tailscale cloud features haven’t been ported over yet, like Tailscale SSH certificates or some advanced ACL tags. But for connecting servers, dev teams, and homelabs, nothing is missing.
The real-world cost breakdown: a $5/month VPS running Headscale for 30 nodes, versus Tailscale Personal Pro at $6/user/month — for a small team, you break even after one or two months, not counting the data sovereignty benefits that no price tag can fully capture.