Up and Running in 5 Minutes — Quick Start
If you already have Docker installed, a single command is all you need:
# Install Open WebUI with built-in Ollama
docker run -d -p 3000:8080 \
  --add-host=host.docker.internal:host-gateway \
  -v open-webui:/app/backend/data \
  --name open-webui \
  --restart always \
  ghcr.io/open-webui/open-webui:main
Open your browser, go to http://localhost:3000, and register an admin account — done. Takes less than 2 minutes.
Want to use it with Ollama (run models locally on your machine)? Install Ollama first:
# Install Ollama
curl -fsSL https://ollama.com/install.sh | sh

# Pull the llama3.2 model
ollama pull llama3.2

# Verify Ollama is running
ollama list
Open WebUI automatically detects Ollama via host.docker.internal:11434 — no additional configuration needed.
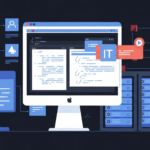
What Is Open WebUI and Why Do You Need It?
I started using Open WebUI after spending too much time juggling 3–4 browser tabs at once: ChatGPT, Claude, local Ollama, and Gemini. Every time I wanted to compare responses across models, I’d have to copy-paste back and forth — burning an extra 5–10 minutes per test. Incredibly tedious.
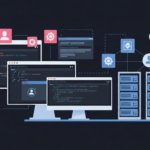
Open WebUI solves exactly that problem: a single interface that connects to:
- Ollama — run models locally (Llama, Mistral, CodeLlama…)
- OpenAI API — GPT-4o, GPT-4 Turbo
- Anthropic API — Claude 3.5 Sonnet, Claude Opus
- Google Gemini API
- Any endpoint compatible with the OpenAI format
Beyond chat, you also get: PDF/image file uploads for Q&A, reusable system prompts, full chat history, and a polished UI that rivals ChatGPT Plus.
Configuring Connections to Multiple AI Models
Connecting to the OpenAI API
The fastest approach: pass the API key directly via an environment variable when starting Docker. No need to dig through Settings after the container is running.
docker run -d -p 3000:8080 \
  -e OPENAI_API_KEY=sk-... \
  -v open-webui:/app/backend/data \
  --name open-webui \
  ghcr.io/open-webui/open-webui:main
Or add it manually later: Settings → Connections → OpenAI API. After saving and reloading the page, GPT-4o and GPT-4 Turbo will appear in the model dropdown.
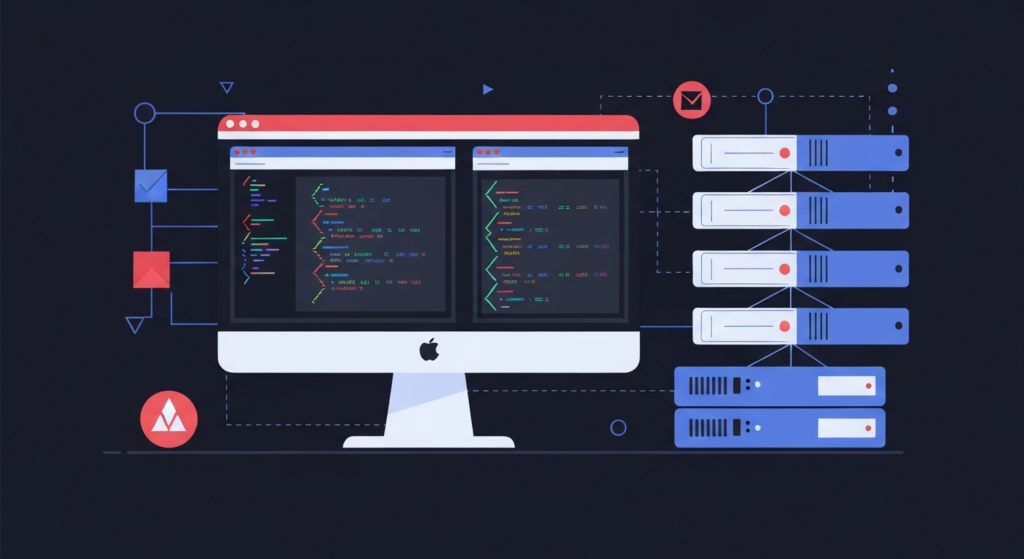
Connecting to Anthropic Claude
Open WebUI supports Anthropic through Pipelines — a middleware layer that allows connecting to any API. Run a separate Pipelines server:
# Run Pipelines server
docker run -d -p 9099:9099 \
  --add-host=host.docker.internal:host-gateway \
  -e ANTHROPIC_API_KEY=sk-ant-... \
  -v pipelines:/app/pipelines \
  --name pipelines \
  --restart always \
  ghcr.io/open-webui/pipelines:main
Once the Pipelines server is running, open Settings → Connections → Pipelines in Open WebUI and enter the URL http://host.docker.internal:9099. Claude 3.5 Sonnet and other Anthropic models will appear immediately.
Adding a Custom Endpoint
Running LM Studio, LocalAI, or your own team’s API? Add it via Settings → Connections → Add Connection:
URL: http://localhost:1234/v1
API Key: lm-studio  # or leave empty
Model: let Open WebUI auto-detect
Advanced Features Worth Using
Model Arena — Compare Responses Side by Side
This is the feature I use most. Go to New Chat → Arena Mode, select 2–3 models, type a prompt — all models respond simultaneously. Great for figuring out which model suits which type of task.
Reusable System Prompts
Workspace → Models is where you create reusable AI “personas”. For example:
Name: Code Review Bot
Base Model: claude-3-5-sonnet
System Prompt: You are a senior engineer specializing in Python code review.
Focus on: security issues, performance bottlenecks,
and clean code principles. Always explain the reasoning behind each suggestion.
This preset appears in the model list — just click it and you’re ready to go, no need to retype the system prompt each time.
RAG with File Upload
Upload technical documents (PDF, DOCX, TXT) and ask questions directly about the content — this is essentially a built-in RAG pipeline without any extra setup. If using Ollama, you’ll need to pull an embedding model first:
ollama pull nomic-embed-textPDFs around 50–100 pages work well with local models. For heavier files (300+ pages), Gemini 1.5 Pro is the better choice — its 1-million-token context window can handle an entire technical book.
Built-in Web Search
Under Settings → Web Search, enable the feature and pick a provider. SearXNG is the best option for self-hosting — free and unlimited. Brave Search API is also solid with a 2,000 requests/month free tier. Once enabled, the model automatically searches the web before answering if the question requires information beyond its training data. For more advanced web data collection tailored to AI applications, Firecrawl is worth exploring as a complement.
Docker Compose — How I Deploy on a VPS
Single commands are fine for testing, but for real deployments I use Docker Compose for easier management (or Docker Swarm if you need multi-host clustering):
# docker-compose.yml
version: '3.8'
services:
  open-webui:
    image: ghcr.io/open-webui/open-webui:main
    container_name: open-webui
    ports:
      - "3000:8080"
    environment:
      - OLLAMA_BASE_URL=http://ollama:11434
      - OPENAI_API_KEY=${OPENAI_API_KEY}
      - WEBUI_SECRET_KEY=${WEBUI_SECRET_KEY}
      - DEFAULT_USER_ROLE=user  # New users must be approved by admin
    volumes:
      - open-webui:/app/backend/data
    restart: always
    depends_on:
      - ollama

  ollama:
    image: ollama/ollama:latest
    container_name: ollama
    volumes:
      - ollama:/root/.ollama
    restart: always
    # Uncomment if you have an NVIDIA GPU:
    # deploy:
    #   resources:
    #     reservations:
    #       devices:
    #         - capabilities: [gpu]

volumes:
  open-webui:
  ollama:
# .env file
OPENAI_API_KEY=sk-...
WEBUI_SECRET_KEY=your-random-secret-key-here
# Start up
docker compose up -d
# Then pull models
docker exec ollama ollama pull llama3.2
docker exec ollama ollama pull codellamaPractical Tips for Daily Use
Restricting Access
When deploying on a public VPS, set DEFAULT_USER_ROLE=pending — new registrants must wait for admin approval instead of getting immediate access. This prevents strangers from using your API keys and hitting you with a surprise bill at the end of the month. Pair this with the standard Ubuntu server hardening steps for a more secure setup overall.
Nginx Reverse Proxy with HTTPS
server {
    server_name ai.yourdomain.com;
    location / {
        proxy_pass http://localhost:3000;
        proxy_http_version 1.1;
        proxy_set_header Upgrade $http_upgrade;
        proxy_set_header Connection "upgrade";
        proxy_set_header Host $host;
        proxy_read_timeout 300s;  # Local models can be slow to respond
    }
}
# Get SSL certificate
certbot --nginx -d ai.yourdomain.comChoosing the Right Model for Each Task
After using it for a while, here’s the pattern I’ve settled on:
- Code generation/review: Claude 3.5 Sonnet or GPT-4o
- Writing, brainstorming: Claude Opus, or Llama 3.2 for offline use
- Quick questions, low accuracy requirements: Llama 3.2 3B local — zero latency, zero cost
- File analysis, long PDFs: Gemini 1.5 Pro (largest context window)
Updating Open WebUI
# Pull the latest image
docker pull ghcr.io/open-webui/open-webui:main

# Restart the container (data is preserved since we mounted a volume)
docker compose down && docker compose up -d
Open WebUI releases fairly frequently — averaging 2–3 versions per week, each with bug fixes or new features. It’s worth updating regularly.
I run this setup daily on a VPS with 2 vCPU / 4GB RAM. A 3B model needs about 2GB of RAM, a 7B model needs ~5GB — just enough for this configuration. For 70B models you’ll need a GPU; otherwise stick with cloud APIs — far more convenient, no extra hardware investment required.