Real-World Challenges: Managing Dozens of Containers via the Terminal
When first getting started with Docker, almost everyone begins with a handful of familiar commands: docker run, docker ps, or docker logs. Everything runs smoothly as long as your VPS only hosts a static Nginx instance and a lightweight Node.js web app.
However, when the project grows, it becomes a completely different story. You have to spin up MySQL, Redis, Celery workers, and RabbitMQ. One night, a client reports a 502 Bad Gateway error. You rush to SSH into the server.
That’s when the familiar routine begins: typing docker ps -a to hunt down dead containers. The terminal outputs a cluttered wall of text. You strain your eyes scanning for container IDs, copy-pasting them into docker logs -f [id] to inspect logs, and then jumping into docker inspect to check internal network IPs.
On top of that, running docker stats in a cramped terminal window produces rapidly shifting numbers that are difficult to track. Just one careless mistype deleting a production database container could mean pulling an all-nighter trying to restore backups.
Why Does Pure Command Line (CLI) Become a Bottleneck?
The Docker CLI was designed for automation scripts and CI/CD pipelines. However, during live debugging or routine daily health checks, the command line reveals three major pain points:
- Hard to grasp the big picture: The CLI displays data line by line. When your server hosts 15–20 containers, it is nearly impossible to instantly identify which service is eating up 80% of RAM, which volumes are orphaned, or where port conflicts exist.
- Time-consuming troubleshooting: Dropping into a container’s shell requires remembering its name or ID and typing
docker exec -it [id] /bin/sh. Exporting logs to share with teammates often involves several piped commands. During an incident, every minute spent fumbling in the terminal prolongs downtime. - Permission and security risks: Using the Docker CLI usually requires adding users to the
dockergroup (effectively root privileges). Granting this access to testers or junior developers simply for log inspection creates a real risk of someone mistakenly runningdocker rm -f.
Popular Docker Management Approaches Today
Depending on infrastructure scale, sysadmins and engineers typically consider three main approaches:
- Bash Scripts combined with Aliases: For example, creating aliases like
dps='docker ps --format ...'. This method is quick and lightweight. However, it remains a stopgap measure, fully reliant on the terminal and only convenient for the individual who configured it. - Adopting Kubernetes or Rancher: The standard choice for distributed systems spanning dozens of nodes. But if you only run 1–2 VPS instances (2 vCPUs, 4GB RAM), spinning up K8s will consume most of your resources just for the control plane before your actual applications can even run.
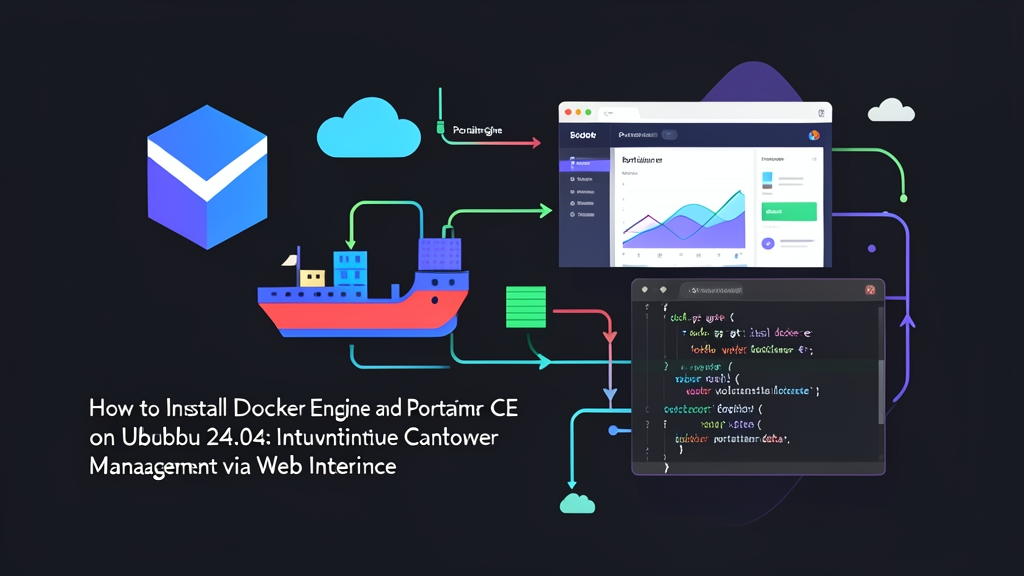
- Deploying Portainer CE on Docker Engine: This offers the sweet spot. Portainer itself is an extremely lightweight container (consuming under 100MB of RAM) that connects directly to the Docker socket, transforming command-line operations into a clean, intuitive web UI.
Step-by-Step Installation Guide on Ubuntu 24.04 LTS (Noble Numbat)
Here is the complete process to install official Docker Engine from Docker’s official repositories and deploy a stable instance of Portainer CE.
Step 1: Remove Old Packages and Install Official Docker Engine
The default Ubuntu 24.04 apt repository includes the docker.io package. However, this distribution package often lags behind on new features. First, remove any outdated or conflicting packages:
sudo apt remove -y docker.io docker-doc docker-compose podman-docker containerd runc
sudo apt update
sudo apt install -y ca-certificates curl gnupg
Create the keyring directory and download Docker’s official GPG key:
sudo install -m 0755 -d /etc/apt/keyrings
sudo curl -fsSL https://download.docker.com/linux/ubuntu/gpg -o /etc/apt/keyrings/docker.asc
sudo chmod a+r /etc/apt/keyrings/docker.asc
Add the Docker repository to the apt sources list:
echo \
  "deb [arch=$(dpkg --print-architecture) signed-by=/etc/apt/keyrings/docker.asc] https://download.docker.com/linux/ubuntu \
  $(. /etc/os-release && echo "$VERSION_CODENAME") stable" | \
  sudo tee /etc/apt/sources.list.d/docker.list > /dev/null

sudo apt update
Install the complete Docker suite: Docker Engine, CLI, containerd, and the Compose plugin:
sudo apt install -y docker-ce docker-ce-cli containerd.io docker-buildx-plugin docker-compose-pluginVerify that the Docker service is enabled and running:
sudo systemctl status docker --no-pagerStep 2: Manage Docker as a Non-Root User (Without sudo)
By default, you must prefix every Docker command with sudo. For convenience, add your current user to the docker group:
sudo usermod -aG docker $USER
newgrp docker
Test the setup immediately by running a test container:
docker run --rm hello-worldIf the terminal prints “Hello from Docker!”, your Docker Engine environment is ready.
Step 3: Deploy Portainer Community Edition
First, create a dedicated volume. This volume persists your user accounts, environment settings, and configuration history across Portainer updates:
docker volume create portainer_dataRun the Portainer CE container:
docker run -d \
  -p 8000:8000 \
  -p 9443:9443 \
  --name portainer \
  --restart=always \
  -v /var/run/docker.sock:/var/run/docker.sock \
  -v portainer_data:/data \
  portainer/portainer-ce:latest
Key parameters explained:
-p 9443:9443: HTTPS port used to access the web management dashboard.-p 8000:8000: TCP tunnel port reserved for the Edge Agent if you manage multiple remote nodes later.--restart=always: Ensures Portainer restarts automatically after a server reboot or unexpected crash.-v /var/run/docker.sock:/var/run/docker.sock: Binds the host’s Docker daemon socket into the container, allowing Portainer to monitor and control other containers.
I tested this setup across both a 2GB RAM VPS and an Ubuntu 24.04 staging server. Everything ran seamlessly without running into AppArmor compatibility issues or network bridge locks.
Step 4: Create Admin Account and Initial Configuration
Open your browser and navigate to:
https://<YOUR_SERVER_IP>:9443Since Portainer uses a self-signed SSL certificate, your browser will display a security warning. Simply click Advanced and select Proceed.
On the initial setup screen, create a password for the admin user (minimum 12 characters required). Note: Portainer includes a 5-minute security timeout. If you do not set a password within this window, run docker restart portainer in your terminal to reset the countdown.
Once logged in, select the local environment. You will immediately see the central dashboard:
- Container List: Cleanly categorized by status (Running, Stopped, or Unhealthy) with quick-action Start/Stop/Restart buttons right alongside each entry.
- Real-time Logs: Includes built-in error search and auto-scroll capabilities without having to remember
grepflags. - Console Access: Launch an interactive
/bin/shor/bin/bashshell directly inside any container from a browser tab. - Resource Stats: Monitor per-second live graphs for CPU, RAM, and Network I/O utilization across individual containers.
Best Practices for Production Environments
Once Portainer is running on a public-facing server, you should immediately implement these two safeguards:
- Secure port 9443: Never expose this port wide open to the public Internet. Restrict access using UFW to whitelist only your static IP (
sudo ufw allow from <YOUR_IP> to any port 9443 proto tcp). If you bind it to a domain, route traffic through Nginx Proxy Manager or a Cloudflare Tunnel with two-factor authentication (2FA) enabled. - Clean up dangling images and volumes regularly: Every time you build new code, Docker often leaves behind untagged (dangling) images. Head over to Images, filter for Unused, and click Remove. This simple cleanup can free up anywhere from 10GB to 30GB of wasted disk space on your server.