Why Do You Need a Dedicated Status Page?
Imagine this scenario: Your server crashes at 2 AM. While you’re still groggy and searching for logs, your phone explodes with dozens of messages like “Is the site down?” or “When will it be back up?”. Trying to fix the bug while answering everyone individually is a productivity nightmare.
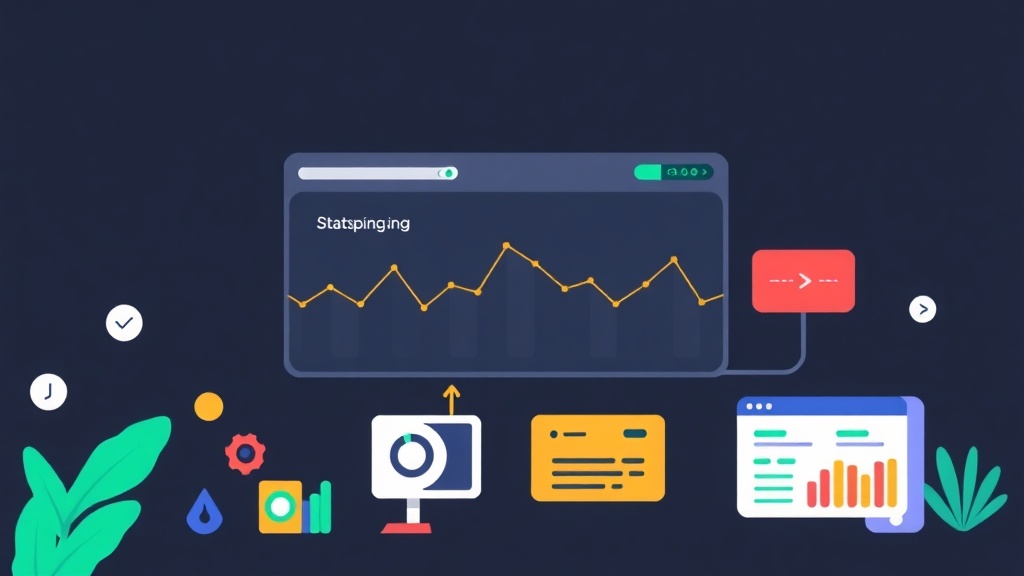
A Status Page is the solution. Instead of leaving customers with a blank 502 error, they can visit the status page to see if the system is undergoing maintenance or facing an external issue. Statping-ng is currently my top recommendation. It’s lightweight, modern, and works great for small to medium-sized systems.
Quick Deployment with Docker in 5 Minutes
To save time, I recommend using Docker Compose. This approach keeps data isolated, making it extremely convenient for server migration or future upgrades.
Step 1: Create the Configuration File
Create a directory named statping and a docker-compose.yml file with the following content:
version: '3'

services:
  statping:
    container_name: statping
    image: adamboutcher/statping-ng:latest
    restart: always
    ports:
      - 8080:8080
    volumes:
      - ./statping_data:/app
    environment:
      - DB_CONN=sqlite
      - IS_DOCKER=true
Step 2: Activate the Service
Run the following command in your terminal:
docker-compose up -dNext, navigate to http://your-ip-address:8080. The setup interface will appear immediately. Just enter your site name and create an admin account. This entire process usually takes less than 300 seconds if your server already has Docker installed.
Configuring Service Monitoring Like a Pro
Don’t just add a URL and leave it. To monitor effectively, you need to understand the basic parameters.
Adding a New Service
- Go to Services -> Create.
- Name: Use a clear name (e.g., API Core, Landing Page).
- Service Type: Select HTTP.
- Check Interval: It’s best to set this between 30-60 seconds. If you set it to 1-5 seconds, your monitoring system might accidentally become a micro-DDoS attack against your own server.
Customizing the Interface (Branding)
Statping-ng allows deep CSS customization. You can change the primary color from the default blue to your company’s brand colors. In the Settings section, take advantage of the tracking code insertion to monitor user traffic during outages.
Receive Instant Alerts via Telegram
A Status Page without notifications is only half-finished. You need to be the first to know about an issue, even before your customers do.
Steps to implement:
- Message
@BotFatherto create a bot and get your API Token. - Create a private Telegram Group for the technical team and add the bot to it.
- Use the
@getidsbotto retrieve the Chat ID for that group. - Go to Statping-ng -> Notifier -> Telegram, fill in the details, and click Save.
From now on, whenever your website “sneezes,” your phone will ring immediately.
Real-world Experience: Don’t Get Overwhelmed by Notifications
My biggest mistake in the past was leaving the default configuration. Just a one-second network flicker would trigger a barrage of messages. This led to alert fatigue. When a real crash happened, I ignored it, thinking it was just another minor network glitch.
Optimal Solution:
- Enable “Re-check on failure”. Configure the system to re-check at least 2-3 times, spaced 10 seconds apart. Only trigger an alarm if all three checks fail.
- Status Page Location: Never host your status page on the same server as your application. If that server loses power, your status page goes down too. Use a cheap VPS from a different provider or a different region to ensure independence.
Transparent Incident Management
During prolonged outages, use the Incidents feature instead of just letting the chart turn red. Regularly updating the resolution progress reassures customers:
- “10:00 – Network congestion detected at Singapore datacenter.”
- “10:30 – Rerouting traffic to an alternative path.”
- “11:00 – All services are back to normal.”
Transparency builds excellent trust, even when your service is facing issues.
Important Security Notes
Building your own Status Page saves you about $29/month compared to services like Atlassian Statuspage. However, keep the following in mind:
- Setup HTTPS: Always use Nginx Proxy Manager or Cloudflare to secure your traffic.
- Data Backup: If using SQLite, schedule a daily copy of the files in the
statping_datadirectory. - Limit Permissions: Use a complex admin password and only grant access to those who truly need it.
I hope this guide helps your system look more professional and gives your technical team more peace of mind during unexpected incidents.