When I First Switched to Linux for Programming
Three years ago, I moved my entire programming workflow from Windows to Ubuntu. The first problem I ran into wasn’t the terminal or the package manager — it was the editor. I tried Vim, Emacs, Sublime Text… but eventually came back to Visual Studio Code. The reason is simple: it’s lightweight, powerful, and has a massive extension ecosystem that no other editor can match.
Just made the switch to Linux or still looking for the right editor? This article will show you how to install it properly, configure it sensibly, and make the most of features that are actually useful — not just install and forget.
What Is VSCode and Why Use It on Linux?
Visual Studio Code is Microsoft’s open-source code editor built on Electron. A lot of people hear “Electron” and immediately worry about it being bloated and slow — I used to think the same. But in practice on Ubuntu 22.04, VSCode launches in about 2 seconds and uses around 200–300MB of RAM with a moderately sized project open. Plenty fast enough to run on a 2GB VPS.
Compared to other editors, here’s what stands out about VSCode:
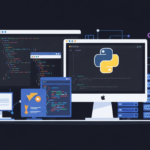
- Powerful IntelliSense: Smart auto-complete for Python, JavaScript, TypeScript, Go, and more
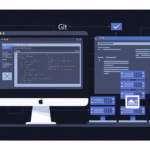
- Built-in Git integration: Diff, commit, and blame right inside the editor — no need to leave your terminal
- Extension marketplace: 30,000+ extensions, from linters to Docker and SSH remote support
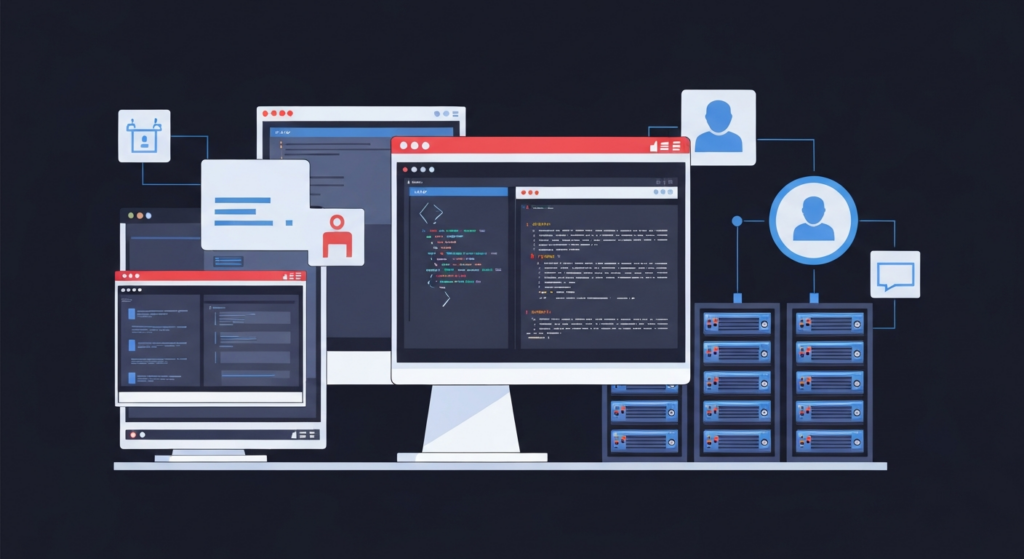
- Remote Development: Connect via SSH to a server and edit files just like working locally
- Integrated terminal: Open a terminal directly inside the editor with easy split-window support
Installing VSCode on Linux
The installation method varies by distro. Here’s a breakdown by each type:
Ubuntu / Debian — Install via apt repository (recommended)
This method lets you receive updates automatically whenever a new version is released — no manual downloading required:
# Install required dependencies
sudo apt install wget gpg apt-transport-https -y

# Download and import Microsoft's GPG key
wget -qO- https://packages.microsoft.com/keys/microsoft.asc | gpg --dearmor > packages.microsoft.gpg
sudo install -D -o root -g root -m 644 packages.microsoft.gpg /etc/apt/keyrings/packages.microsoft.gpg

# Add VSCode repository
echo "deb [arch=amd64,arm64,armhf signed-by=/etc/apt/keyrings/packages.microsoft.gpg] https://packages.microsoft.com/repos/code stable main" | sudo tee /etc/apt/sources.list.d/vscode.list > /dev/null

# Install
sudo apt update && sudo apt install code -y
Fedora / RHEL / CentOS — Install via dnf
sudo rpm --import https://packages.microsoft.com/keys/microsoft.asc
sudo sh -c 'echo -e "[code]\nname=Visual Studio Code\nbaseurl=https://packages.microsoft.com/yumrepos/vscode\nenabled=1\ngpgcheck=1\ngpgkey=https://packages.microsoft.com/keys/microsoft.asc" > /etc/yum.repos.d/vscode.repo'
sudo dnf check-update && sudo dnf install code -y
Arch Linux / Manjaro — Install via AUR
# Use yay or paru (AUR helper)
yay -S visual-studio-code-bin

# Or if you want the open source version:
yay -S vscodium-bin
Install via Snap (any distro)
If your distro supports Snap, this is the quickest option:
sudo snap install code --classicInitial Configuration — Don’t Skip This Step
Installing and leaving everything at defaults is a waste. I did exactly that for a month before realizing how many useful features I’d been missing.
Edit settings.json right away
Press Ctrl+Shift+P → type “Open User Settings (JSON)” to edit it directly:
{
  "editor.fontSize": 14,
  "editor.tabSize": 2,
  "editor.insertSpaces": true,
  "editor.formatOnSave": true,
  "editor.minimap.enabled": false,
  "editor.wordWrap": "on",
  "files.autoSave": "afterDelay",
  "files.autoSaveDelay": 1000,
  "terminal.integrated.fontSize": 13
}
I disable the minimap because it takes up screen space and I rarely use it. Enabling formatOnSave is a real time-saver — code formats itself on every save, so you never have to argue about style again.
Extensions to install right away
The extensions I use every day — install them quickly from the command line:
# Python development
code --install-extension ms-python.python
code --install-extension ms-python.black-formatter

# Advanced Git
code --install-extension eamodio.gitlens
code --install-extension mhutchie.git-graph

# Remote SSH into server
code --install-extension ms-vscode-remote.remote-ssh

# Docker
code --install-extension ms-azuretools.vscode-docker

# Auto format code
code --install-extension esbenp.prettier-vscode
Real-World Tips & Tricks
Workspace settings — Keep configuration separate per project
Global settings can cause headaches when working on multiple projects at once — for example, a Python project using tab size 4 while a JS project uses 2. The solution is to create a .vscode/settings.json file inside the project:
{
  "python.defaultInterpreterPath": "./venv/bin/python",
  "editor.tabSize": 4,
  "[python]": {
    "editor.formatOnSave": true,
    "editor.defaultFormatter": "ms-python.black-formatter"
  }
}
These settings only apply to the current project. Commit this file to Git so the whole team automatically shares the same config — no setup instructions needed.
Multi-cursor editing — The feature most people overlook
When you need to edit multiple lines at once, these are the shortcuts I reach for most:
Alt+Click: Add a cursor at the clicked positionCtrl+Alt+Down/Up: Add a cursor on the line below/aboveCtrl+D: Select the next occurrence of the currently highlighted wordCtrl+Shift+L: Select all matching occurrences in the file — incredibly useful when renaming variables
Opening VSCode from the terminal
# Open VSCode in current directory
code .

# Open a specific file
code /path/to/file.py

# Open file and jump to a specific line (useful when reviewing error logs)
code -g /path/to/file.py:42
Remote SSH — An invaluable trick for working with servers
After installing the Remote-SSH extension, add your server config to ~/.ssh/config:
Host myserver
  HostName 192.168.1.100
  User ubuntu
  IdentityFile ~/.ssh/id_rsa
Press F1 → “Remote-SSH: Connect to Host” → select myserver. That’s it. You edit files on the server exactly as if you were working locally — the terminal and extensions all work normally. I use this every day to debug code on a VPS; it’s far more efficient than SSHing in and fumbling with vim.
Visual Test Coverage — A lesson from refactoring 50K lines
I once refactored a 50K-line codebase. The most expensive lesson: you need solid test coverage before touching any logic. At the time I used the Coverage Gutters extension — it shows red on the left gutter for lines without test coverage, and green for covered lines. One glance tells you exactly what needs tests before you dare touch it.
# Install Coverage Gutters
code --install-extension ryanluker.vscode-coverage-gutters

# Run pytest with coverage report
pip install pytest-cov
pytest --cov=. --cov-report=xml

# Then Ctrl+Shift+P → "Coverage Gutters: Display Coverage"
Conclusion
Three years using VSCode as my primary editor, and I’ve never felt the urge to switch to something else. Not because of hype — but because it handles everything I need day to day: remote SSH into servers, debugging Python, reviewing Git diffs, writing Dockerfiles… all in a single window.
The key is not to just install it and use the defaults. Spend 30 minutes configuring settings.json, install 5–6 essential extensions, and learn a handful of useful shortcuts. After a week or two of getting comfortable, you’ll notice a clear improvement in your workflow speed.
One small tip: don’t install 20 extensions all at once. I did that once — the editor slowed down noticeably and I had no idea which one was causing it. Install based on actual need — only add what you actually use.