Say Goodbye to Manual VXLAN Configuration Worries
If you’ve ever struggled with configuring static VXLAN for each node or dealt with headaches from ARP flood traffic congesting your network, BGP EVPN (Ethernet VPN) is the answer. After 6 months of real-world operation for a 20-node KVM cluster, I have refined the standard process for building the most streamlined EVPN-VXLAN lab model.
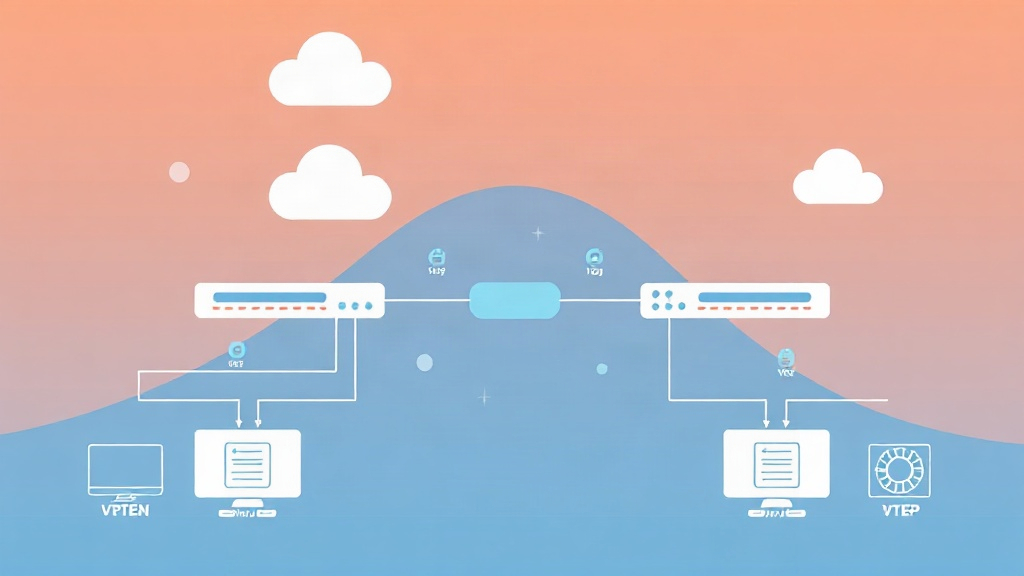
Let’s start with a practical scenario: 2 Ubuntu 22.04 servers acting as VTEPs (VXLAN Tunnel End Points). The goal is to enable Virtual Machines (VMs) on two different nodes to communicate at Layer 2 through a BGP EVPN ‘pipe’ instead of running physical cables.
Step 1: Installing and Enabling FRRouting
FRR is a powerful routing suite that transforms a Linux server into a professional router. The installation process is very simple:
sudo apt update && sudo apt install frr -y
# Enable BGP daemon for route exchange
sudo sed -i 's/bgpd=no/bgpd=yes/' /etc/frr/daemons
sudo systemctl restart frr
Step 2: Setting up the VXLAN Interface
On Node 1 (IP: 10.0.0.1) and Node 2 (IP: 10.0.0.2), we create a bridge to group the VMs and the VXLAN interface together.
# Execute on Node 1
sudo ip link add br0 type bridge
sudo ip link set br0 up
sudo ip link add vxlan10 type vxlan id 10 dstport 4789 local 10.0.0.1 nolearning
sudo ip link set vxlan10 master br0
sudo ip link set vxlan10 up
Important Note: The nolearning option is mandatory. We will delegate MAC address learning to the BGP protocol rather than letting the Linux kernel learn traditionally, in order to avoid loops and optimize performance.
Step 3: Configuring BGP EVPN via FRR
Access the vtysh control shell and paste the following configuration. Instead of configuring dozens of mesh tunnels, you only need a few lines of commands:
conf t
router bgp 65001
 neighbor 10.0.0.2 remote-as 65001
 address-family l2vpn evpn
  neighbor 10.0.0.2 activate
  advertise-all-vni
 exit-address-family
exit
As soon as the commands are executed, Node 1 and Node 2 will automatically ‘handshake’ and exchange MAC/IP tables. The overlay network is now ready for operation.
Why is EVPN Superior to Pure VXLAN?
In traditional VXLAN architecture, the “Flood and Learn” mechanism causes every ARP broadcast request to be sent across all tunnels. In a large system with about 500 VMs, this junk traffic can consume 20-30% of the physical link bandwidth.
BGP EVPN solves this problem completely by moving address learning to the Control Plane. Instead of flooding packets, VTEPs use BGP to notify each other of the exact location of each MAC address. As a result, broadcast traffic is reduced by up to 95%, helping to lower bandwidth consumption and reduce latency.
Key Components to Remember:
- VTEP: The tunnel endpoint (your Linux server).
- VNI (VXLAN Network Identifier): The network identifier, supporting up to 16 million IDs, far exceeding the 4096 limit of traditional VLANs.
- Anycast Gateway: Allows the same Gateway IP to be set on all nodes, enabling VMs to move between nodes (Live Migration) without losing connectivity.
Hard-won Experience: The MTU ‘Pitfall’
The most common error when deploying EVPN-VXLAN is the phenomenon where small packets ping through successfully, but large file transfers or web access result in dropped connections. The main culprit is MTU (Maximum Transmission Unit).
Each VXLAN packet carries an additional 50-byte header. If the physical interface remains at the default 1500 bytes, the total packet size will jump to 1550 bytes and will be immediately dropped by the physical switch.
Practical Advice:
- Configure the MTU on the physical interface (eth0/bond0) to at least 1550, or ideally 9000 (Jumbo Frames).
- Check the MAC synchronization status with the command:
vtysh -c "show evpn mac vni 10". - Don’t forget to enable
zebrain the/etc/frr/daemonsfile to manage the routing table accurately.
Deploying EVPN-VXLAN with FRRouting provides you with a network system as flexible as major Public Cloud platforms (AWS, Azure) but at zero cost. If you are building a Private Cloud or a Container cluster, this technology is well worth investing the time to learn.