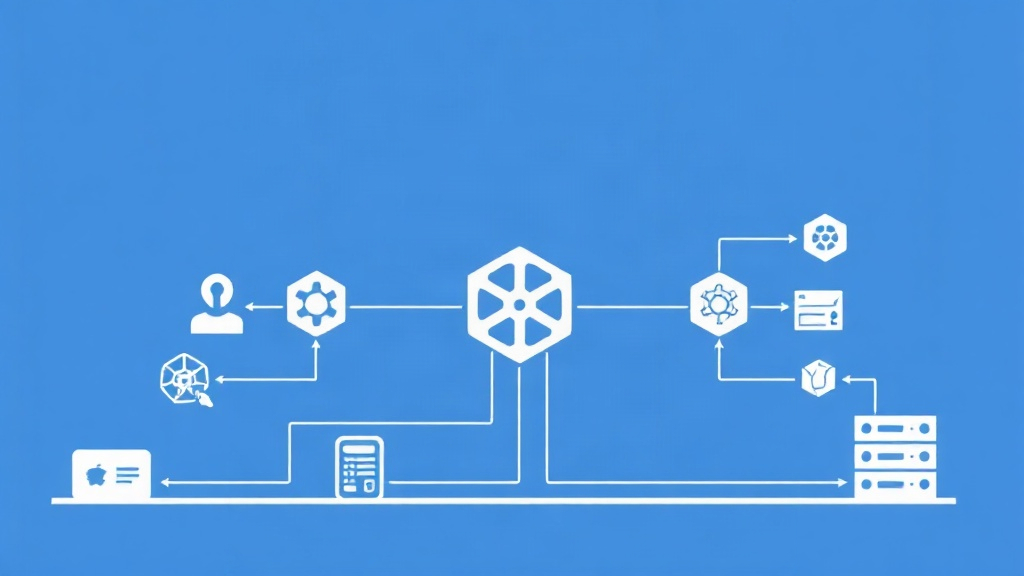
The Nightmare of “Flat” Networks
By default, Kubernetes uses a “flat” network. This means every Pod can freely “talk” to one another without any barriers, even if they reside in different Namespaces. While convenient, this is a fatal security flaw.
I once handled a real-world breach: a hacker compromised a Frontend Pod through an old code vulnerability. Because the cluster lacked Network Policies, it took the attacker only 15 minutes to scan the internal IP range, find a sensitive DB in another Namespace, and exfiltrate all the data. If you don’t want to spend sleepless nights handling incidents like I did, consider Network Policy a mandatory Layer 3-4 firewall.
Why is K8s “Open” by Default?
The issue lies with the CNI (Container Network Interface). Older CNIs like Flannel prioritize seamless application connectivity right out of the box, so they leave everything open. However, in a Production environment, allowing a test Pod (Dev) to connect to a customer database (Prod) is an unacceptable risk.
To stay secure, we need to adopt a Zero Trust mindset: trust no one by default, including internal components.
Checking the CNI: A Prerequisite for Policy Enforcement
Important note: Not all CNIs support Network Policies. If you’re using Flannel, the YAML files you write will be useless. You’ll need Calico, Cilium, Weave Net, or the default CNI from major cloud providers (GKE, EKS, AKS).
Check if your CNI (e.g., Calico) is running with the following command:
kubectl get pods -n kube-system | grep calico3 Practical Steps to Isolate Your System
1. Set Up Default Deny (Lock Everything)
Don’t open first and then lock down. Lock everything first, then open selectively. This is the golden rule of security. The following policy will block all incoming (Ingress) and outgoing (Egress) traffic for the production Namespace.
Create the default-deny-all.yaml file:
apiVersion: networking.k8s.io/v1
kind: NetworkPolicy
metadata:
  name: default-deny-all
  namespace: production
spec:
  podSelector: {}
  policyTypes:
  - Ingress
  - Egress
Once applied, the Pods will be completely isolated. They won’t be able to call each other, let alone access the Internet or resolve DNS.
2. Allow Intra-Namespace Connectivity
After locking down, allow Pods within the same production Namespace to communicate so the application doesn’t come to a grinding halt.
apiVersion: networking.k8s.io/v1
kind: NetworkPolicy
metadata:
  name: allow-same-namespace
  namespace: production
spec:
  podSelector: {}
  ingress:
  - from:
    - podSelector: {}
3. Open Only Necessary Ports (Least Privilege)
Suppose the frontend Pod needs to call api-service on port 8080. Don’t open the entire IP range; instead, specify the exact Pod labels.
apiVersion: networking.k8s.io/v1
kind: NetworkPolicy
metadata:
  name: api-allow-frontend
  namespace: production
spec:
  podSelector:
    matchLabels:
      app: api-service
  ingress:
  - from:
    - podSelector:
        matchLabels:
          app: frontend
    ports:
    - protocol: TCP
      port: 8080
Real-world Scenario: Allowing Monitoring to Scrape Data
Monitoring systems (like Prometheus) often reside in their own Namespace. You need to allow it to access the app Namespace to scrape metrics, while still blocking other Namespaces.
First, label the monitoring Namespace:
kubectl label namespace monitoring usage=monitoringThen, configure it to allow traffic from Namespaces with this label:
spec:
  ingress:
  - from:
    - namespaceSelector:
        matchLabels:
          usage: monitoring
Hard-Won Lessons to Avoid System Failures
Implementing Network Policies can easily break your application if you forget the following:
- Don’t forget DNS: When you block Egress, Pods won’t be able to call
google.comor even internal DBs via domain names. Always open Port 53 (UDP/TCP) tokube-dns. - Additivity: Network Policies in K8s are additive. If any single policy allows a connection, it will be permitted, regardless of other policies that might block it.
- Visualizers are lifesavers: Use tools like Cilium Service Map to visualize traffic flows. Stop guessing why your application is throwing timeouts.
- Enable Logging: If you’re using Calico, enable logging for dropped packets. You’ll immediately see which Pod is attempting unauthorized access or where your configuration is missing a rule.
The initial setup might be time-consuming, but it prevents your cluster from being completely defenseless. Start with your most critical Namespaces today.