The Problem: Why Basic Laravel Dockerization Isn’t Enough
After more than 6 months of running Laravel projects in production environments, I realized one thing: a Dockerfile that “works” and a Dockerfile that “runs well” are two completely different stories.
When I first started, I often bundled PHP-FPM and Nginx into a single container. The result was an image weighing nearly 1.2GB. Every time I deployed, the image pull speed was frustratingly slow. Managing Queue Workers or Cronjobs at that time was also very manual and unprofessional.
If your container is bloating or you don’t know how to run php artisan schedule:run correctly in Docker, here is the solution. We will build a stack that optimizes size and clearly separates services.
Core Concepts: Multi-stage Build and Single Responsibility
What is a Multi-stage Build?
Simply put, a Multi-stage build allows you to divide your Dockerfile into multiple stages. You use a stage full of tools (Composer, Node.js) to build your code. Then, you only copy what is necessary, such as the vendor folder, to an extremely lightweight Alpine stage for execution. This technique helps reduce the image size from 800MB to only about 150MB.
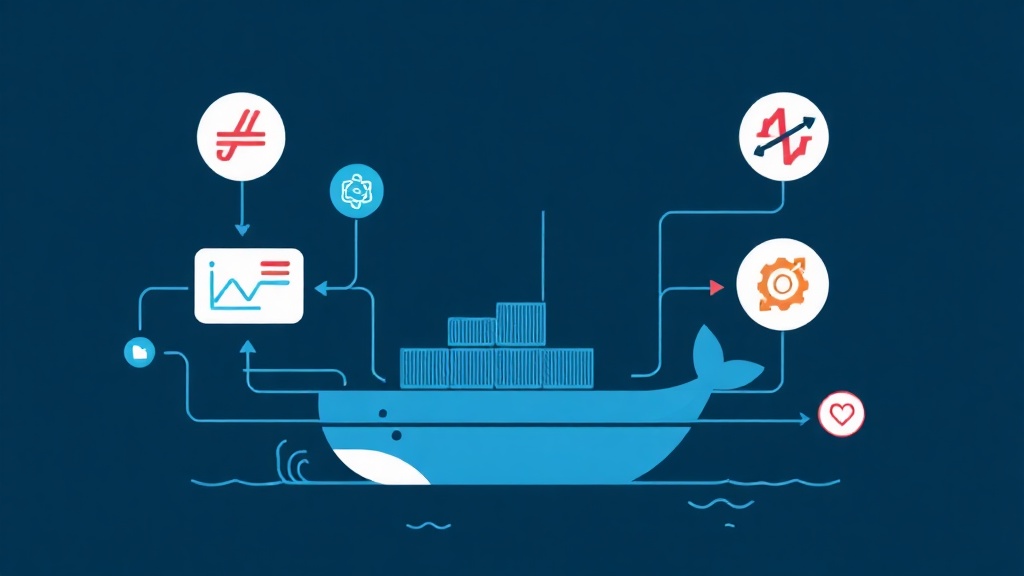
Why Separate Multiple Containers?
In Docker, each container should do only one thing well. This makes the system easier to scale and provides better error isolation:
- App Container: Specializes in handling PHP logic via PHP-FPM.
- Web Container: Nginx receives requests and forwards them to the App.
- Worker Container: Processes background jobs via the
queue:workcommand. - Scheduler Container: Handles periodic task scheduling.
The interesting part is that the App, Worker, and Scheduler all use the exact same Docker Image. They only differ in their startup command (CMD), ensuring that the code is always 100% consistent across services.
Hands-on: Building a Professional Laravel Stack
1. Writing an Optimized Dockerfile
I chose php:8.2-fpm-alpine as the base. Alpine Linux is the production standard thanks to its high security and ultra-lightweight size.
# Stage 1: Build dependencies
FROM php:8.2-fpm-alpine as backend-builder
WORKDIR /var/www/html

# Install system dependencies
RUN apk add --no-cache libpng-dev libzip-dev zip unzip git curl
RUN docker-php-ext-install pdo_mysql bcmath gd zip

# Copy Composer and install libraries
COPY --from=composer:latest /usr/bin/composer /usr/bin/composer
COPY . .
RUN composer install --no-dev --optimize-autoloader --no-scripts

# Stage 2: Runtime image
FROM php:8.2-fpm-alpine
WORKDIR /var/www/html

# Install only necessary runtime dependencies
RUN apk add --no-cache libpng libzip
RUN docker-php-ext-install pdo_mysql bcmath gd zip

# Copy code from the builder stage
COPY --from=backend-builder /var/www/html /var/www/html

# Set standard Laravel permissions
RUN chown -R www-data:www-data /var/www/html/storage /var/www/html/bootstrap/cache

EXPOSE 9000
CMD ["php-fpm"]
2. Configuring Nginx as a Reverse Proxy
Nginx will sit in front to receive traffic. Note the line fastcgi_pass app:9000. Here, app is the service name we will define in the Docker Compose file.
server {
    listen 80;
    index index.php index.html;
    root /var/www/html/public;

    location ~ \.php$ {
        try_files $uri =404;
        fastcgi_split_path_info ^(.+\.php)(/.+)$;
        fastcgi_pass app:9000;
        fastcgi_index index.php;
        include fastcgi_params;
        fastcgi_param SCRIPT_FILENAME $document_root$fastcgi_script_name;
        fastcgi_param PATH_INFO $fastcgi_path_info;
    }

    location / {
        try_files $uri $uri/ /index.php?$query_string;
        gzip_static on;
    }
}
3. Orchestrating with Docker Compose
This file will coordinate the entire system. You will see the power of using a single build context for many different purposes.
version: '3.8'
services:
  app:
    build: .
    container_name: laravel_app
    restart: unless-stopped
    networks:
      - laravel_network

  web:
    image: nginx:alpine
    container_name: laravel_web
    volumes:
      - ./:/var/www/html
      - ./docker/nginx.conf:/etc/nginx/conf.d/default.conf
    depends_on:
      - app
    ports:
      - "8000:80"
    networks:
      - laravel_network

  worker:
    build: .
    container_name: laravel_worker
    command: php artisan queue:work --tries=3
    depends_on:
      - app
    networks:
      - laravel_network

  scheduler:
    build: .
    container_name: laravel_scheduler
    command: sh -c "while [ true ]; do php artisan schedule:run --no-interaction; sleep 60; done"
    depends_on:
      - app
    networks:
      - laravel_network

networks:
  laravel_network:
    driver: bridge
Pro tip: When I need to quickly check JSON logs from the Worker or API, I often use the JSON Formatter from Toolcraft. It helps reformat messy log strings extremely quickly without needing to install heavy extensions.
Performance Upgrades: Caching and Opcache
In a production environment, remove the ./:/var/www/html volume so the image is completely independent. Additionally, don’t forget to enable Opcache. Copying an opcache.ini file into the Docker PHP configuration directory can help increase the app’s response speed by 20-30%.
Conclusion
Deploying Laravel using a service-separated model makes your system run much smoother and easier to maintain. If the number of jobs spikes in the future, you just need to scale the worker container individually without affecting the web server.
If you encounter a 502 Bad Gateway error, check the logs immediately using the command docker logs laravel_app. Usually, the error lies in file write permissions or the internal network configuration between containers. Good luck with your Dockerization!