The Trouble with authorized_keys
Suppose your team has 50 servers and 10 members. Every time a new member joins, you have to painstakingly request their Public Key and SSH into each machine to insert it into the ~/.ssh/authorized_keys file. This process takes at least 30-40 minutes and is extremely prone to error.
The real problem arises when someone leaves the company. During a security audit for a Fintech system last year, I was shocked to find the key of a developer who had left… 2 years prior still sitting prominently on the production server. If even a single server is overlooked, your system has a fatal vulnerability. SSH Certificate Authority (SSH CA) is the solution to end this decentralized management mess.
How Does SSH CA Work?
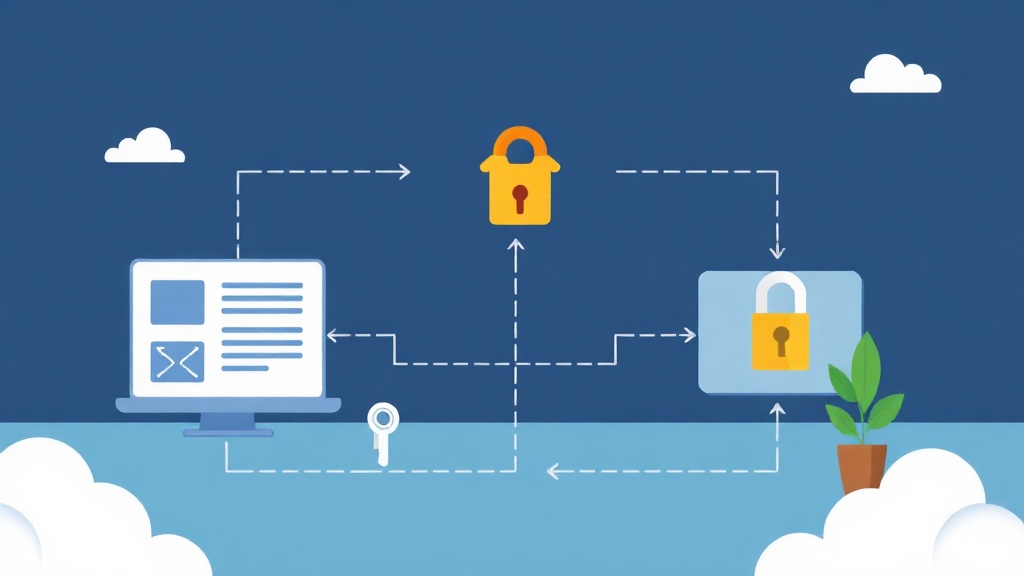
Instead of forcing servers to remember a long list of Public Keys, we switch to an “Identity Issuer” model. You simply tell the server: “If someone presents a certificate issued by me, let them in.”
This mechanism operates through three simple steps:
- Server-side: Trusts only a single “digital signature” from the CA machine.
- Client-side (User): Sends their Public Key to the CA machine to be signed. The CA returns a Certificate.
- When connecting: The user presents the Certificate. The server verifies the signature; if it matches, the door opens immediately.
The beauty of SSH CA is the ability to set an Expiration. You can issue a certificate valid for exactly 8 working hours. After that time, the certificate automatically invalidates itself. Even if a developer’s laptop is stolen, a hacker cannot use that key to access the system the next day.
Real-World Deployment Process
You need to prepare a machine to act as the CA (ideally an offline machine or an isolated server) and your target servers.
Step 1: Initialize the Certificate Authority “Stamp”
On the CA machine, we generate the root key pair. This is your most critical asset; protect it with an extremely strong passphrase.
# Create storage directory
mkdir ~/ssh-ca && cd ~/ssh-ca

# Use ed25519 algorithm for optimal security
ssh-keygen -t ed25519 -f ssh_ca -C "Company SSH CA"
This command creates ssh_ca (Private Key – top secret) and ssh_ca.pub (Public Key – used for distribution).
Step 2: Configure Servers to Trust the CA
You need to push the ssh_ca.pub file to all target servers. For example, place it at /etc/ssh/ssh_ca.pub.
# Push the file to the server
scp ssh_ca.pub [email protected]:/etc/ssh/
Open the SSH configuration file on the target server:
sudo nano /etc/ssh/sshd_configAdd the following configuration line to the end of the file:
TrustedUserCAKeys /etc/ssh/ssh_ca.pubFinally, restart the service to apply the changes:
sudo systemctl restart sshStep 3: Signing Certificates for Employees
When An (username: an.nguyen) needs access, she will send you her Public Key. You perform the signing confirmation:
# Sign the key with 1-day validity for identity an.nguyen
ssh-keygen -s ssh_ca -I "an.nguyen-access" -n an.nguyen -V +1d id_ed25519.pub
Key parameters:
-s ssh_ca: Use the CA key to sign.-n an.nguyen: Specify the specific username allowed to log in.-V +1d: Certificate validity period. You can tighten this to something like+4h(4 hours).
The result is a file named id_ed25519-cert.pub. Send this file back to An.
Step 4: Verify the Connection
An simply needs to place the certificate file in the ~/.ssh/ directory on her personal machine. When running the SSH command, everything happens automatically.
ssh [email protected]An has successfully accessed the server. You no longer need to touch the authorized_keys file on any server.
Advanced: Eliminating “Unknown Host” Warnings
Every time we SSH into a new server, we usually see a prompt asking whether to trust the fingerprint. SSH CA can handle this using Host Certificates.
- Sign the Server’s own Public Key using the CA key with the
-hflag. - Configure
HostCertificatein the server’ssshd_configfile. - Add the line
@cert-authority * [Content of ssh_ca.pub]to the local machine’sknown_hostsfile.
From now on, every server in your system will be automatically trusted by your personal computer. No more annoying warning messages.
Practical Operational Experience
Deploying SSH CA is a great experience, but keep these three points in mind:
- Security first: If the CA Private Key is leaked, a hacker gains access to every server. Consider storing the key in a YubiKey or dedicated HSM devices.
- Automation: Don’t sign manually forever. You should use HashiCorp Vault to issue certificates via API. Then, developers just need to log into Vault to get a certificate for the day.
- Traceability: Monitor logs at
/var/log/auth.log. Every login session will clearly record the Key ID (the-Iparameter), helping you know exactly who accessed the machine and when.
Switching to SSH CA is a professional move for any DevOps team. It not only makes your life easier but also elevates your system security to a whole new level.