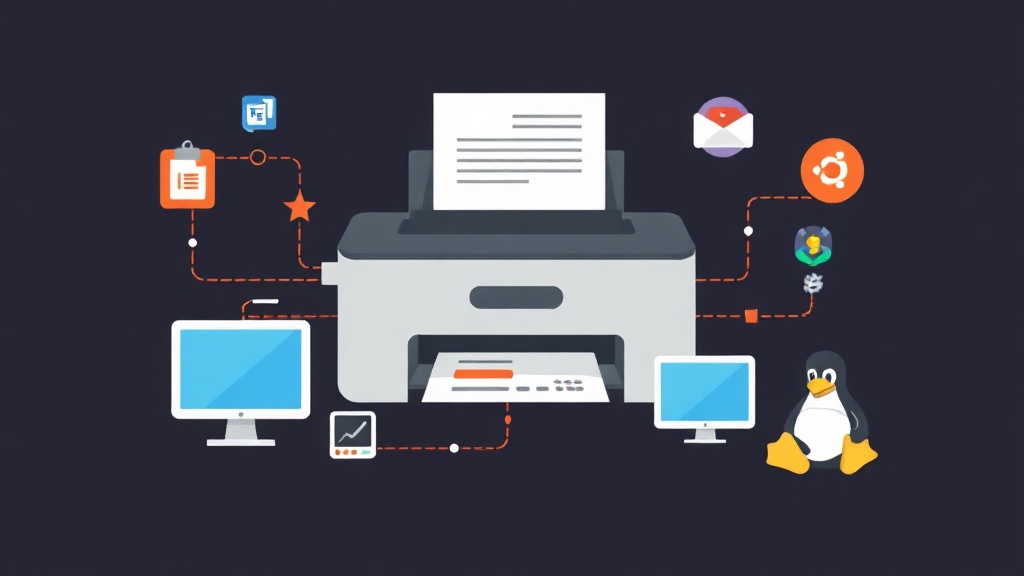
Why use Ubuntu as a Print Server?
The sight of carrying a USB cable around the office to plug into a printer is likely familiar, but it’s also extremely annoying. Instead of spending $150–$250 on a new network printer, you can repurpose an old Mini PC or a Raspberry Pi running Ubuntu as a print server.
I implemented this system for an office of 15 people using an old HP LaserJet 1020. After more than 6 months, the system is still running smoothly without needing a reboot. A Mini PC only consumes about 10-15W of power, much lower than maintaining a Windows PC 24/7 (which often draws over 100W) just to share a printer. Ubuntu Server is lightweight, centrally managed, and highly compatible with Windows, macOS, and Linux.
Installing CUPS on Ubuntu
The steps below work well on both Ubuntu 22.04 and 24.04. First, connect the printer to the server’s USB port and ensure the system recognizes the device.
Update the software repository and install the CUPS (Common Unix Printing System) package:
sudo apt update
sudo apt install cups -y
Check the service status using the command:
sudo systemctl status cupsIf you see the line active (running) in green, the service is ready. For easier management, you should add your current account to the lpadmin group. This allows you to modify printer configurations without needing root privileges:
sudo usermod -aG lpadmin $USEREnabling Remote Administration via Web UI
By default, CUPS only allows access to the management interface from the local machine (localhost). Since Ubuntu Server is often headless (no monitor), we need to grant access from the browser of another computer on the local network.
Edit the main configuration file:
sudo nano /etc/cups/cupsd.confFind and modify the following parameters so that CUPS listens on all IP addresses and allows client machines in the LAN to access it:
# Change Listen localhost:631 to:
Listen 0.0.0.0:631

# In the <Location /> and <Location /admin> sections, add the line Allow @LOCAL:
<Location />
  Order allow,deny
  Allow @LOCAL
</Location>

<Location /admin>
  Order allow,deny
  Allow @LOCAL
</Location>
Press Ctrl + O to save and Ctrl + X to exit. Activate the changes by restarting the service:
sudo systemctl restart cupsDon’t forget to open port 631 on the firewall if you have UFW enabled:
sudo ufw allow 631/tcpAdding a Printer via the Web Interface
Using another computer on the network, open a browser and navigate to: https://[Ubuntu-Server-IP]:631. The browser will warn you about the security certificate; simply select “Advanced” and proceed to the site.
- Go to the Administration tab and click Add Printer.
- Enter the Ubuntu machine’s Username and Password when prompted.
- Select the correct printer name connected to the USB port from the list and click Continue.
- Set a recognizable name (e.g.,
Accounting_HP), using alphanumeric characters without spaces. Check the Share This Printer box. - Select the appropriate driver. If you can’t find the exact model, install the following common driver package:
sudo apt install hplip printer-driver-all -yConnecting from Personal Computers
For Windows
Windows has excellent support for the CUPS IPP protocol. You usually don’t need to install separate drivers for each client machine if the server is configured correctly.
- Open Settings > Bluetooth & devices > Printers & scanners.
- Select Add device, then click The printer that I want isn’t listed.
- Select Select a shared printer by name.
- Enter the path:
http://[Ubuntu-Server-IP]:631/printers/[Printer-Name].
For Linux and macOS
The system will automatically detect the printer on the local network. Just go to the Printer settings, click Add, and select the printer shared from Ubuntu.
Tips for Stable System Operation
Practical experience shows that the Print Server may encounter a few minor issues over time:
- Paper Jam Error (Paused): When out of paper or jammed, CUPS often pauses the print queue. After clearing the hardware issue, you must go to the Web UI, select the printer, and click “Resume Printer” to continue.
- Static IP Address: Set a static IP for the Ubuntu Server. If the IP changes, all client machines will immediately lose connection to the printer.
- Check Logs: If printing fails, read the log file to find the exact cause:
tail -f /var/log/cups/error_logBuilding your own Print Server not only saves money but also provides flexible management. With just an old computer and a few minutes of configuration, you’ve completely solved the printing problem for the entire office.