The “Patching Day” Nightmare and the Birth of vLCM
System admins are no strangers to the scene of working late nights to patch a 32-host ESXi cluster. Waiting for each host to enter Maintenance Mode and praying for no driver conflicts is a true ordeal. The old way with vSphere Update Manager (VUM) was often hit-or-miss. One host runs fine, while another lacks a network driver, making the whole cluster inconsistent.
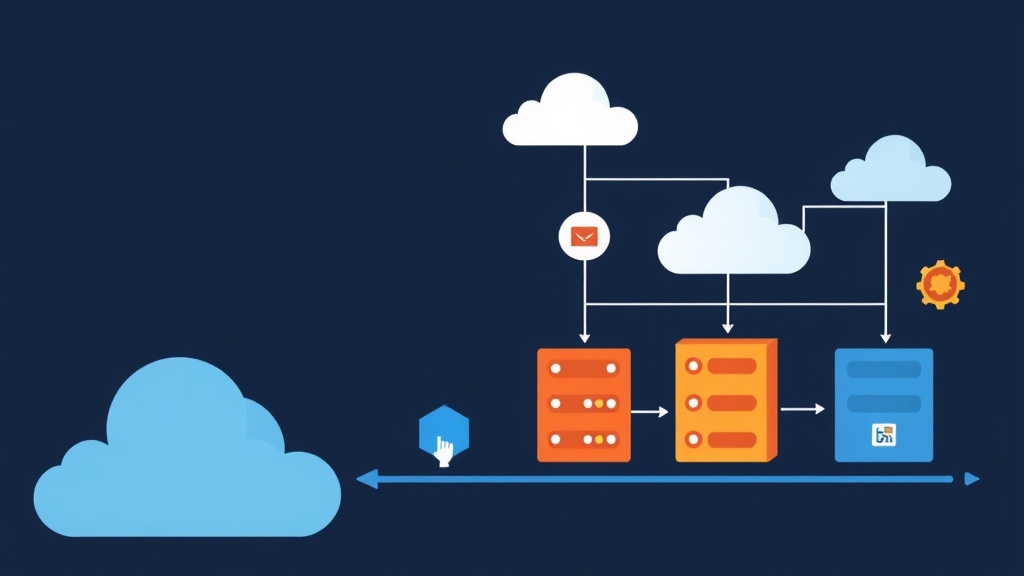
After six months of using vSphere Lifecycle Manager (vLCM) in production, I’ve found it to be a complete game-changer. If you’ve played with Proxmox in a lab and just used apt update, vLCM brings a similar experience but at an enterprise level. It shifts the mindset from “what needs to be installed” to “how the host should look.” This image-based approach is a lifesaver for large-scale systems.
Instead of piecemeal installations, vLCM allows you to define a “Desired State.” All servers in the cluster are forced to be identical. From the ESXi version and drivers to the hardware firmware, everything must be 100% consistent.
Prerequisites for a Smooth vLCM Deployment
Don’t rush to click that button. Here are the things I learned the hard way after several sleepless nights:
- vCenter Server: Must be version 7.0 or higher, but I recommend version 8.0 for the best stability.
- ESXi Hosts: Required to be version 7.0 or later. Older versions do not support the image-based model.
- Hardware Management: If you want to manage firmware as well, install Vendor Support Management (such as Dell OpenManage or HPE OneView).
- Cluster Resources: Ensure DRS is enabled and set to Fully Automated for seamless virtual machine (VM) migration.
Detailed vLCM Configuration: Switching to Image-Based Management
Legacy clusters often still use the traditional Baseline approach. To use vLCM, you must convert to an Image-based setup. Honestly, this is a one-way street; once you move to an Image, you can’t go back to Baselines.
Step 1: Setting up the Cluster Image
- In the vSphere Client, select the cluster you want to upgrade.
- Navigate to the Updates > Image tab.
- Click Setup Image and select the target ESXi version (e.g., ESXi 8.0 Update 2).
- Vendor Add-on: This is the key point. If you’re using a Dell PowerEdge R740, choose the correct Dell Customization. The system will automatically bundle the official vendor drivers.
- Click Validate. This step is crucial to check if the current hardware conflicts with the image.
Step 2: Compliance Check
vLCM compares each host against the master image. Instead of clicking through the UI, I usually use PowerCLI to quickly check for “Out of Sync” hosts:
# Connect to vCenter
Connect-VIServer -Server vcenter.yourdomain.com

# Check Cluster Compliance status
$myCluster = Get-Cluster -Name "Production-Cluster"
Get-Compliance -Entity $myCluster | Select-Object Entity, Status, LastResultTime
Executing Automated Updates (Remediation)
This is where vLCM shines. When you click Remediate All, everything runs like a well-oiled machine:
- vLCM selects a host and activates Maintenance Mode.
- DRS migrates all VMs to other hosts within minutes.
- The system installs the image, updates drivers, and reboots automatically.
- Once the host is back online and reported as “Healthy,” vLCM moves to the next one.
Pro tip: Never remediate immediately. Use Stage All first. This feature pre-downloads the installation packages to the cache, reducing downtime for each host from 45 minutes to about 15-20 minutes because it doesn’t have to wait for downloads.
Monitoring and Troubleshooting in Practice
While it’s running, keep an eye on the Events tab. A classic error I encounter is a host getting stuck in Maintenance Mode because an ISO file is still mounted from a personal computer to a VM. Disconnect all ISOs to ensure the process isn’t interrupted.
To verify the results after updating a cluster of 10-20 hosts, this script will help:
# List ESXi versions and Build Numbers for comparison
Get-Cluster -Name "Production-Cluster" | Get-VMHost | Select-Object Name, Version, Build | Format-Table -AutoSize
HCL Check: A Lifesaver for Admins
What I love most about vLCM is its ability to check the HCL (Hardware Compatibility List) directly. vLCM will warn you immediately if the driver you’re about to install is incompatible with that server model. This feature saved me from a memorable Purple Screen of Death (PSOD) when I almost installed the wrong legacy network driver.
Conclusion
Using vLCM isn’t just about updating software; it’s about standardizing your entire infrastructure. Scaling a cluster is now effortless. Just drag in a new host, and vLCM automatically enforces the cluster’s master image. While the initial setup takes some effort to research Vendor Add-ons, the stability it brings to production environments is well worth it.