Contents:
Jenkins is an automation server and continuous integration tool. It provides a number of plugins for building deployments and automation for your applications. This tutorial will guide you to install Jenkins on Debian 9 Stretch. This also helps you with the basic help about creating a user and install plugins in Jenkins. Let’s go through the tutorial to install Jenkins on a Debian system.
Jenkins required Java runtime environment for running. If you don’t have Java installed on your system, run below commands to install Java on Debian 9 system.
sudo apt update
sudo apt install default-jre
Jenkins team provides official repositories for package management for the popular operating system for installing Jenkins on a Linux VPS. Use below commands to enable Jenkins PPA on your Debian system. This repository contains required packages to install Jenkins on Debian Linux.
wget -q -O - https://pkg.jenkins.io/debian/jenkins.io.key | sudo apt-key add -
sudo sh -c 'echo deb http://pkg.jenkins.io/debian-stable binary/ > /etc/apt/sources.list.d/jenkins.list'
Update the apt-get cache before installing Jenkins on Debian 9. After that, you can install Jenkins on a Debian system by running below commands.
sudo apt update
sudo apt install jenkins
After installation of Jenkins on Linux server. The default Jenkins run on port 8080. If your server already has other services share the same port as Tomcat. You can edit /etc/default/jenkins configuration file and update HTTP_PORT value to 8081 or something else..
HTTP_PORT=8080
and restarted Jenkins service after making changes
sudo service jenkins restart
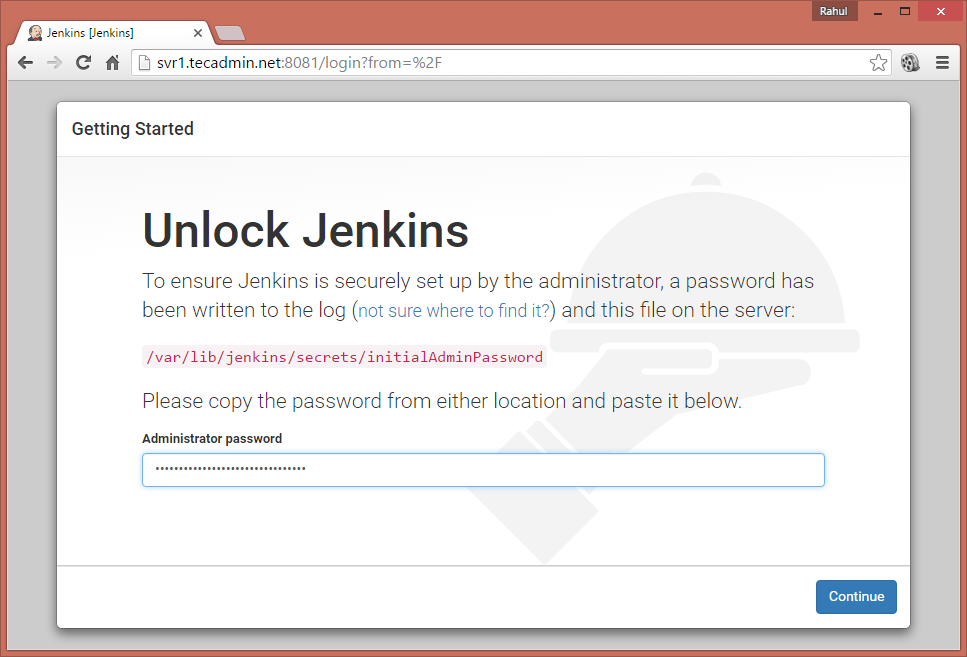
Access your server on port 8080 (Or updated port) in your favorite web browser. The default installation password can be found at /var/lib/jenkins/secrets/initialAdminPassword as showing in below image.
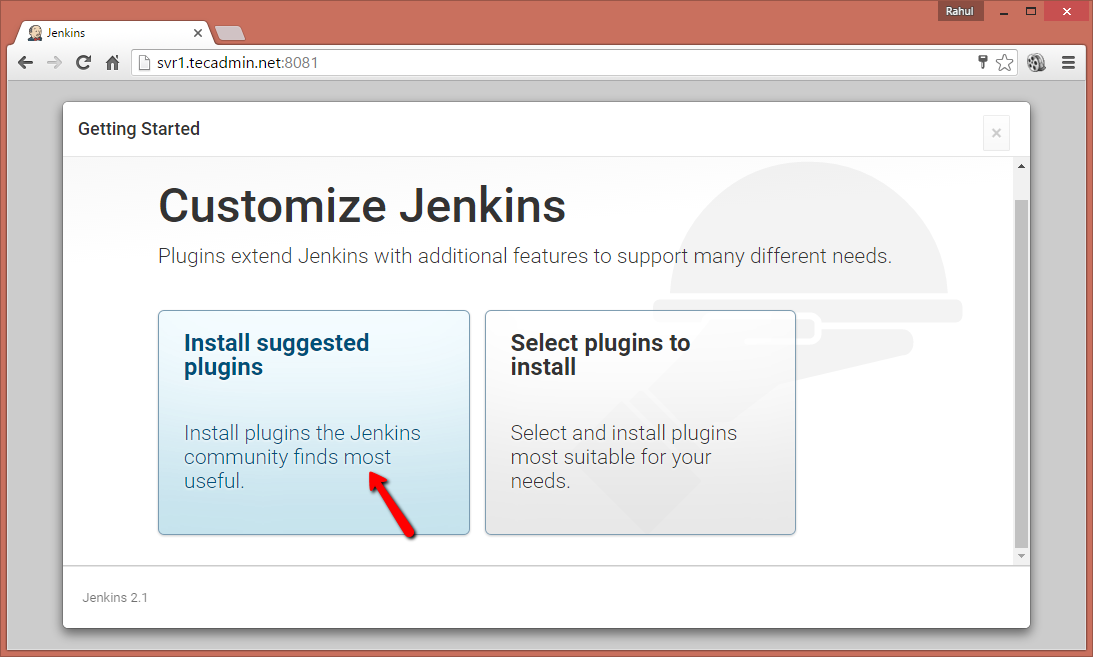
Now select appropriate option to install the plugin. You can choose to install suggested plugins or select the required plugins options.
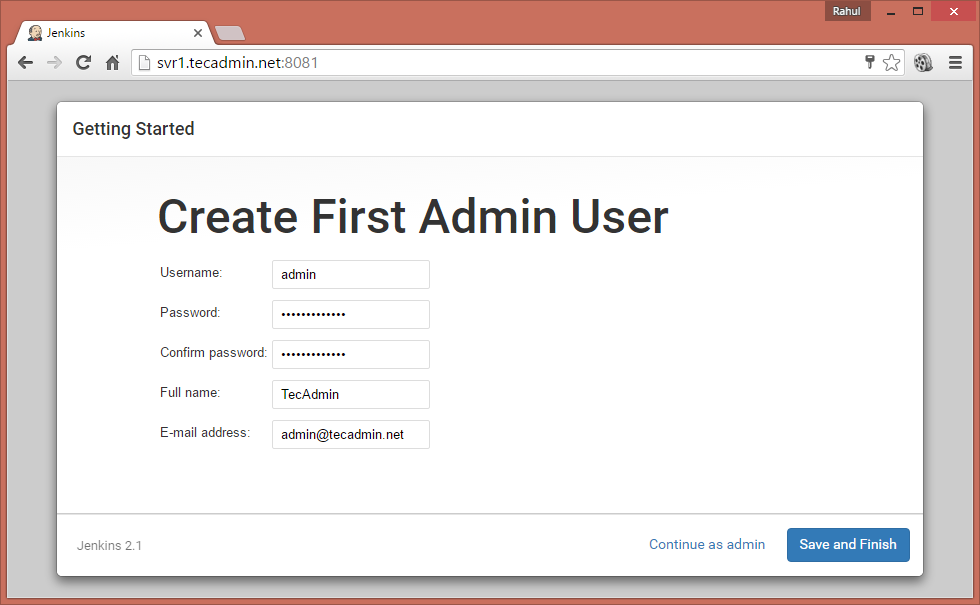
Now create an admin account for your Jenkins setup. This will be required to log in to Jenkins.
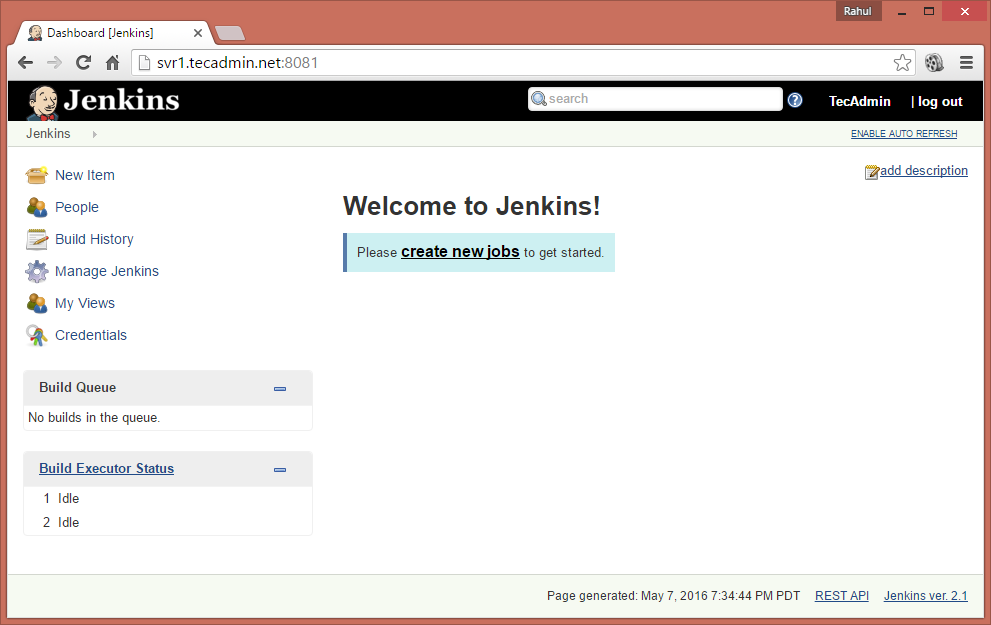
After successful completion of Jenkins setup wizard, You will be redirected to Jenkins dashboard.
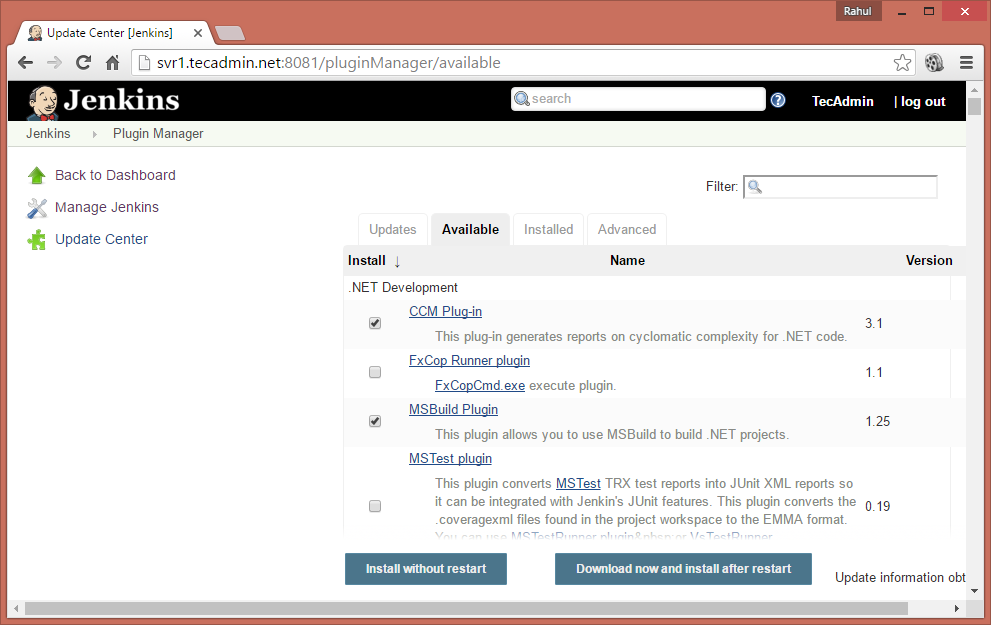
Login to Jenkins dashboard and navigate to Manage Jenkins >> Manage Plugins >> Available Tab and select the plugins to install.
To update existing installed plugins in Jenkins Manage Jenkins >> Manage Plugins >> Update Tab
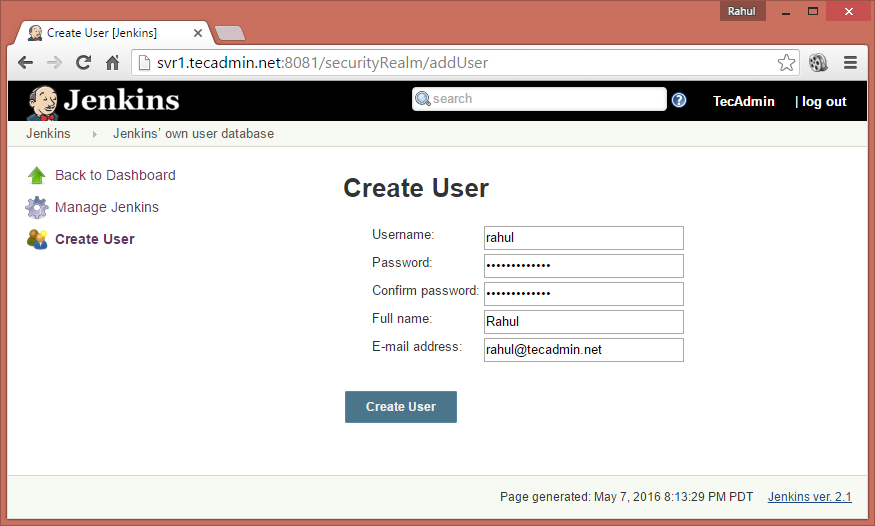
To create users in Jenkins login to Jenkins admin panel and navigate to Manage Jenkins >> Manage Users >> Create User . Enter the required details and click Create User.
An alternative for the nmcli is the nmtui, short for Network Manager Text User Interface,…
MariaDB is an enhanced, drop-in replacement for MySQL. MariaDB can be a better choice for…
MariaDB is an enhanced, drop-in replacement for MySQL. MariaDB can be a better choice for…
Rclone is a command line program written in Go language, used to sync files and…
By default, authentication is disabled in MongoDB, but this is not so critical as, out…
What is Pip? pip is a tool for installing and managing Python packages. With pip…
Leave a Comment