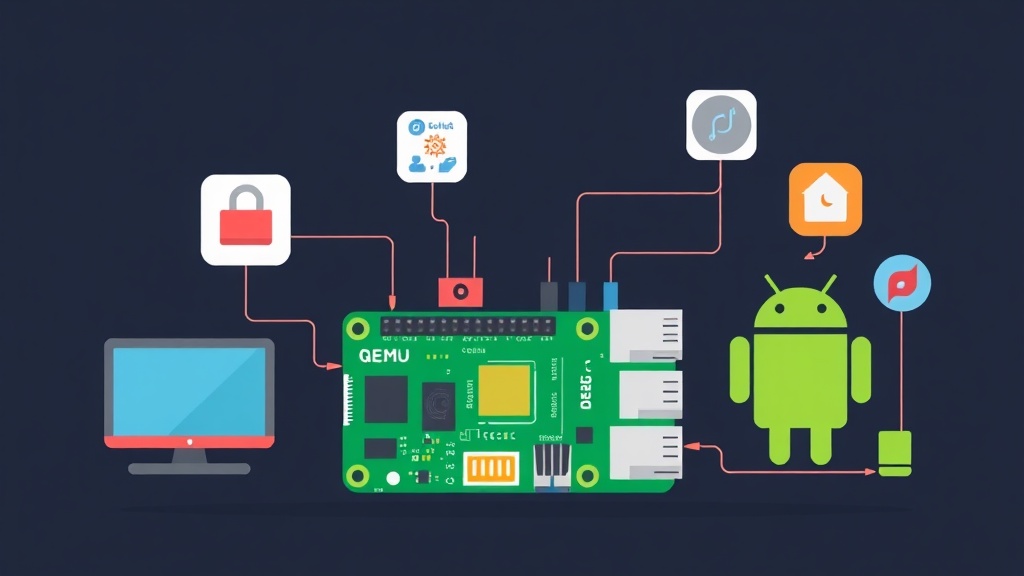
Chạy ARM64 trên máy x86 trong 5 phút
Mình hay gặp tình huống này: có con Raspberry Pi nằm đây nhưng cần test firmware trên ARM64 ngay, hoặc build cross-compile mà muốn verify kết quả trước khi flash vào board thật. QEMU giải quyết cả hai — không cần phần cứng, không cần mua thêm board.
Homelab của mình chạy Proxmox VE quản lý 12 VM và container — đây là playground test mọi thứ trước khi đưa lên production. VM hay được dùng nhất? QEMU ARM64 chạy Raspberry Pi OS để test code IoT. Mỗi vòng lặp như vậy tiết kiệm được 10-15 phút so với flash-boot-debug trên board thật.
Cài QEMU trên Ubuntu/Debian:
sudo apt update
sudo apt install -y qemu-system-arm qemu-utils qemu-efi-aarch64 wget
Verify QEMU đã sẵn sàng:
qemu-system-aarch64 --version
# QEMU emulator version 8.x.x
Tải Raspberry Pi OS Lite (ARM64) về:
wget https://downloads.raspberrypi.com/raspios_lite_arm64/images/raspios_lite_arm64-2024-11-19/2024-11-19-raspios-bookworm-arm64-lite.img.xz
unxz 2024-11-19-raspios-bookworm-arm64-lite.img.xz

# Tạo disk lớn hơn (mặc định ~2GB, resize lên 8GB)
qemu-img resize 2024-11-19-raspios-bookworm-arm64-lite.img 8G
ARM64 cần UEFI firmware để boot — thiếu cái này là máy ảo không khởi động được:
cp /usr/share/qemu-efi-aarch64/QEMU_EFI.fd .
# Tạo flash drive cho UEFI vars
dd if=/dev/zero of=flash1.img bs=1M count=64
dd if=/dev/zero of=flash0.img bs=1M count=64
dd if=QEMU_EFI.fd of=flash0.img conv=notrunc
Khởi động máy ảo ARM64:
qemu-system-aarch64 \
  -machine virt \
  -cpu cortex-a72 \
  -m 2G \
  -smp 4 \
  -drive if=pflash,format=raw,file=flash0.img,readonly=on \
  -drive if=pflash,format=raw,file=flash1.img \
  -drive if=virtio,format=raw,file=2024-11-19-raspios-bookworm-arm64-lite.img \
  -netdev user,id=net0,hostfwd=tcp::2222-:22 \
  -device virtio-net-pci,netdev=net0 \
  -nographic
Sau khoảng 30-60 giây là có shell. SSH vào qua port 2222:
ssh -p 2222 pi@localhost
# Default password: raspberry
QEMU ARM64 hoạt động như thế nào
Điểm mấu chốt ở đây: KVM dùng hardware virtualization, chạy gần native speed. QEMU ARM64 trên máy x86 thì khác — phải dịch từng instruction một, chậm hơn 5-10 lần so với Pi thật. Với IoT development thì ổn, nhưng đừng expect performance ngang board thật.
Mình dùng QEMU ARM64 chủ yếu cho mấy việc này:
- Test Python/Go code trên ARM64 trước khi deploy xuống Pi
- Build và test Docker image ARM64 (dùng buildx)
- Debug firmware logic mà không cần board thật
- CI/CD pipeline: test ARM64 code trong GitHub Actions
Các tham số quan trọng cần hiểu:
-machine virt: Board ảo generic ARM, được QEMU hỗ trợ tốt nhất-cpu cortex-a72: CPU của Raspberry Pi 4 — có thể đổi thànhcortex-a53cho Pi 3-smp 4: 4 cores, tương đương Pi 4hostfwd=tcp::2222-:22: Forward port SSH ra ngoài để dùng được
Chạy Android cho IoT Development
Trong IoT, Android xuất hiện dưới nhiều dạng: từ Android Things (Google khai tử năm 2022) đến AOSP custom build cho embedded devices. Với QEMU, có hai lựa chọn phổ biến: Android-x86 cho mục đích thử nghiệm nhanh, hoặc Cuttlefish — Android Virtual Device chính thức của Google — cho development nghiêm túc hơn.
Cách 1: Android-x86 (đơn giản nhất)
# Tải Android-x86 ISO
wget https://sourceforge.net/projects/android-x86/files/Release%209.0/android-x86_64-9.0-r2.iso

# Tạo disk image
qemu-img create -f qcow2 android.img 16G

# Boot từ ISO để cài đặt
qemu-system-x86_64 \
  -m 4G \
  -smp 4 \
  -enable-kvm \
  -cpu host \
  -drive file=android.img,if=virtio \
  -cdrom android-x86_64-9.0-r2.iso \
  -boot d \
  -vga virtio \
  -display gtk \
  -netdev user,id=net0,hostfwd=tcp::5555-:5555 \
  -device virtio-net-pci,netdev=net0
Cài xong, boot lại không cần cdrom rồi kết nối ADB:
adb connect localhost:5555
adb devices
adb shell
Cách 2: Cuttlefish — Android Virtual Device chính thức
Cuttlefish chạy AOSP hoàn chỉnh, phù hợp cho IoT app development hơn Android-x86:
# Cài dependencies
sudo apt install -y qemu-kvm libvirt-daemon-system unzip

# Download Cuttlefish host packages từ Google CI
# Tìm bản mới nhất tại: https://ci.android.com/builds/branches/aosp-main/grid
# Download: cvd-host_package.tar.gz + aosp_cf_x86_64_phone-img-*.zip

# Giải nén và chạy
mkdir cuttlefish && cd cuttlefish
tar xzvf ../cvd-host_package.tar.gz
unzip ../aosp_cf_x86_64_phone-img-*.zip

# Khởi động
./bin/launch_cvd \
  -daemon \
  -memory_mb 4096 \
  -num_instances 1
Workflow thực tế cho IoT Development
Cross-compile và test trực tiếp trên QEMU
Ví dụ workflow mình hay dùng: viết Go service chạy trên Raspberry Pi, test trên QEMU trước:
# Build Go binary cho ARM64
GOOS=linux GOARCH=arm64 go build -o myservice ./cmd/myservice

# Copy lên QEMU ARM64 qua SSH
scp -P 2222 myservice pi@localhost:~

# SSH vào và chạy
ssh -p 2222 pi@localhost './myservice --config /etc/myservice.yaml'
Docker buildx với QEMU
Đây là combo cực mạnh cho CI/CD — build Docker image ARM64 ngay trên máy x86:
# Đăng ký QEMU binaryformat vào kernel
docker run --privileged --rm tonistiigi/binfmt --install all

# Tạo builder hỗ trợ multi-arch
docker buildx create --name mybuilder --use
docker buildx inspect --bootstrap

# Build và push image ARM64
docker buildx build \
  --platform linux/arm64 \
  --tag myregistry/iot-app:latest \
  --push .

# Test image ARM64 ngay trên máy x86 (QEMU tự động emulate)
docker run --rm --platform linux/arm64 myregistry/iot-app:latest --version
Script khởi động nhanh
Nhớ hết các tham số QEMU rất mệt. Mình wrap lại thành script để gõ cho nhanh:
#!/bin/bash
# start-rpi-qemu.sh

DISK="${1:-rpi-arm64.img}"
RAM="${2:-2G}"
SMP="${3:-4}"
SSH_PORT="${4:-2222}"

qemu-system-aarch64 \
  -machine virt \
  -cpu cortex-a72 \
  -m "$RAM" \
  -smp "$SMP" \
  -drive if=pflash,format=raw,file=flash0.img,readonly=on \
  -drive if=pflash,format=raw,file=flash1.img \
  -drive if=virtio,format=raw,file="$DISK" \
  -netdev user,id=net0,hostfwd=tcp::"${SSH_PORT}"-:22 \
  -device virtio-net-pci,netdev=net0 \
  -nographic \
  -pidfile qemu-arm64.pid

echo "QEMU ARM64 running. SSH: ssh -p ${SSH_PORT} pi@localhost"
Tips thực tế
Nếu máy host là ARM64 — AWS Graviton, Mac M-series qua UTM — thêm -enable-kvm vào lệnh QEMU và tốc độ gần native ngay. Máy x86 thì thôi, KVM không chạy được khi kiến trúc CPU khác nhau.
Snapshot để rollback nhanh: Raw image không có snapshot. Chuyển sang qcow2 để có tính năng này:
# Convert sang qcow2
qemu-img convert -f raw -O qcow2 rpi.img rpi.qcow2

# Tạo snapshot trước khi test
qemu-img snapshot -c clean-state rpi.qcow2

# Rollback về snapshot sạch
qemu-img snapshot -a clean-state rpi.qcow2
Mount thư mục từ host vào guest thì dùng 9P virtio filesystem — tiện hơn nhiều so với scp từng file:
# Thêm vào lệnh QEMU:
-fsdev local,security_model=passthrough,id=fsdev0,path=/home/user/shared \
-device virtio-9p-pci,id=fs0,fsdev=fsdev0,mount_tag=hostshare

# Trong guest ARM64:
mount -t 9p -o trans=virtio hostshare /mnt/shared
Headless trên server: -nographic cho phép QEMU chạy hoàn toàn qua terminal. Thêm -daemonize nếu muốn chạy nền, nhớ dùng -pidfile để kill sau:
# Chạy nền
qemu-system-aarch64 [các tham số...] -daemonize -pidfile qemu.pid

# Dừng
kill $(cat qemu.pid)
QEMU còn có monitor console riêng — hữu ích khi cần inspect trạng thái hoặc quản lý snapshot mà không muốn vào trong guest:
# Thêm tham số:
-monitor unix:qemu-monitor.sock,server,nowait

# Kết nối monitor:
socat - UNIX-CONNECT:qemu-monitor.sock
# Gõ: info status, savevm snapshot1, loadvm snapshot1, quit
QEMU ARM64 không thay thế được phần cứng thật trong mọi trường hợp — GPIO, hardware interrupt, timing-sensitive code vẫn cần test trên board thật. Nhưng với business logic, API layer, và phần lớn application code, QEMU tiết kiệm được rất nhiều vòng lặp debug-flash-test.